Sous Vide Grouper, Saffron Fumet, Cannellini Puree, Green Peas, Lemon Air, and Tarragon Oil12/12/2016 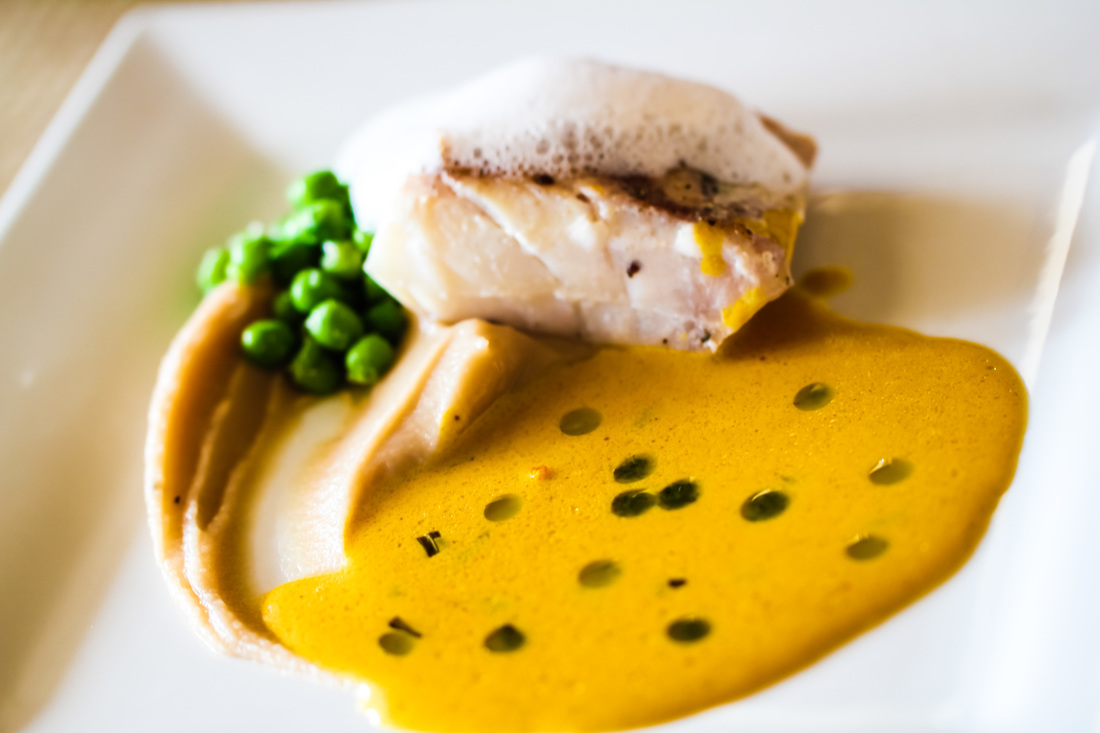
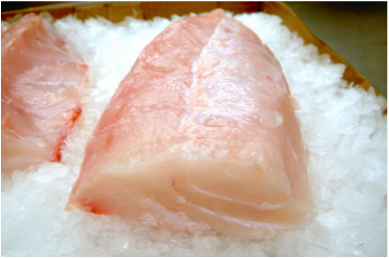
This is a great recipe for Grouper, a fish belonging to the Seabass family. The grouper has a mild but very unique flavor, somewhat of a cross between bass and halibut. It is best cooked Sous Vide and then quickly seared before serving. The Saffron Fumet adds a wonderful richness to the dish and the Cannellini bean puree adds texture.
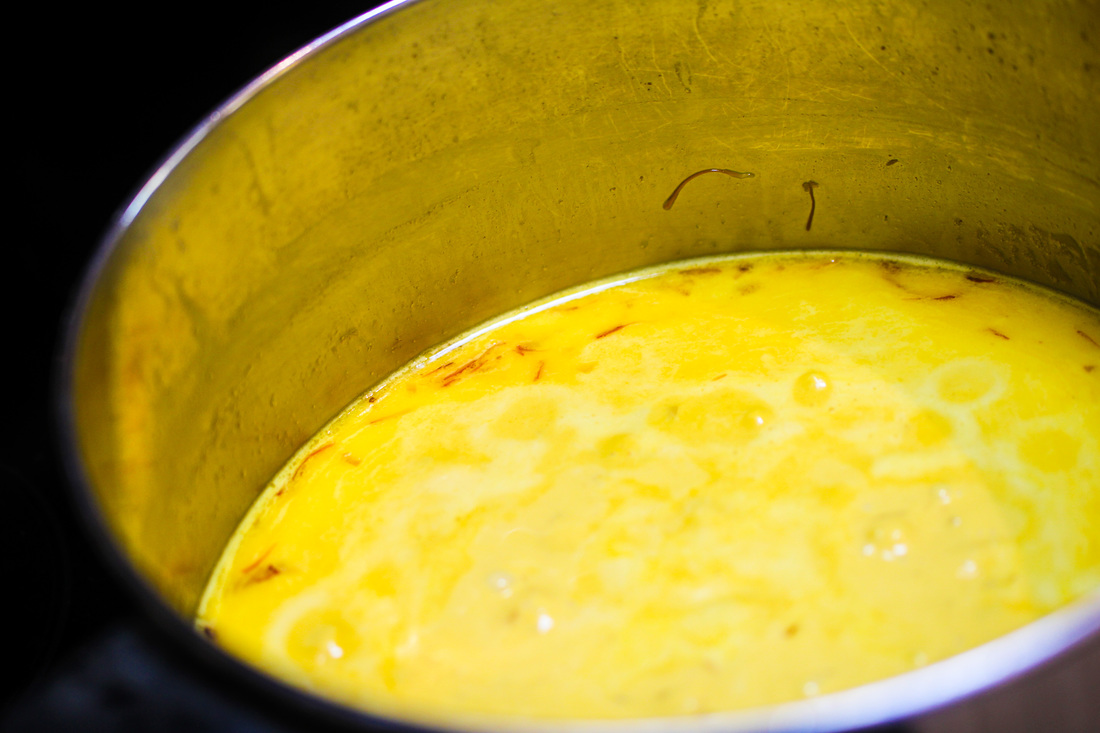
Start with the saffron fumet. In a pot over medium heat, melt butter and sweat shallots with the saffron until tender. Deglaze with the white wine and the vermouth. Reduce until almost dry. Add the fish fumet (can be bought at Whole Foods or other good grocery stores). Reduce by half.
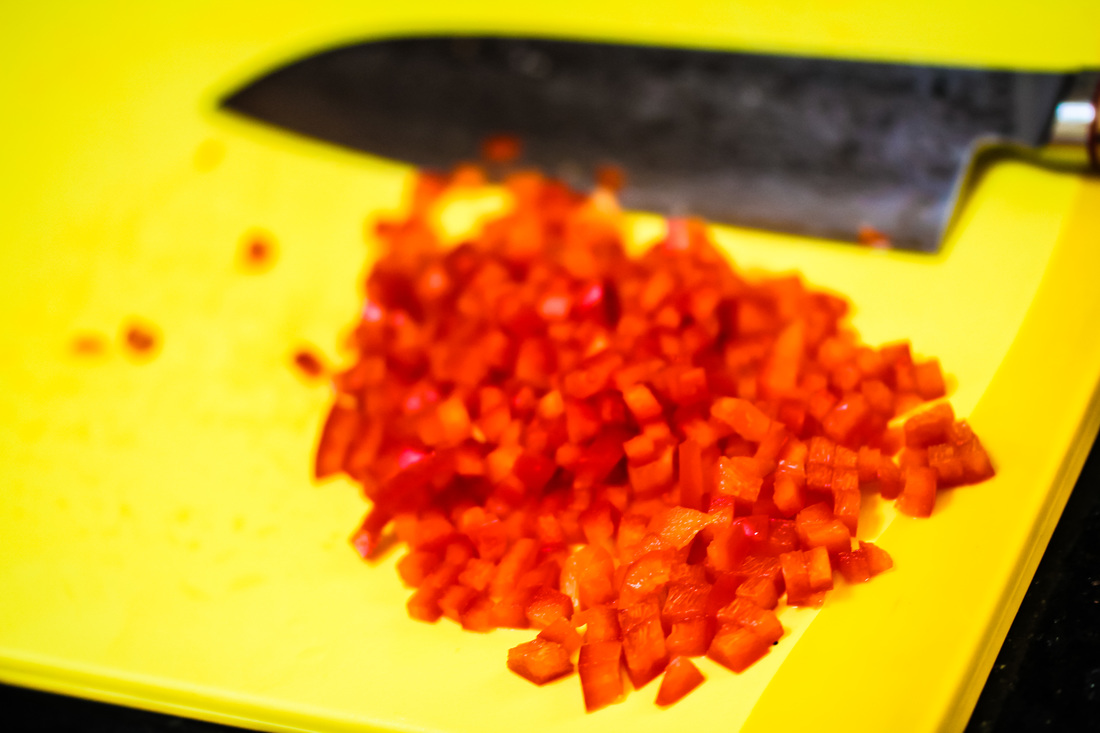
Add the cream and reduce to about 1 1/2 cups. Season with some salt and lemon juice. Pass through a chinoise. Stir in the tarragon and the red bell pepper. Kepp warm until time to serve.
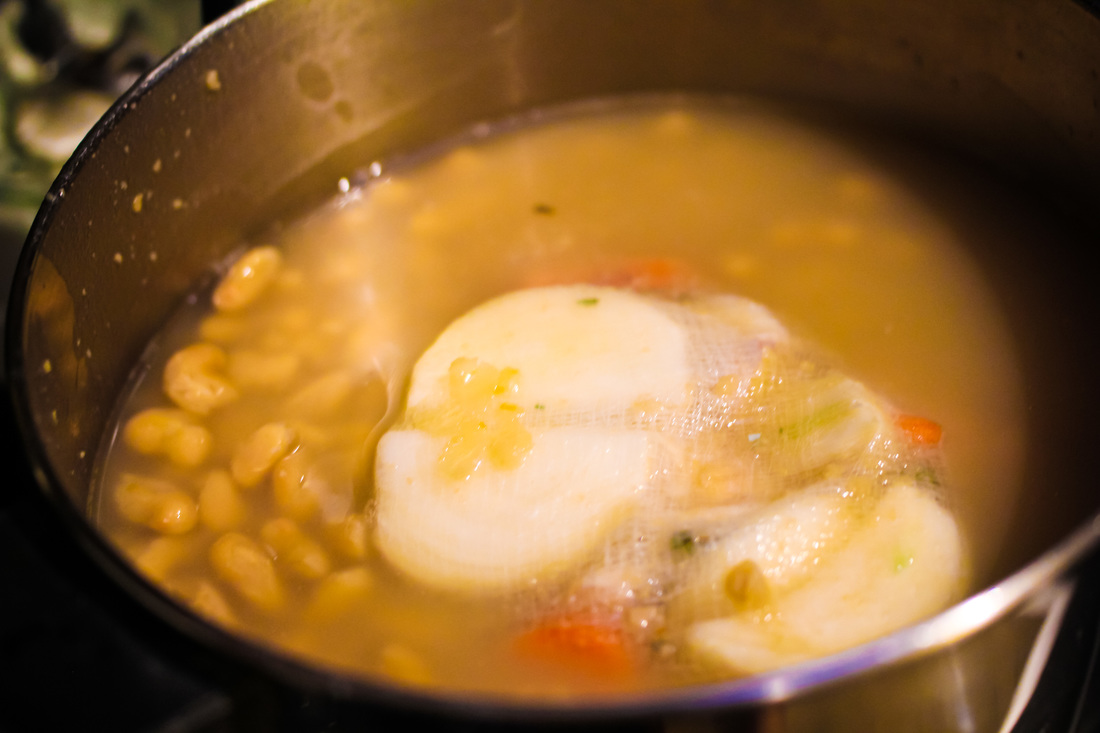
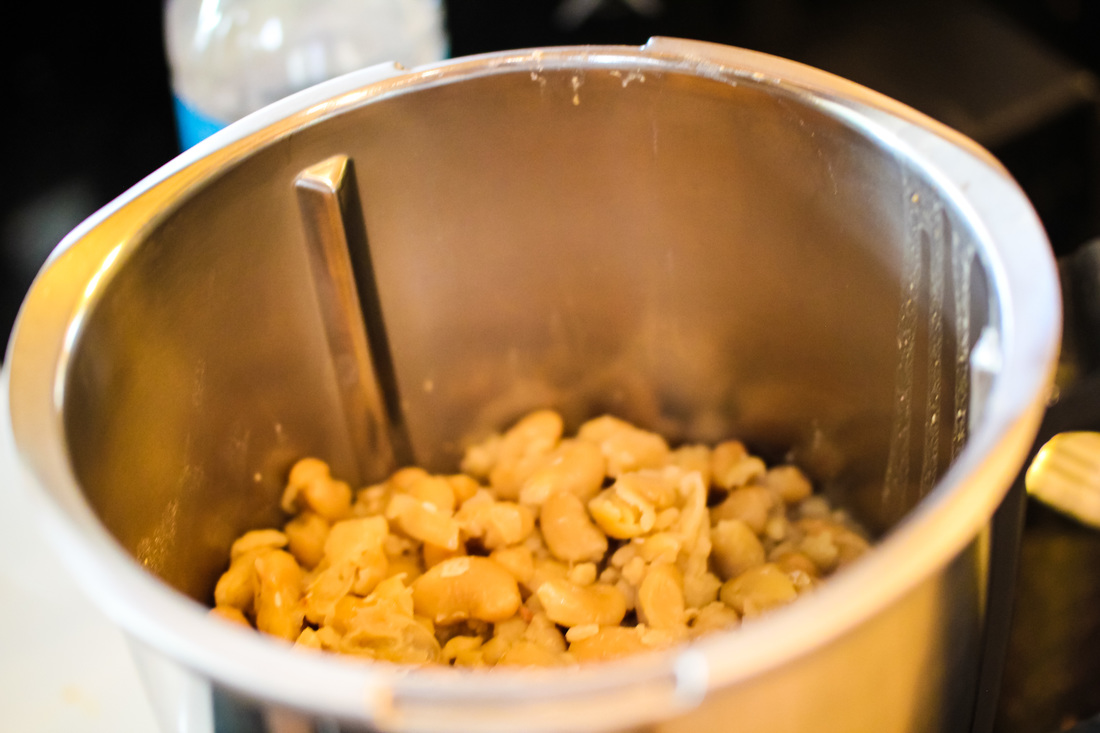
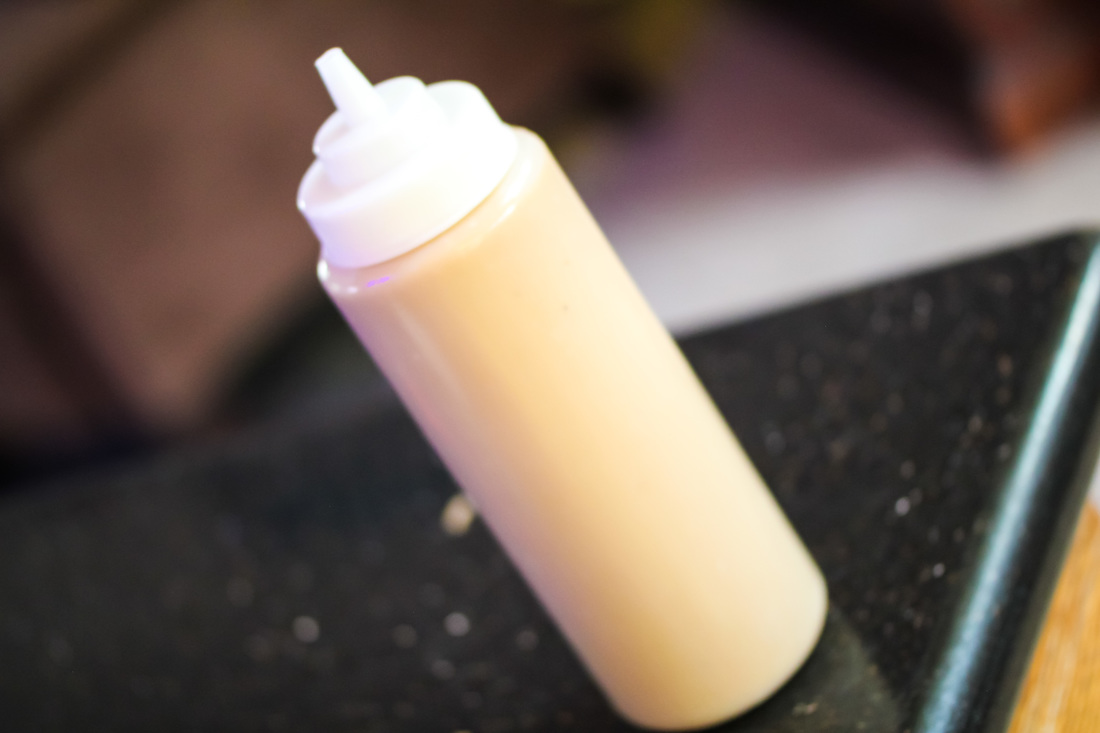
To make the Cannellini puree, pour 2 1/2 cups into a pot over medium heat. Make a satchet by wrapping garlic, carrot, onion and thyme in a piece of cheesecloth. Add the satchet to the beans, bring to a simmer. Cook until tender about 1 hour and 15 minutes. Remove and discard the satchet and puree the beans in a blender with 1/4 cup of cooking liquid and olive oil. Season with salt. Set aside in a plastic bottle and keep warm.
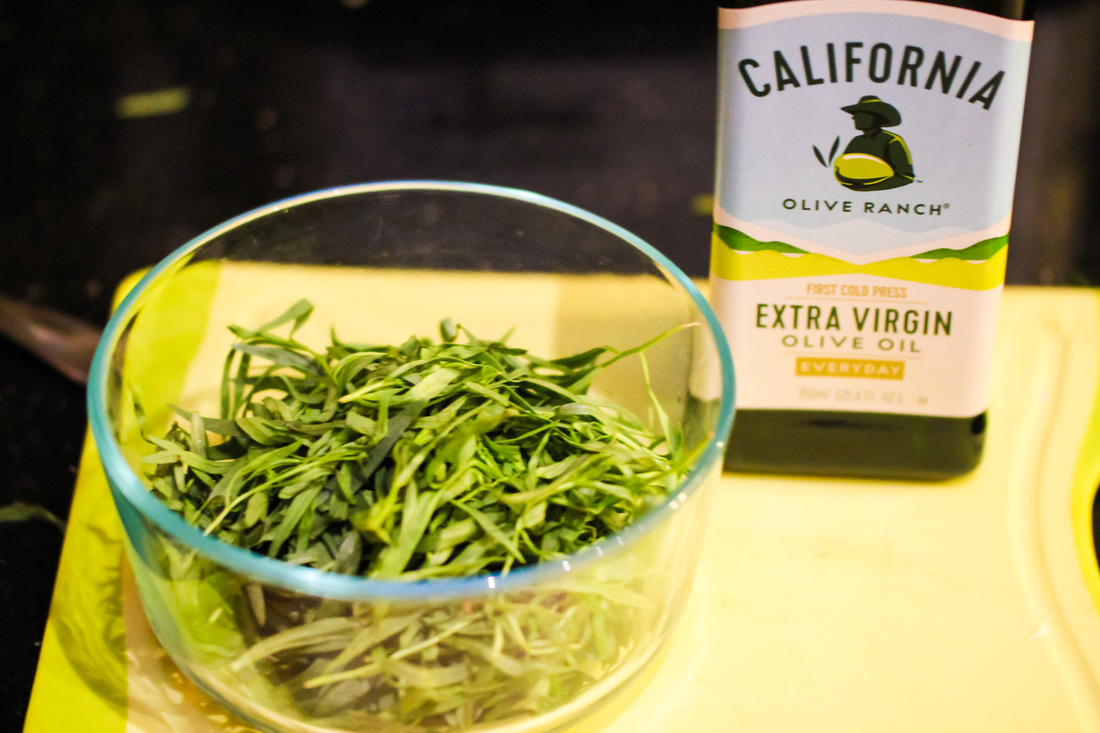
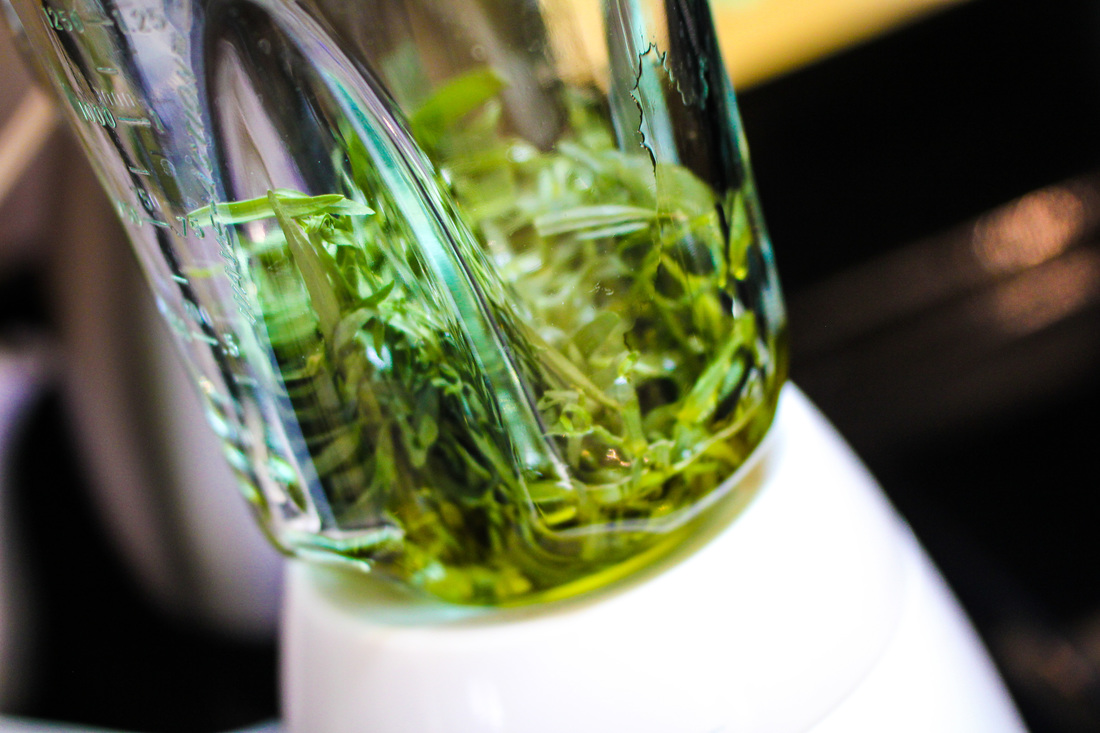
To make the tarragon oil, bring a pot of salter water to a boil. Add the leaves and cook for a minute. Transfer to bowl of ice and once cold, drain. Dry and transfer the leaves to blender. Add oil and blend on high speed for 4 minutes. Strain the oil and set aside.
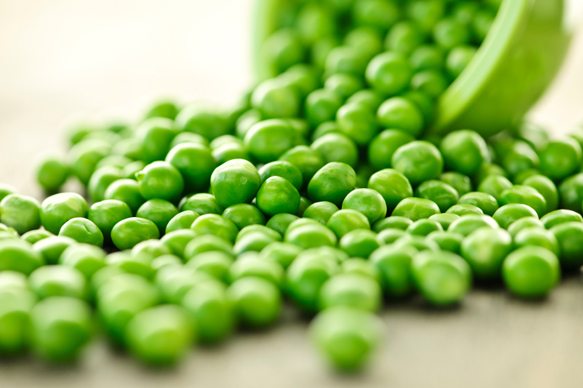
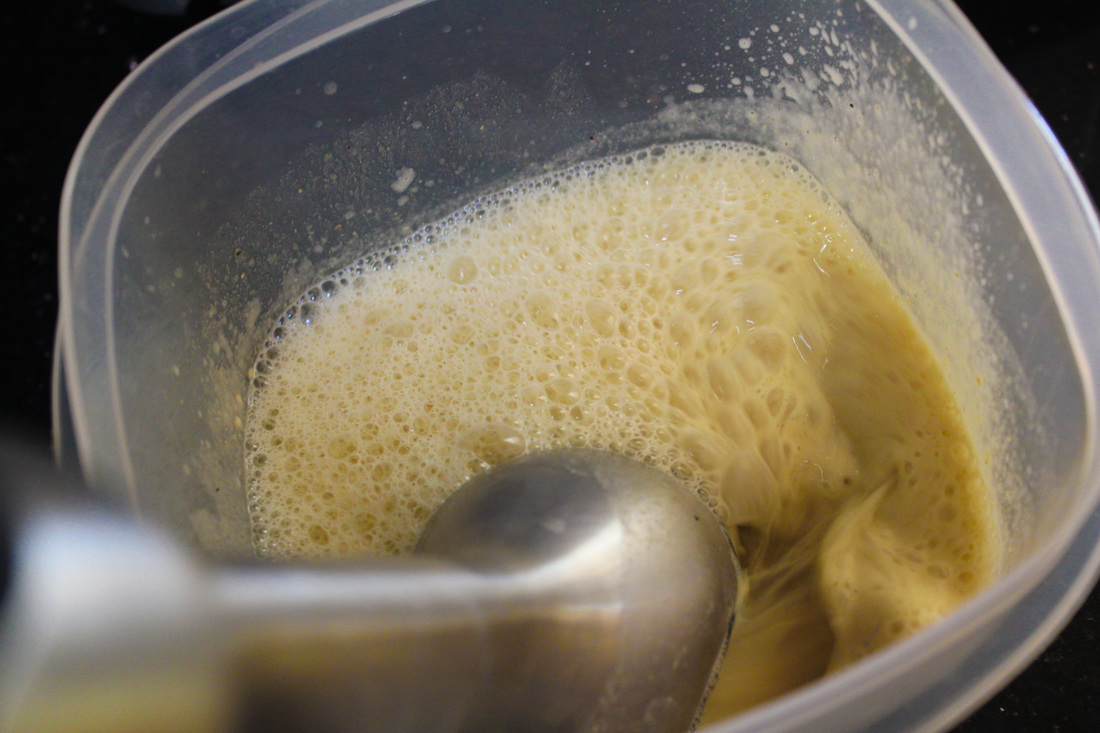
Heat chicken broth and pour peas into broth. Add butter and bring back to simmer. Remove and keep warm. Trim the Grouper into good sized filets. Season with salt and pepper. Vacuum filets individually and seal with butter. Cook the Grouper in a water bath at 135 degrees Fahrenheit for about 30 minutes. While the Grouper is cooking, mix water and lemon juice with the Soy Lecithin Powder. Using a handblender, make a foam by tilting the blender at a 45 degrees angle with a small part of the blender being out of the liquid. When foam is made, set aside. Quickly sear the Grouper on one side for 30 seconds over high heat. Plate all the ingredients and serve!! Enjoy 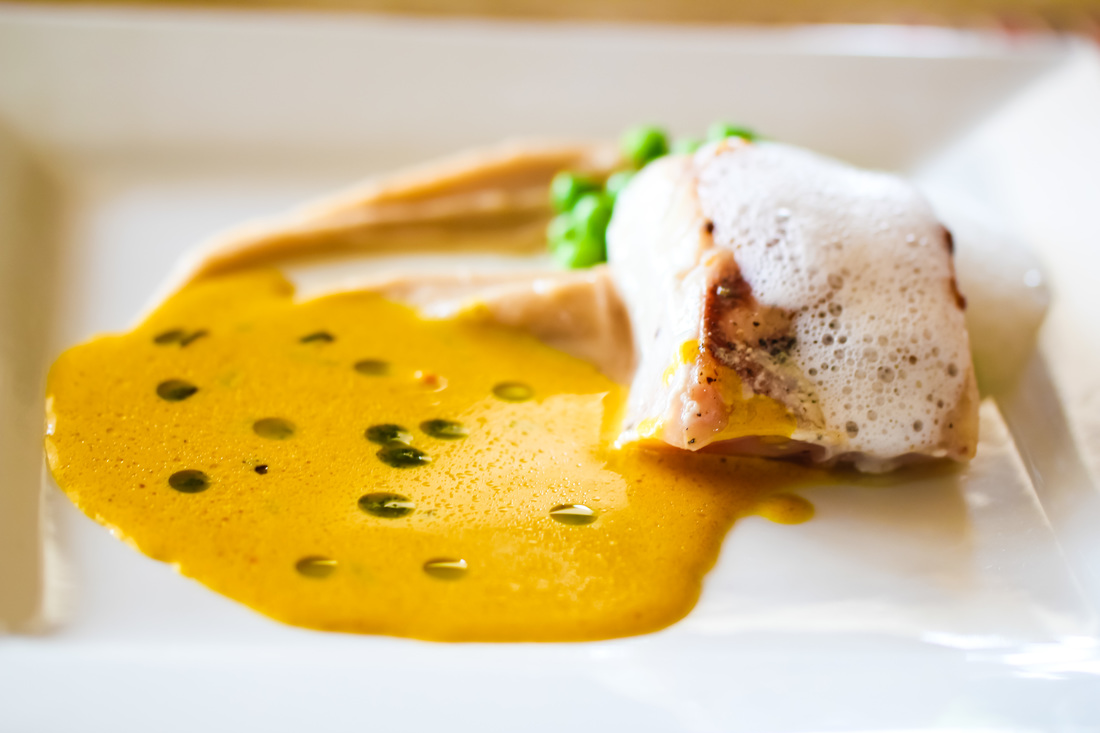
1 Comment
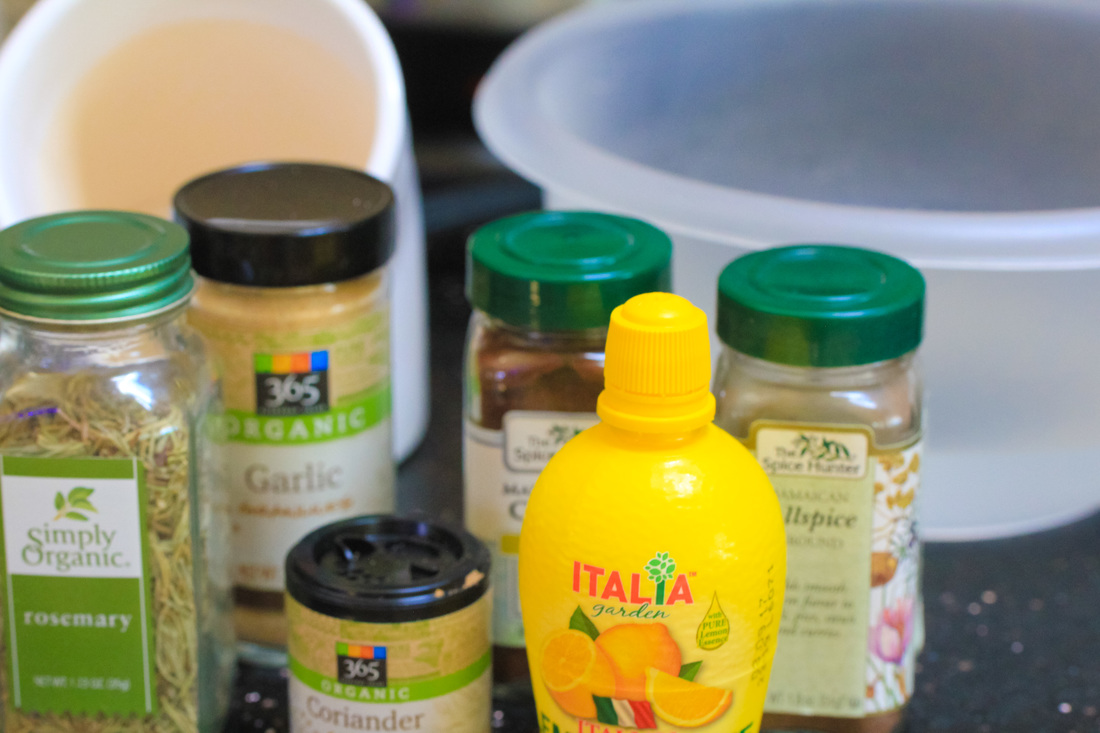
 Ingredients:
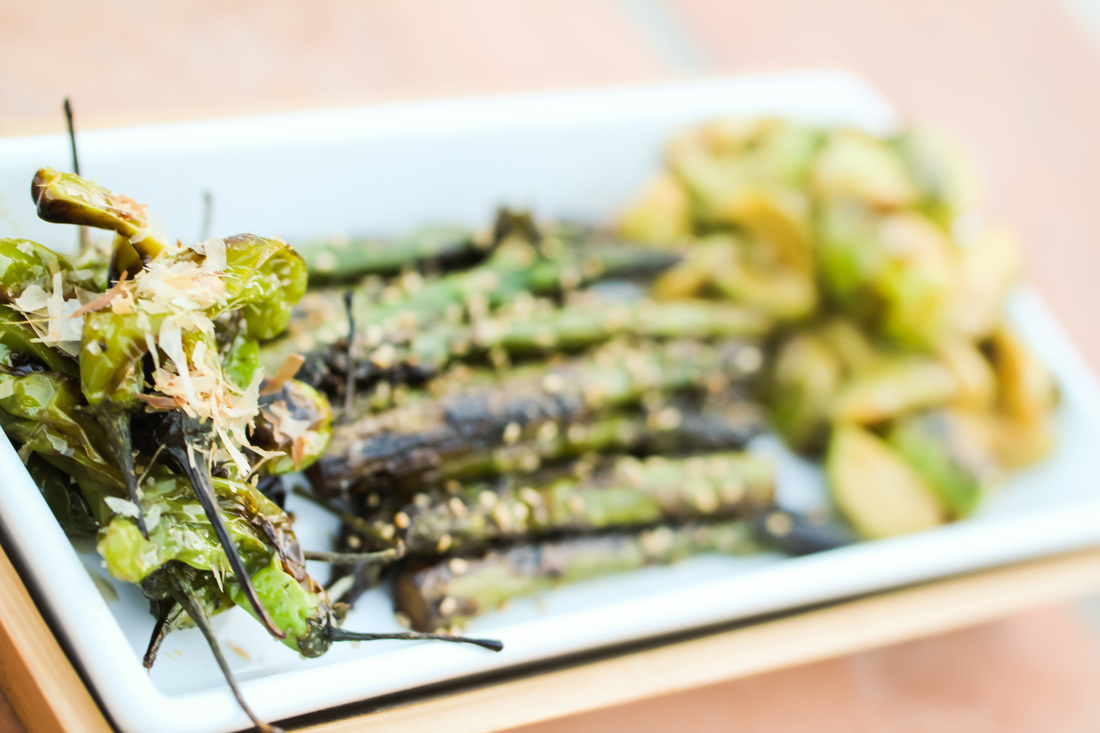
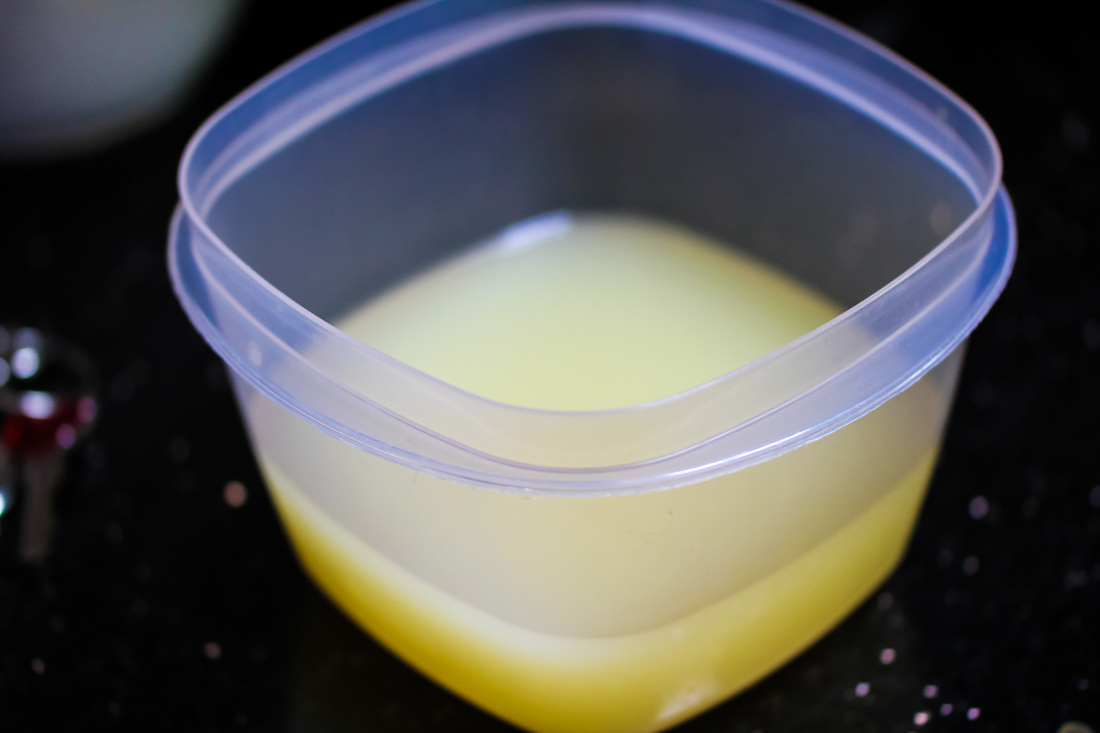
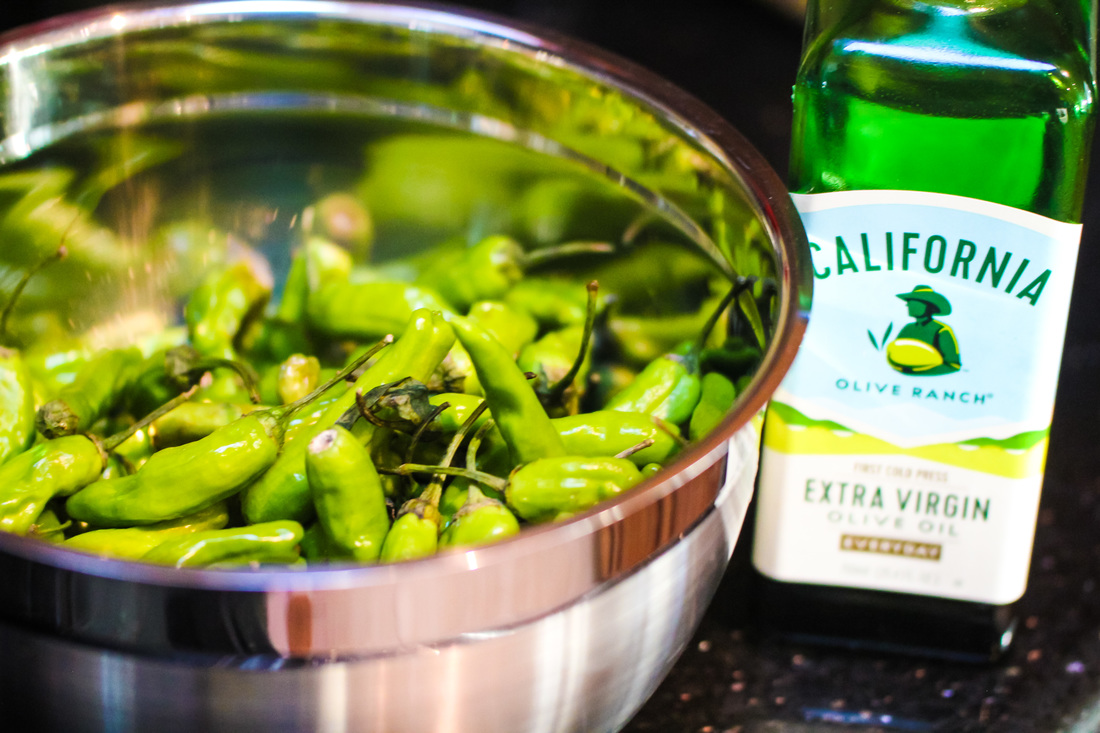
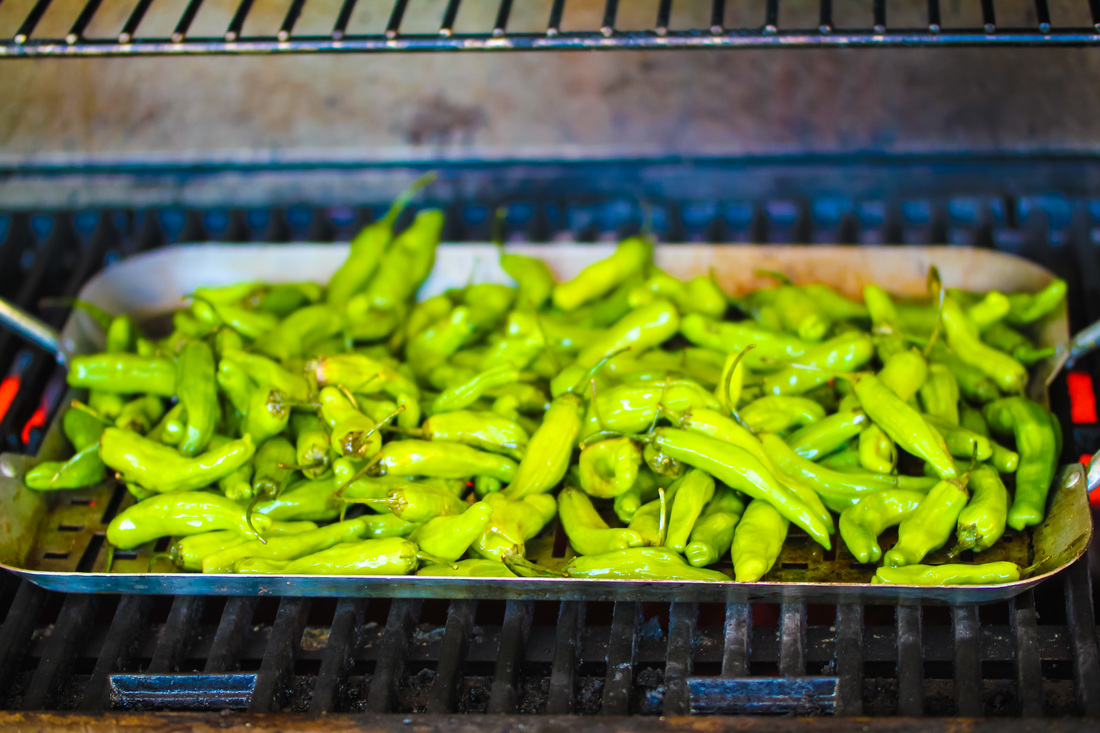
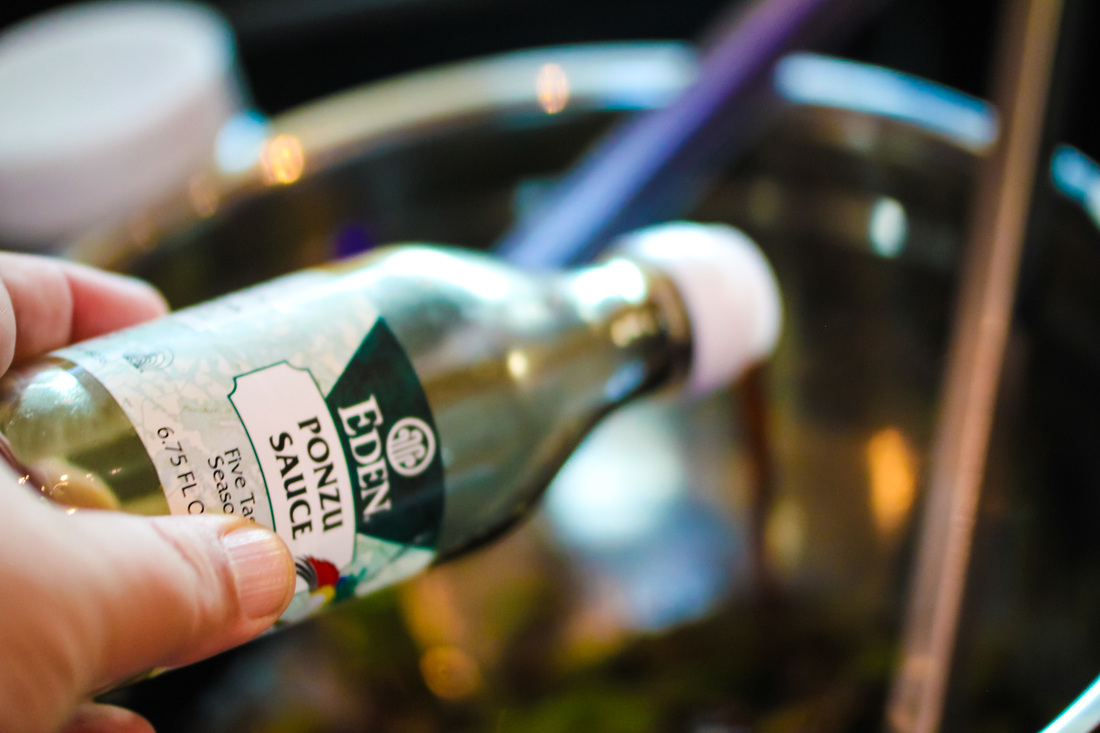
Japanese flavors are amazing and if you combine it with fresh vegetables you can create some amazing tapas with almost no effort at all. Most ingredients are available at any asian market. 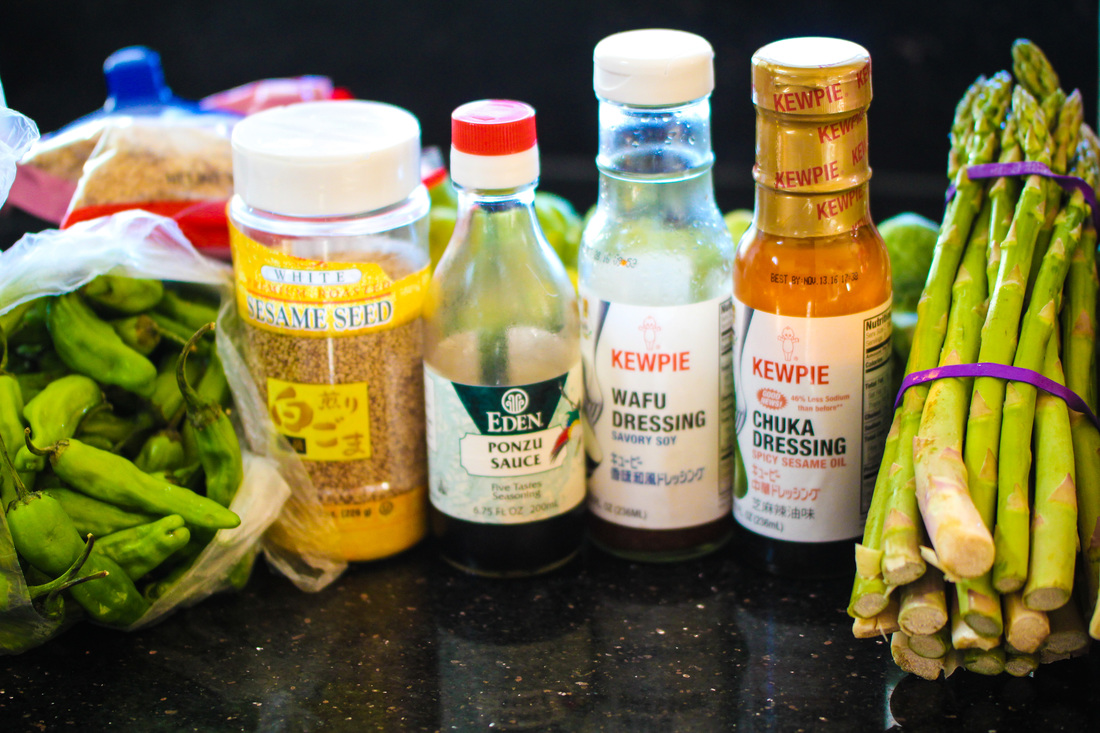 How to make the Shishito Peppers: Rinse the peppers and toss them with the olive oil - make sure that they are evenly covered. Set the grill on high. Use a vegetable tray so the peppers dont fall through the grill grates.
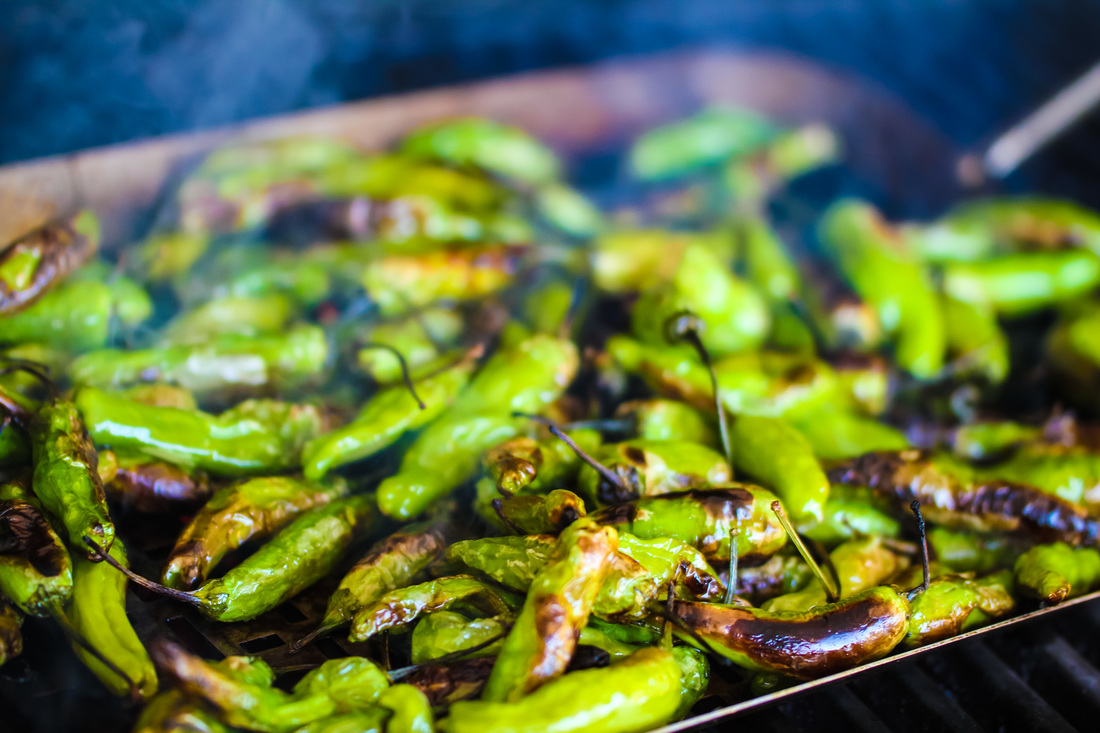
Grill on high until the peppers are roasted and browned, about 5-6 minutes. Take the peppers of the grill and toss them with the Ponzu sauce. Season with the flaked sea salt. Serve immediately and sprinkle the bonito flakes on top of the peppers. If you want to make the Japanese tapas completely vegan - skip the bonito flakes.
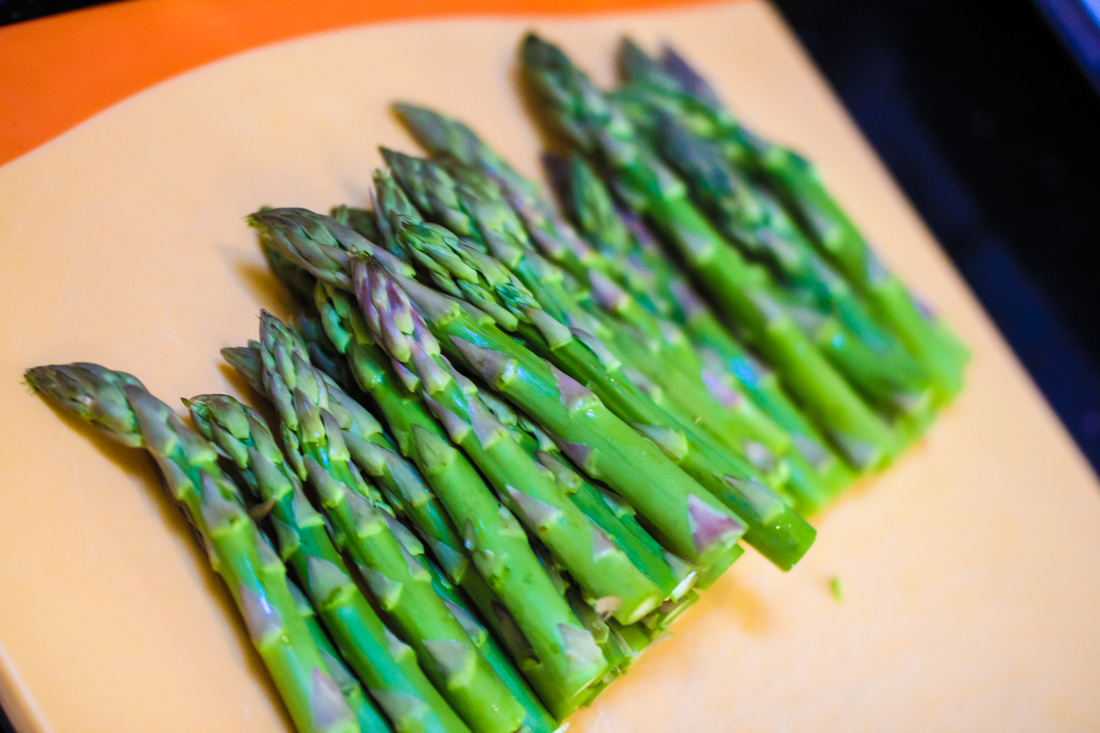
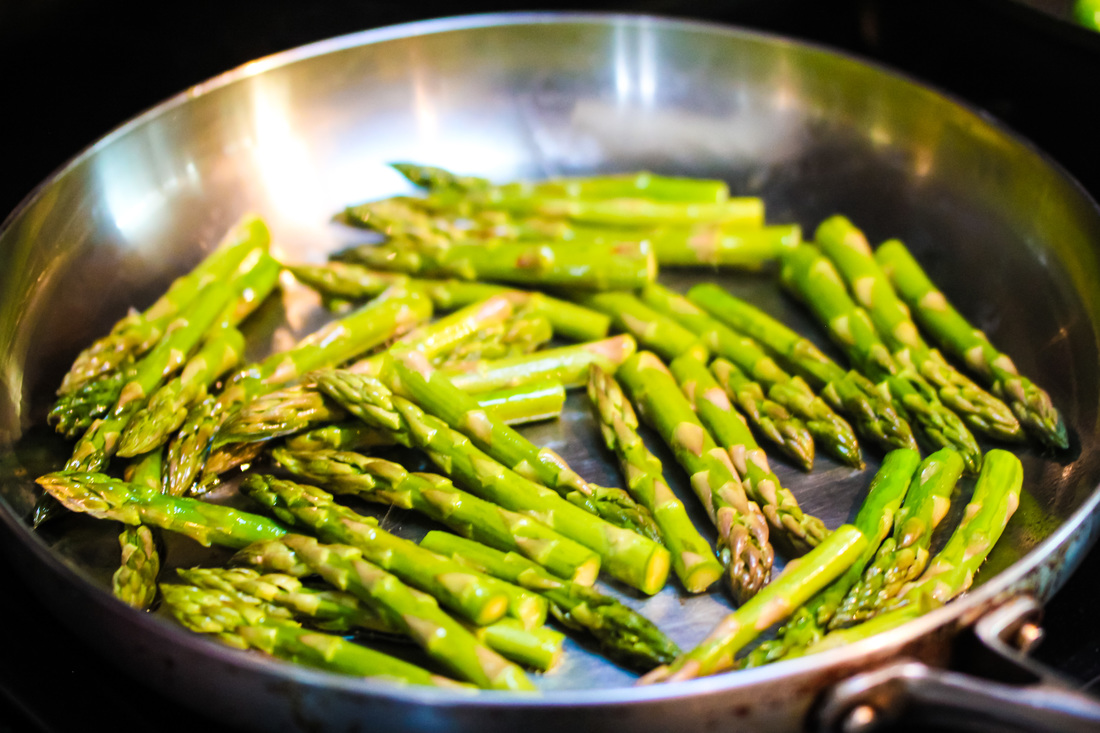
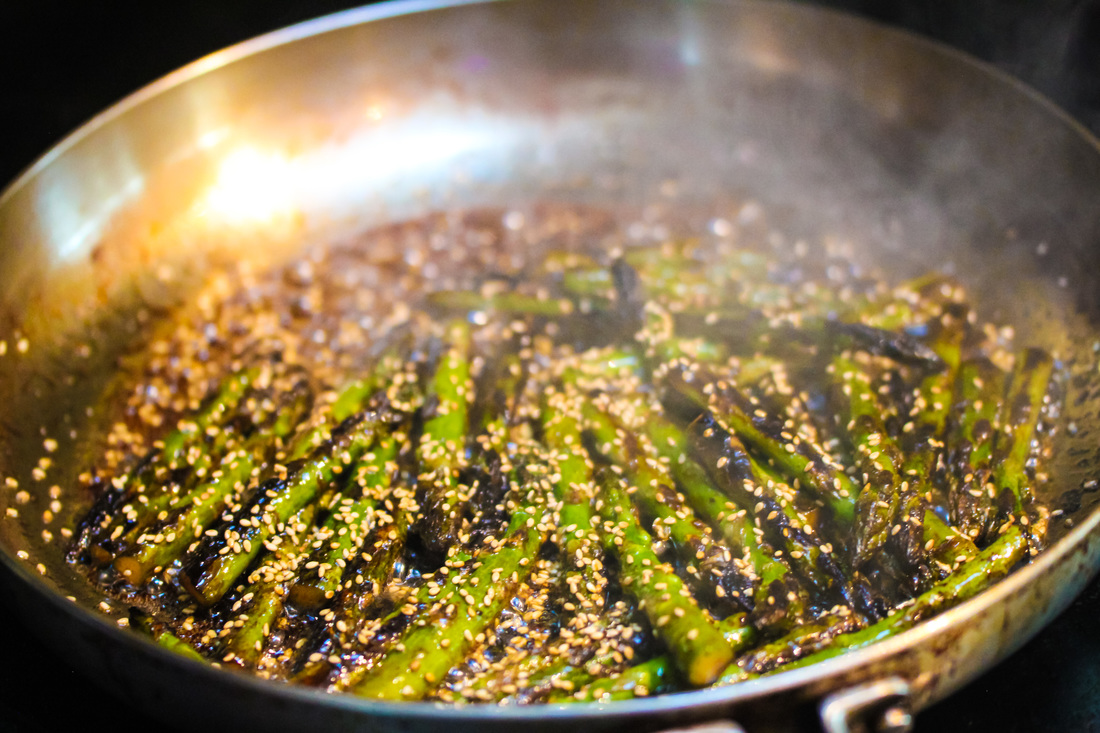
How to make the Asparagus: Rinse the asparagus and cut the hard bottom part of the asparagus off. Pour the olive oil in a large sautepan and heat on medium high. When the pan is hot, add the asparagus.
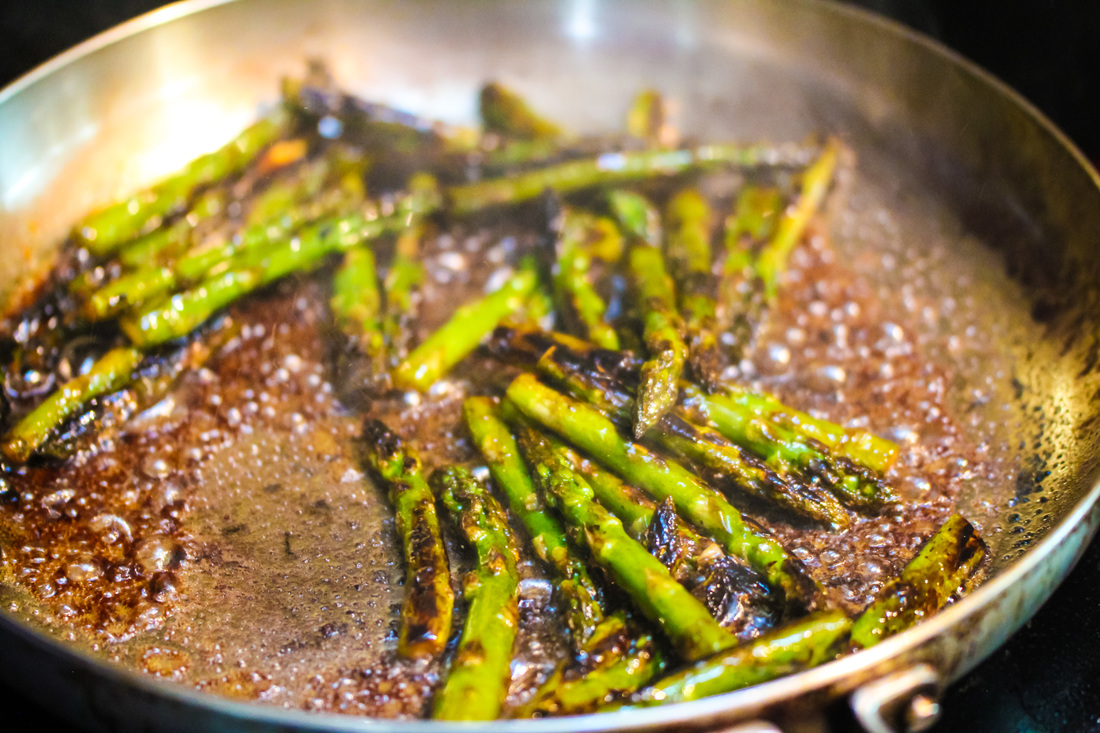
Saute for 5-6 minutes on medium-high until the asparagus are nicely browned and has softened. When ready, pour the Chuka dressing into the pan. The dressing will start caramelize almost instantly so be careful so you don't burn the dish. Toss the asparagus in the dressing, add the sesame seeds and then quiuckly toss one more time. Remove from the burner and serve immediately.
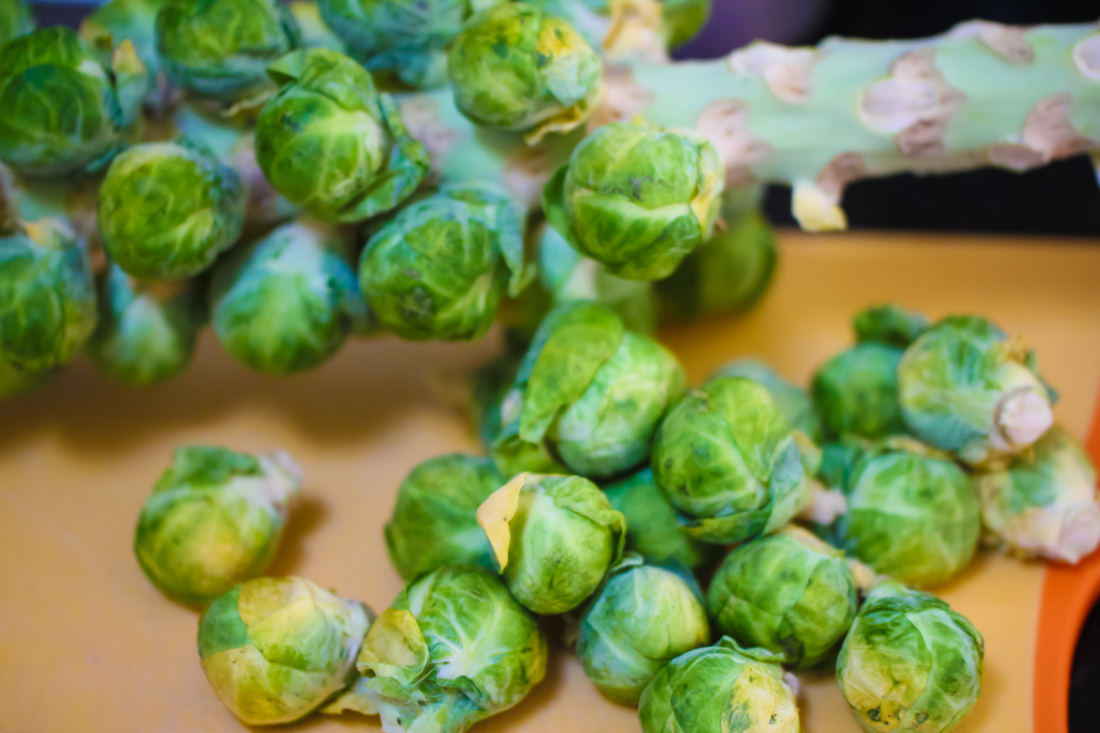
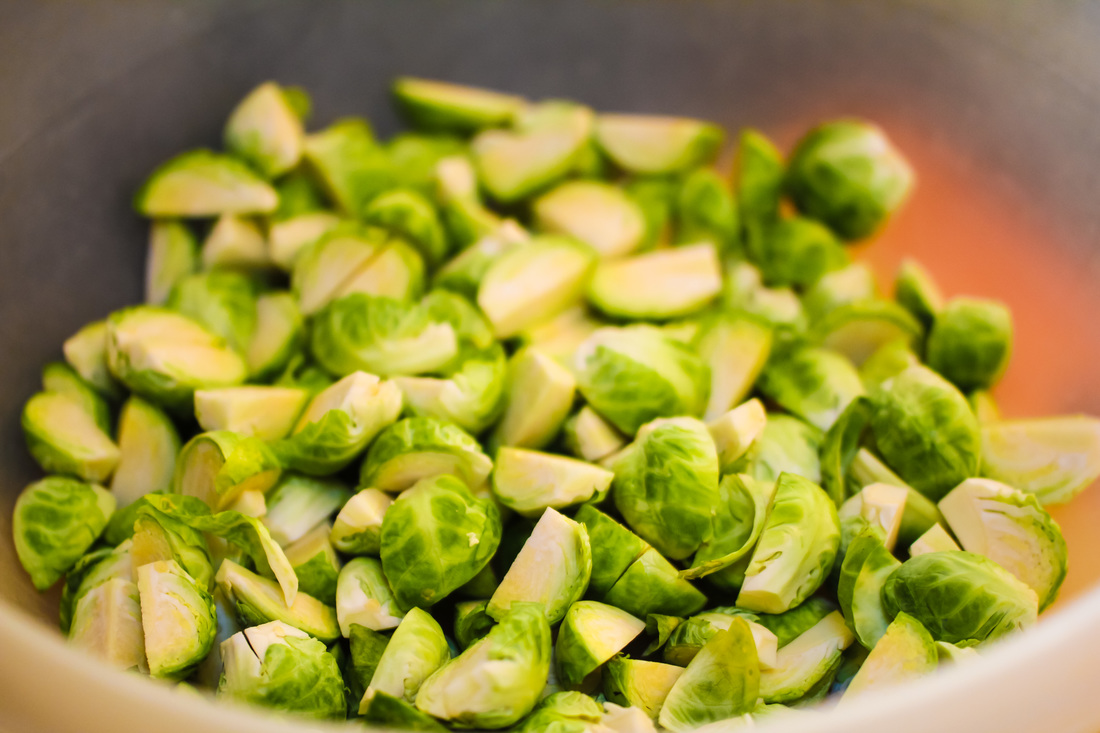
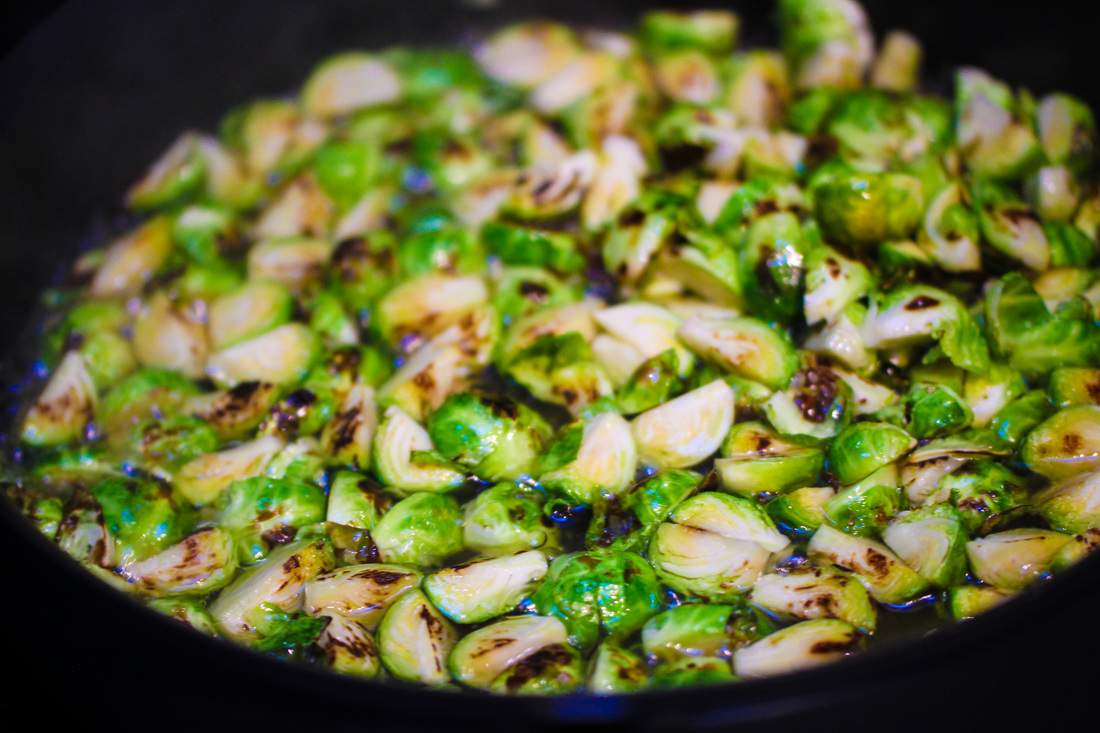
How to make the Brussel Sprouts: Rinse the Brussel Sprouts and remove the harder outer leaves. Also remove the hard stalk at the bottom of the sprouts. Quarter the Brussel Sprouts.
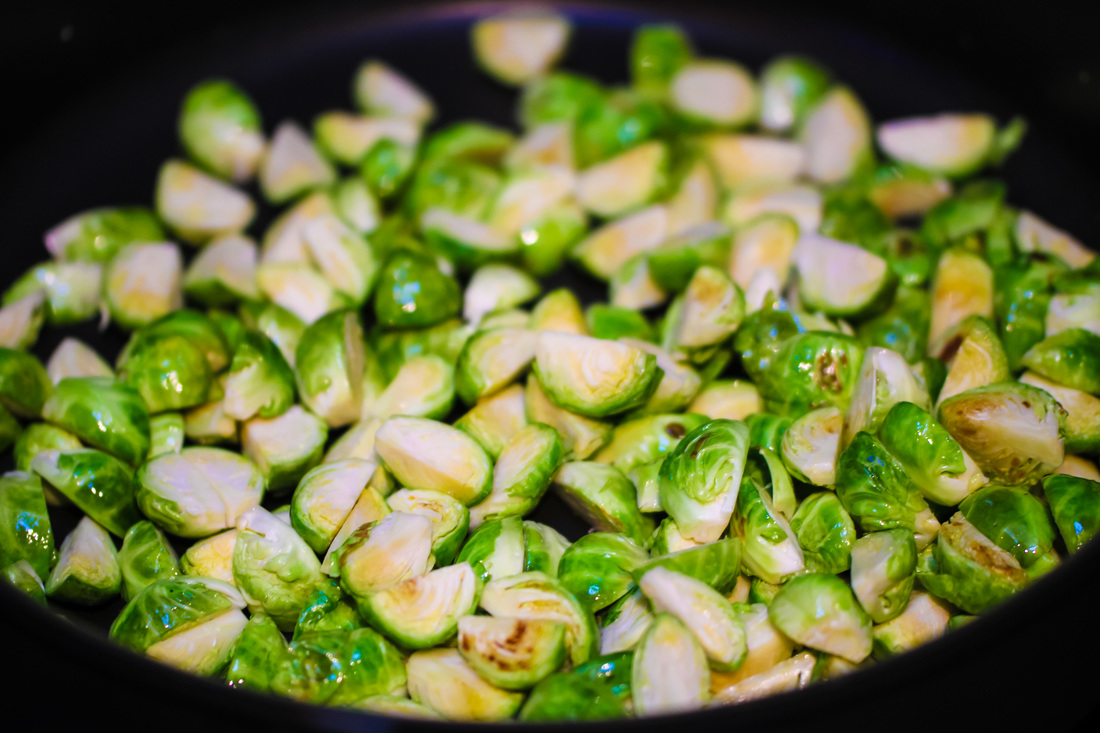
Add oil to large saute pan on medium heat. Slowly saute the Brussel Sprouts until they are slightly browned, make sure that you dont burn the leaves. This will take about 4-6 minutes. When slightly browned, add the vegetable stock. The stock should just cover the base of the ban up to 1/16 of an inch. Give the pan a good stir and then allow to steam-fry until all the liquid has cooked off and the sprouts are tender.
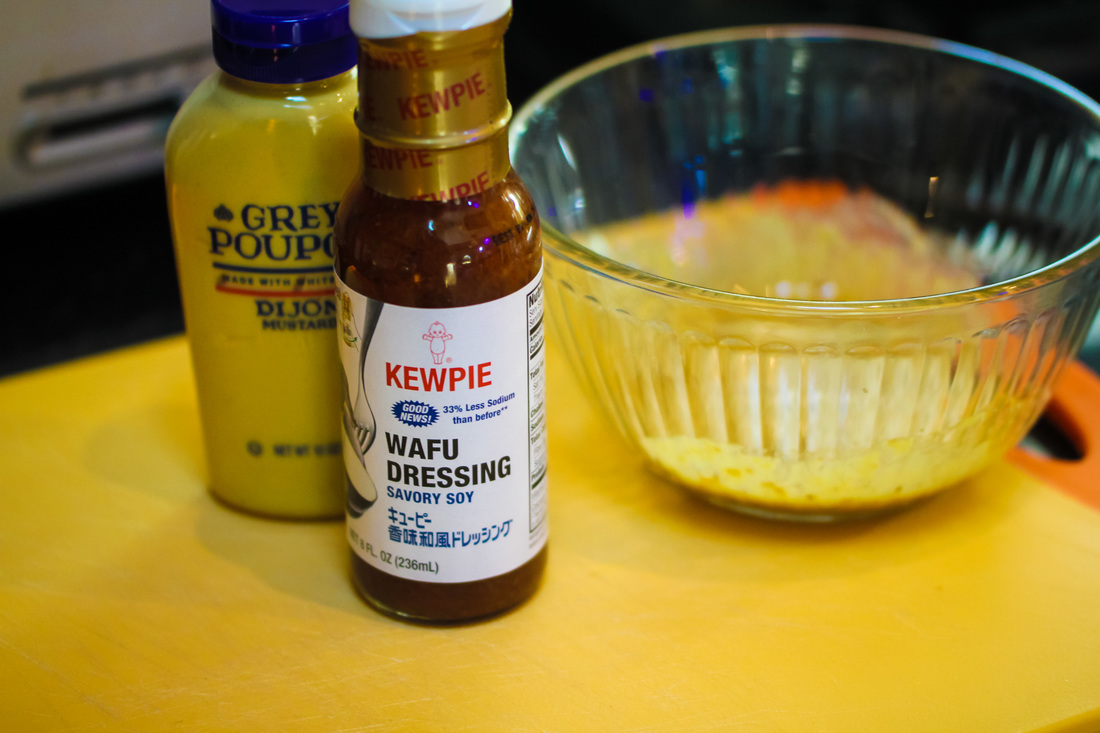
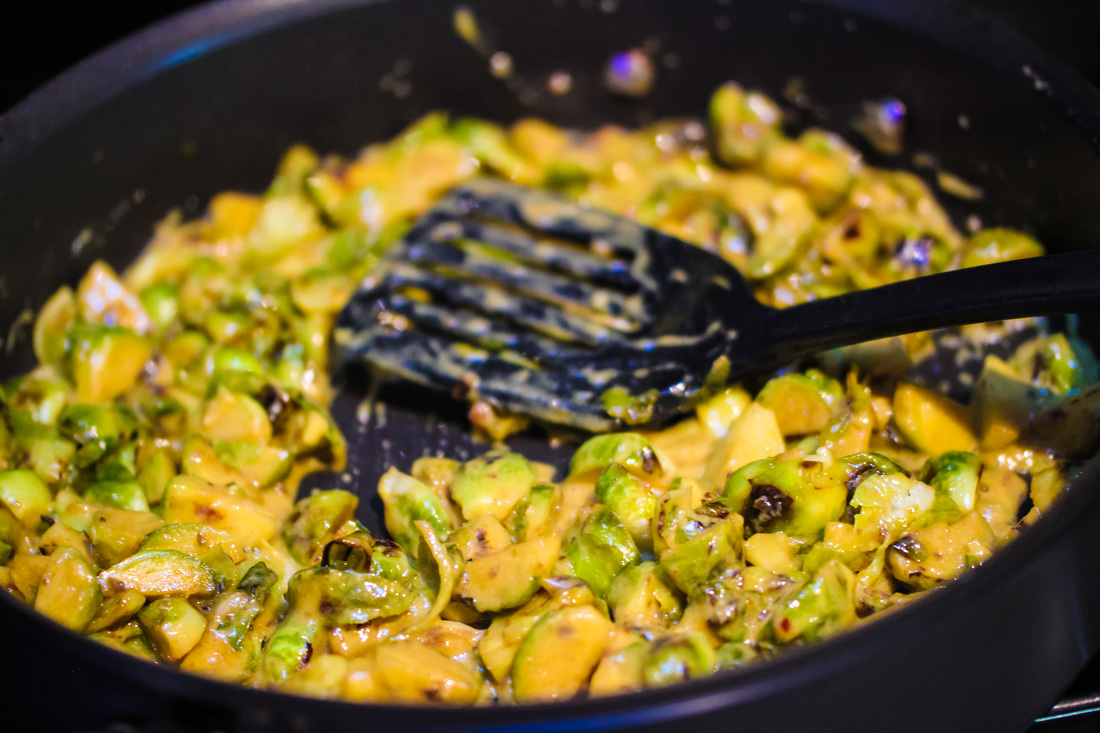
While the Brussel Sprouts are slowly steam-frying, mix the Dijon Mustard and the Wafu dressing together. When the Brussel Sprouts are soft and cooked through, add the Mustard-Dressing mix and stir thoroughly. MAke sure that the Brussel Sprouts get covered evenly. Serve immediately.
This is a great trio of appetizers to serve together. The Shishito Peppers adds sweetness and acidity to the dish, the asparagus with the Chuka dressing adds some heat and finally the Brussel Sprouts adds richness and creaminess. Enjoy!! 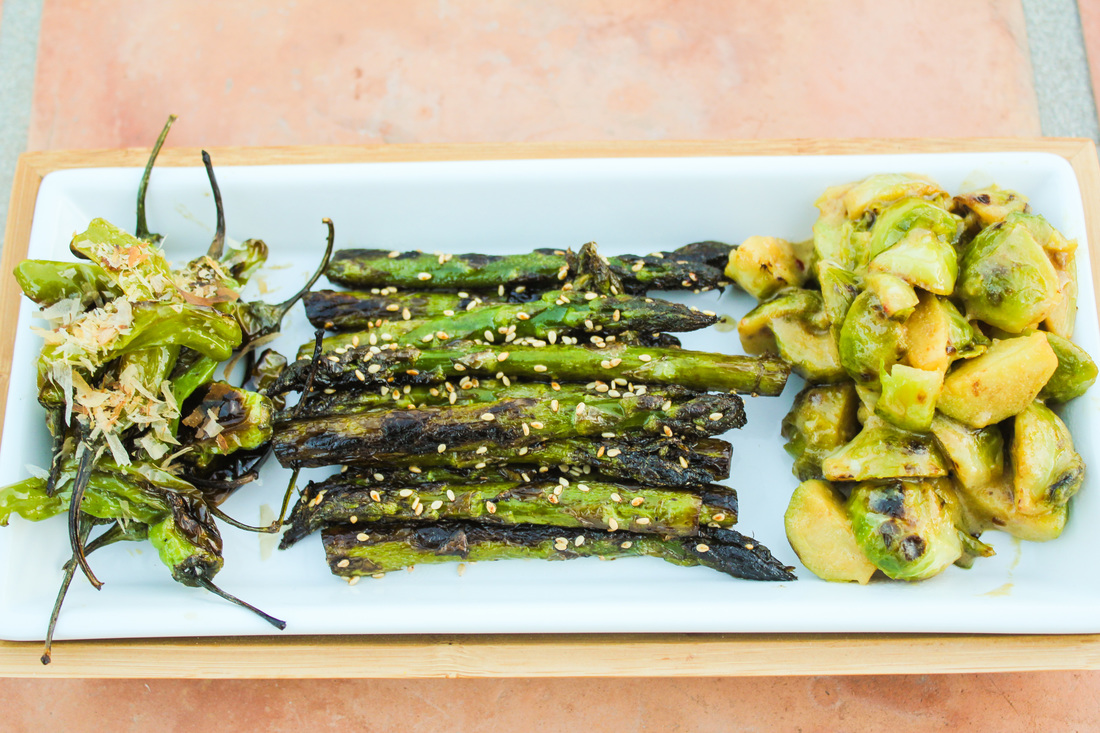 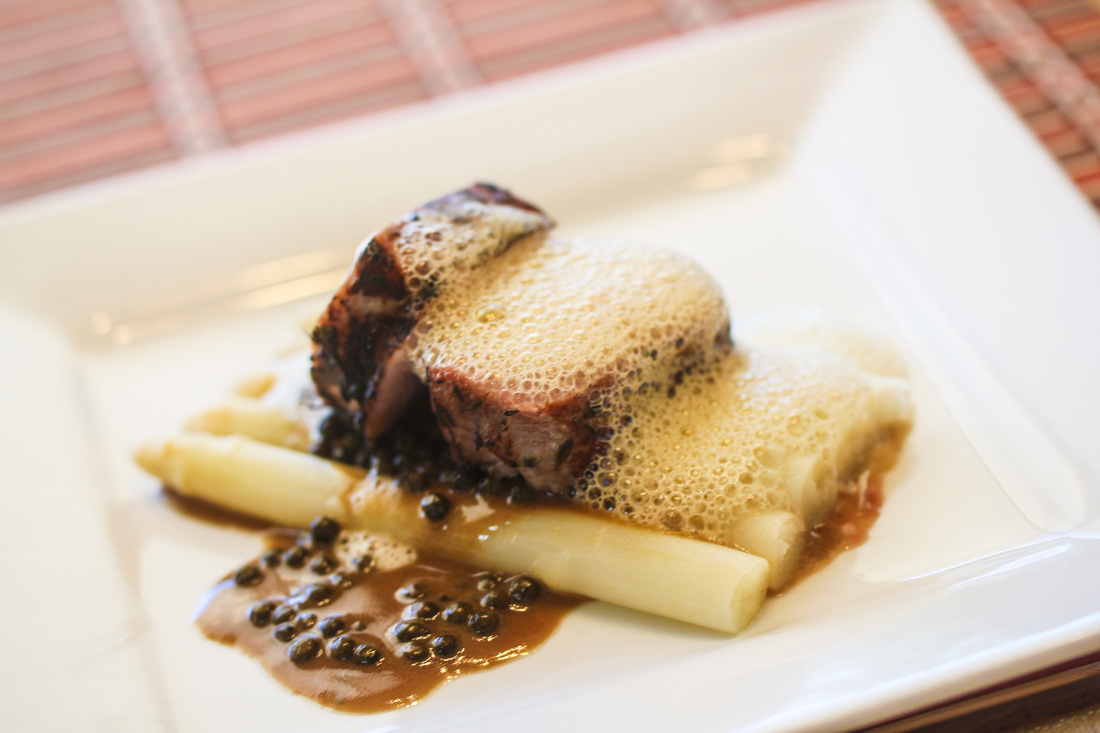
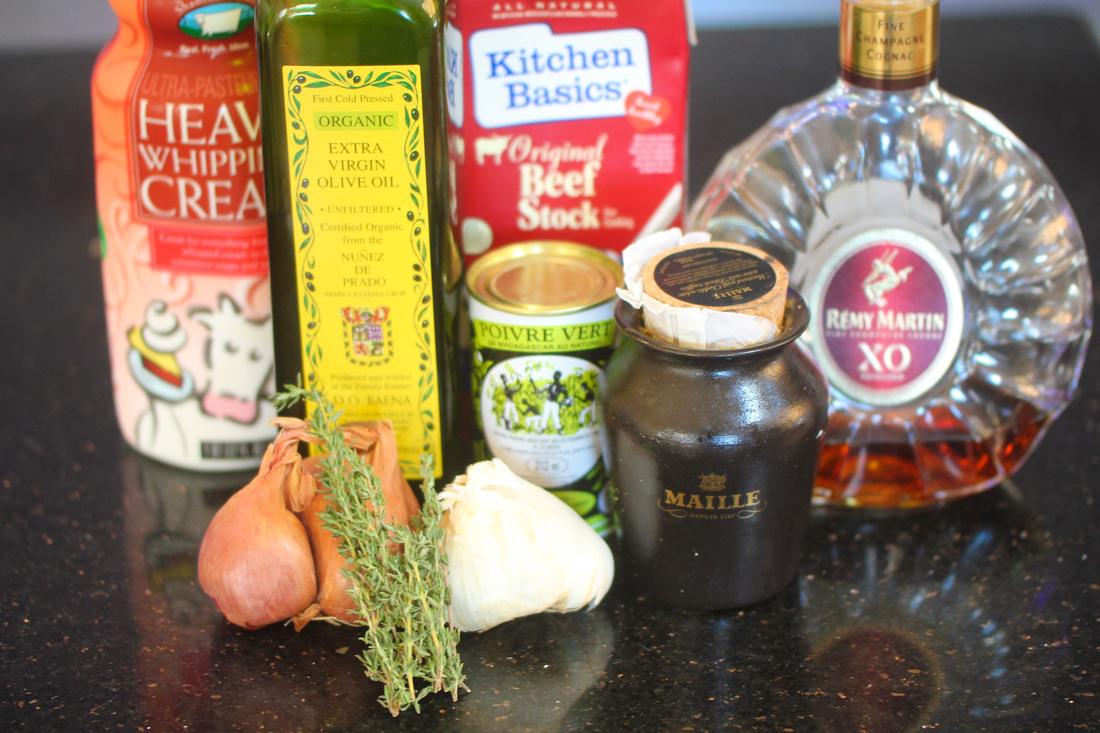
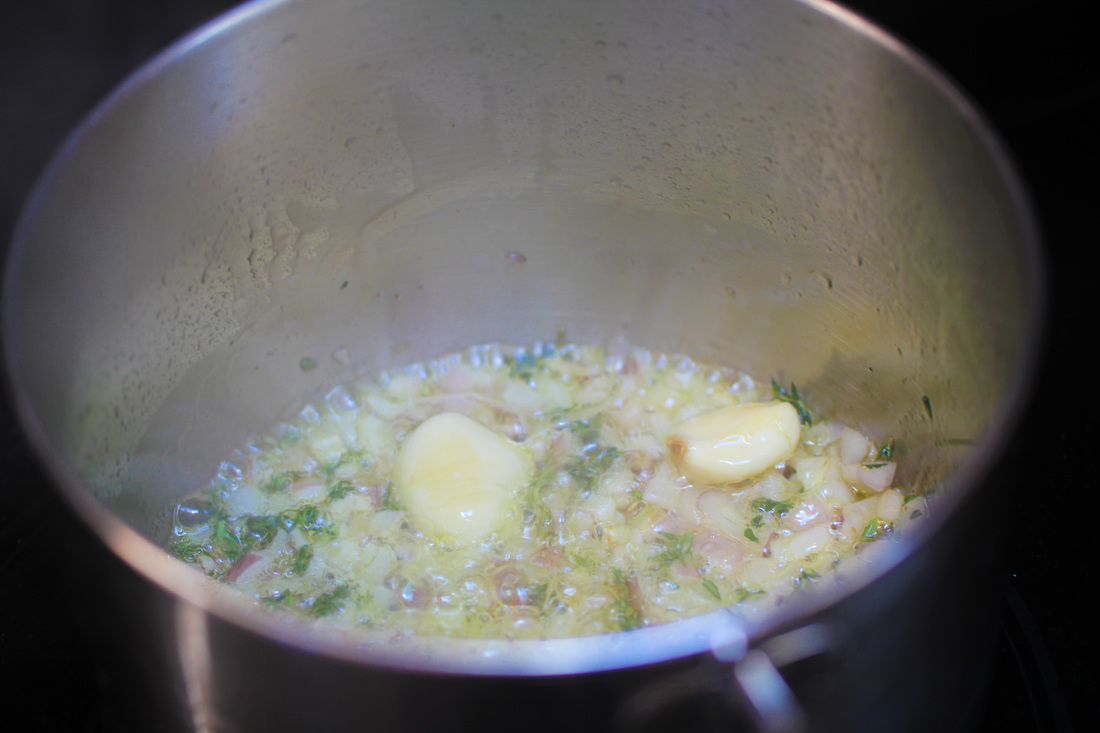
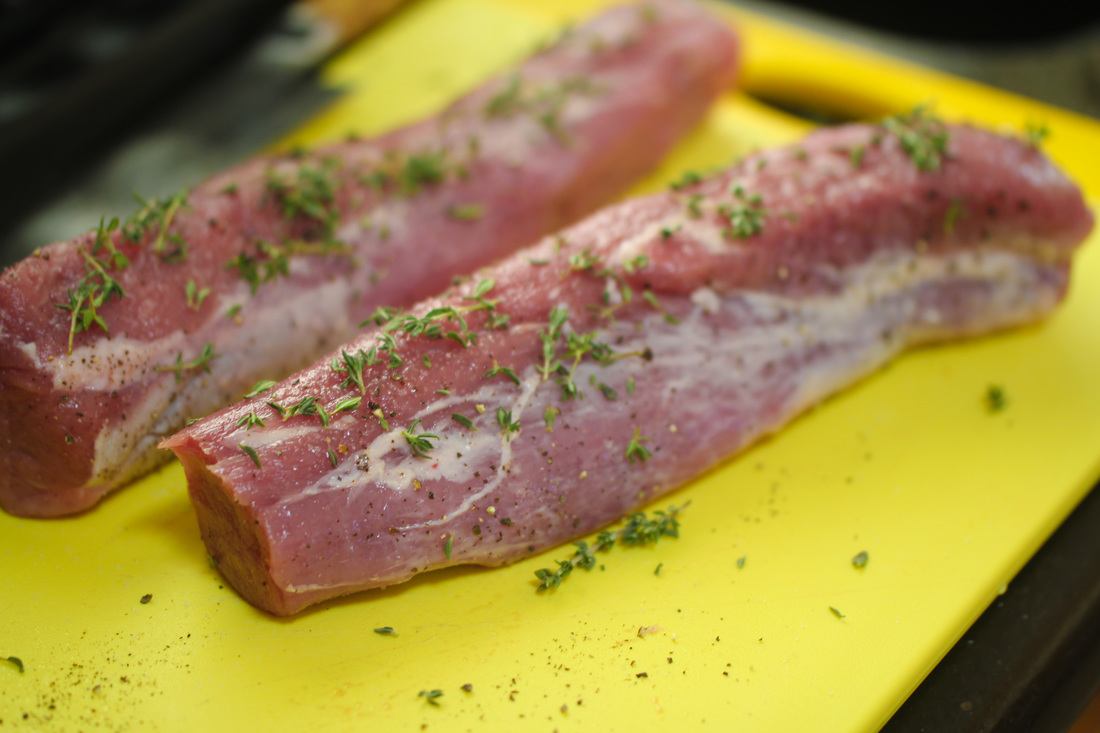
When fall arrives there is something almost wonderful about eating pork - it just works!! This is a great simple that adds another fall flavor in the light Truffle Mustard air. I prefer the Maille brand, I can add their Truffle and Chablis mustard to almost everything I eat, It is delicious. But there are cheaper options as well. Start with making the green peppercorn sauce. Add olive oil to a sauce pan and heat on medium temperature . Add shallots, garlic, and thyme. Sauté for 1 to 2 minutes, then, off heat, add cognac and flambé using a long kitchen match.
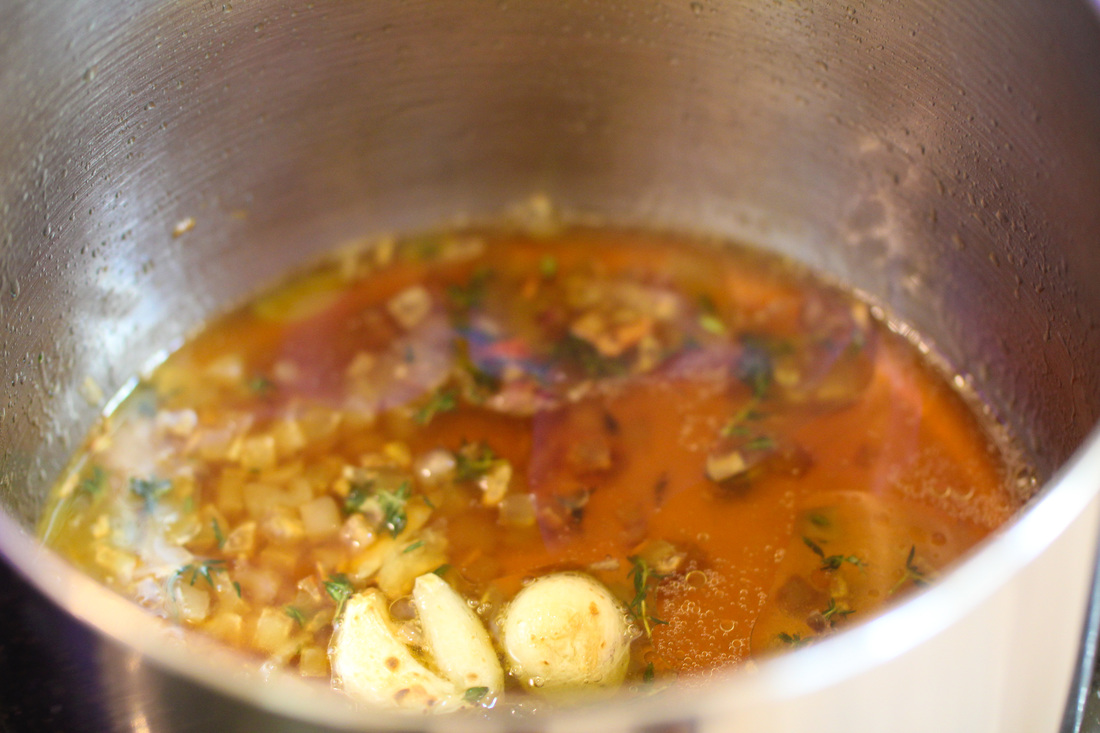
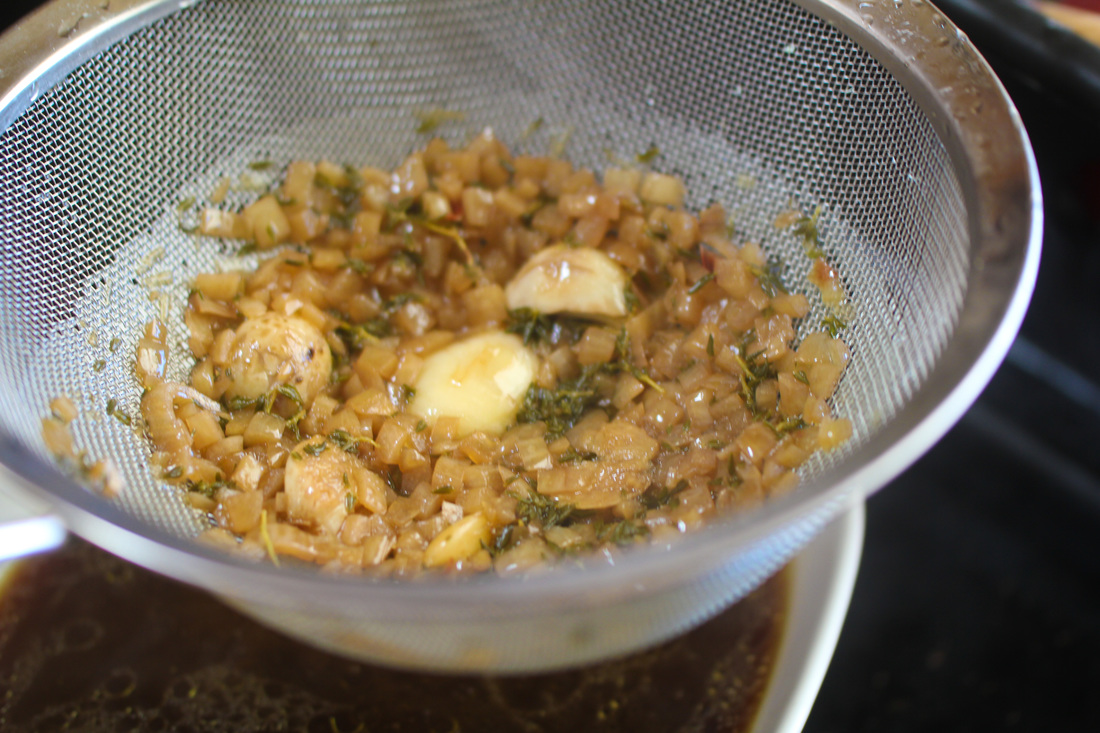
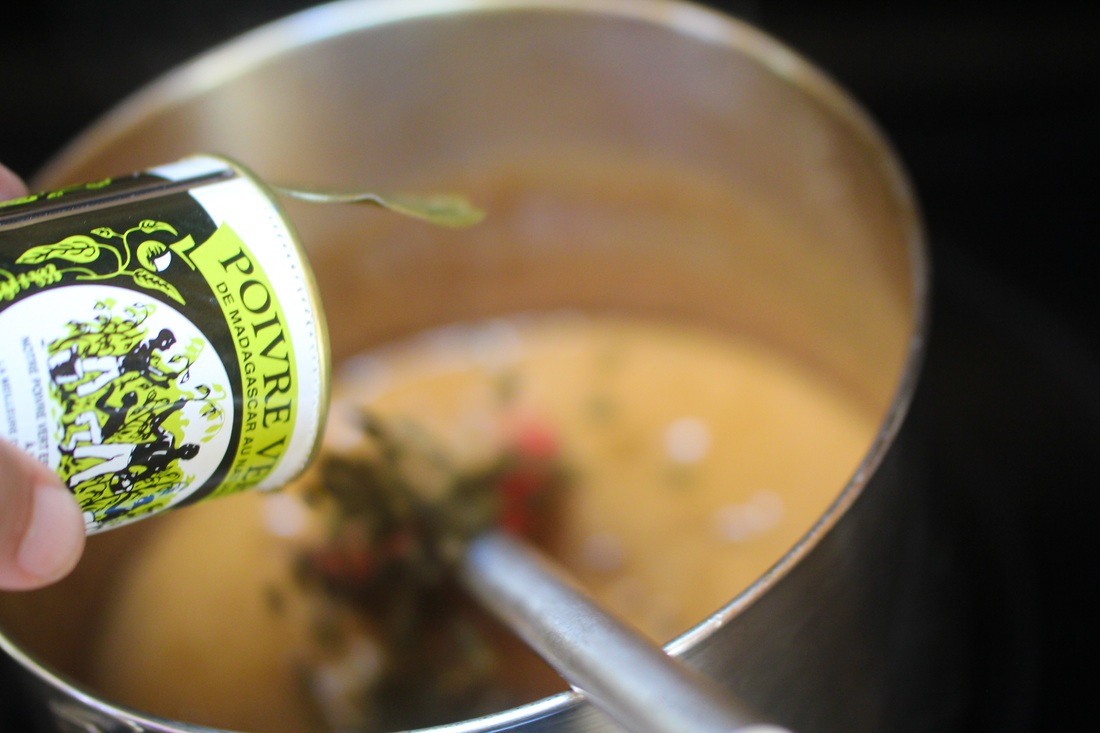
After flame dies down, return to the heat, add stock and reduce by about half. Strain out solids, then add 2 cups cream and mustard. Reduce by half again, then shut off heat and add green peppercorns.
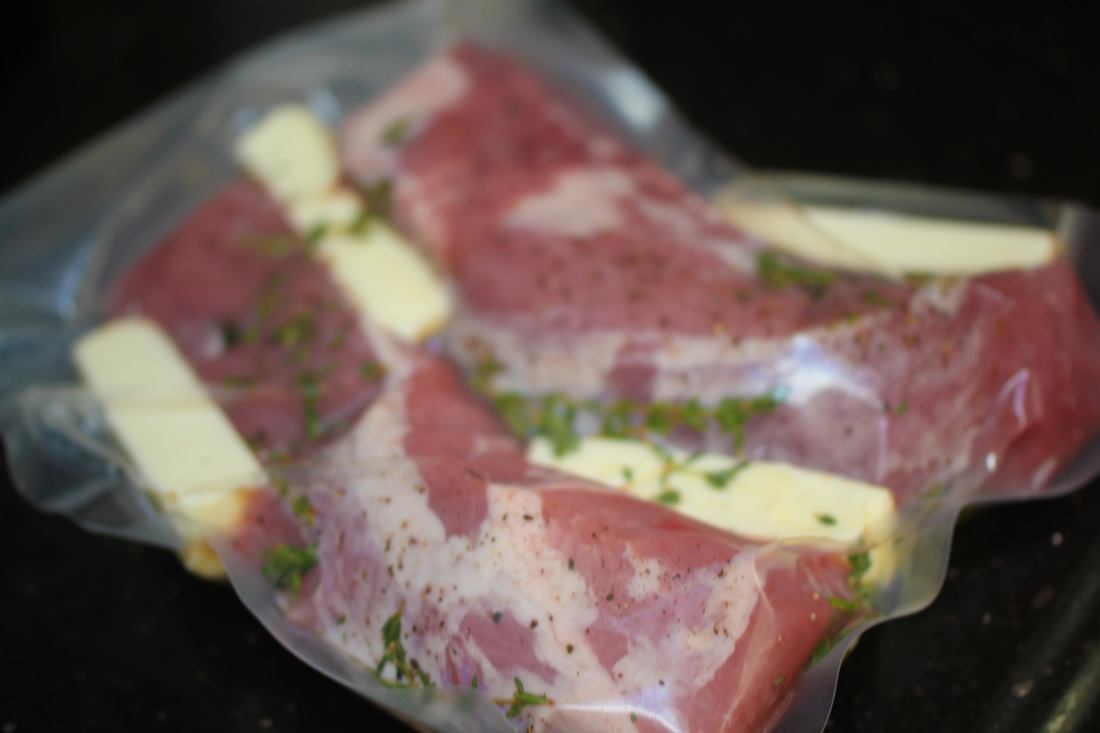
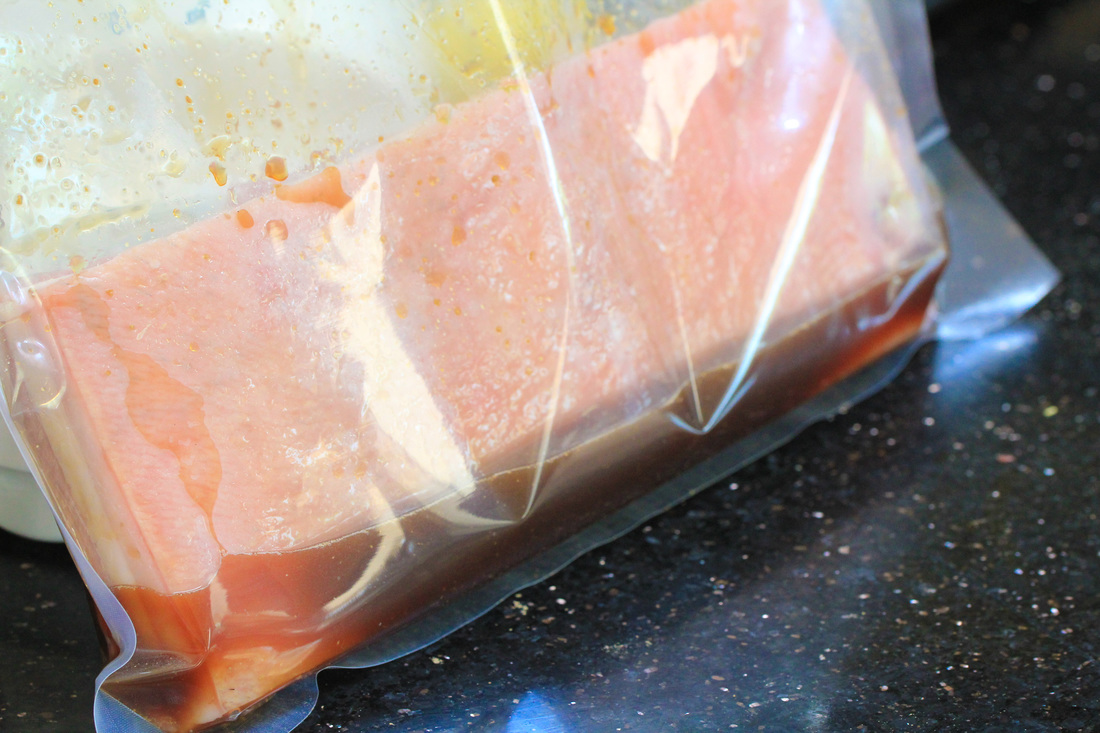
Next, start preparing the pork tenderloin. Trim some of the silver skin from the tenderloin and cut off the smaller parts so the loin is even in size. Salt and pepper the tenderloin and add fresh thyme. Vacuum seal together with butter (1 stick) and cook for 4 hours at 135 degrees in a water bath.
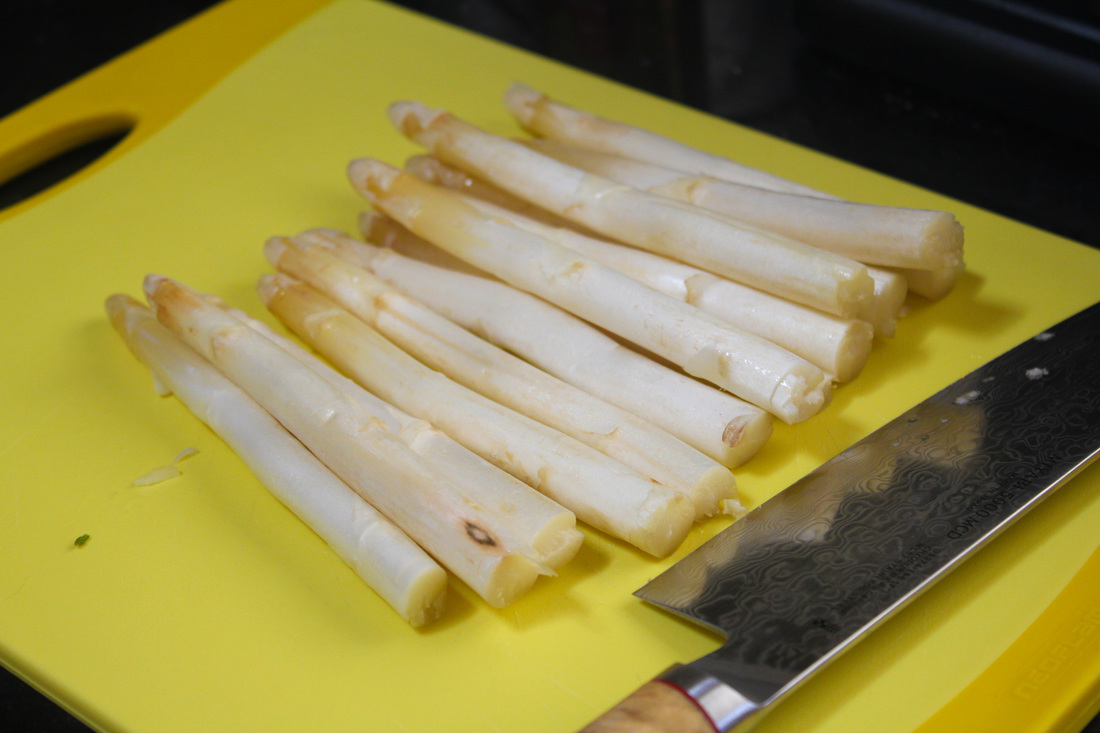
Prepare the white asparagus. Trim the stalks so that the asparagus is even. Blanch in boiling water for 3 minutes the cool in water bath. When ready to serve - sauté for a 1 minute in hot sauté pan.
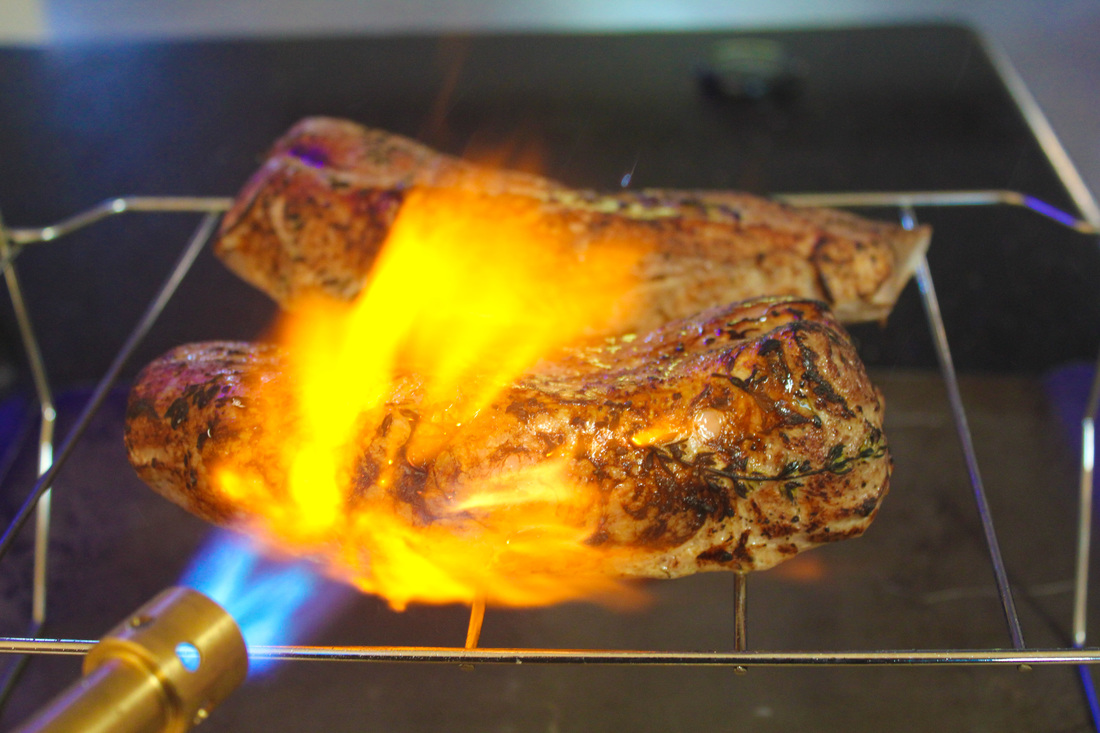
When the tenderloin is ready, either quickly sear it is pan on high heat or torch the outside with a blowtorch. It is much more fun to torch it so that is always my preferred approach. Let it rest for a couple of minutes. While you wait for the tenderloin to be ready, mix together the mustard, water and soy lecithin. Use an immersion blender in the mustard-water mixture. Try to keep the blender halfway out of the liquid so the air is more easily incorporated. This can sometimes take several minutes and there will still be liquid left at the bottom of the bowl. Once there is a decent amount of foam on top, let it sit for 1 minute to stabilize.
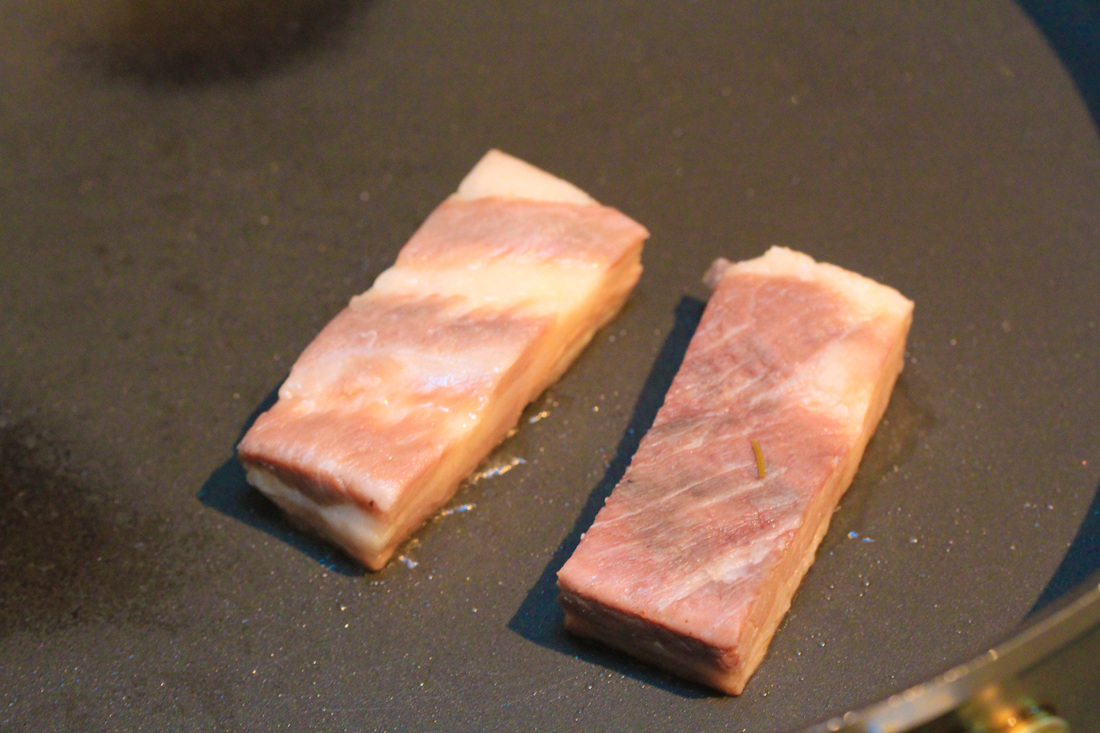
Reheat sauce and asparagus. Place a couple of asparagus stalks on a plate. Spoon green peppercorn sauce over the asparagus. Next, place two slices of pork tenderloin on the stalks and finally spoon some Truffle Mustard air on top of the loins. Great course for when it is getting a little colder outside. Bon appetite!! 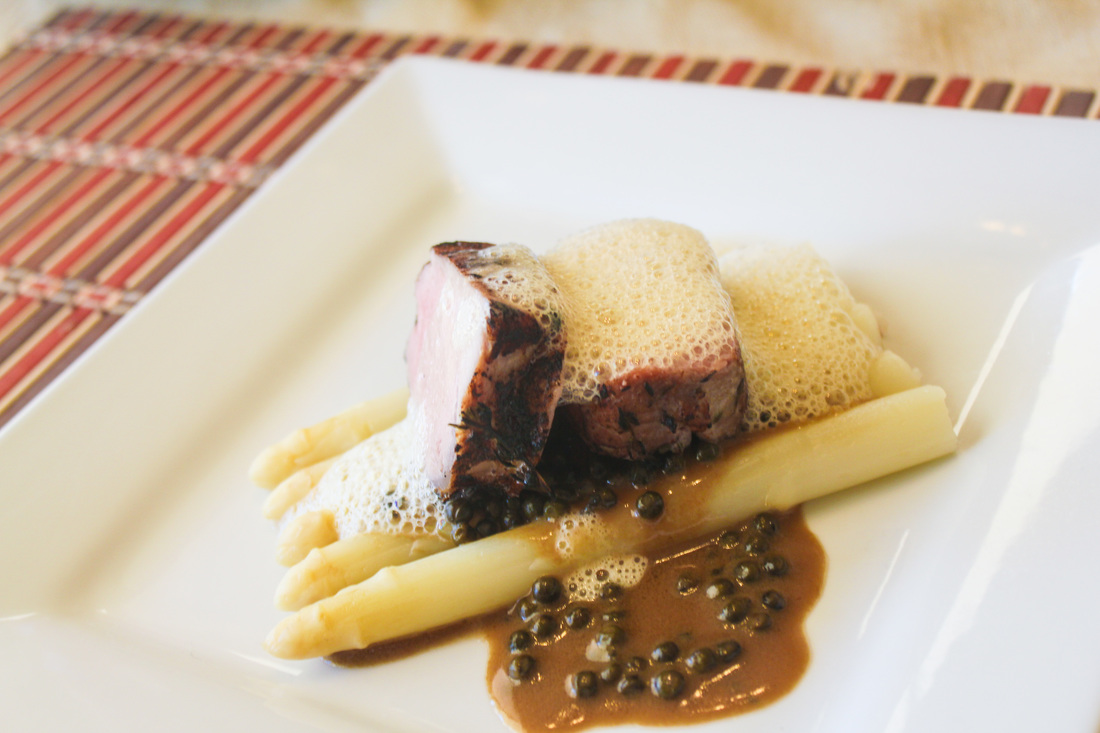 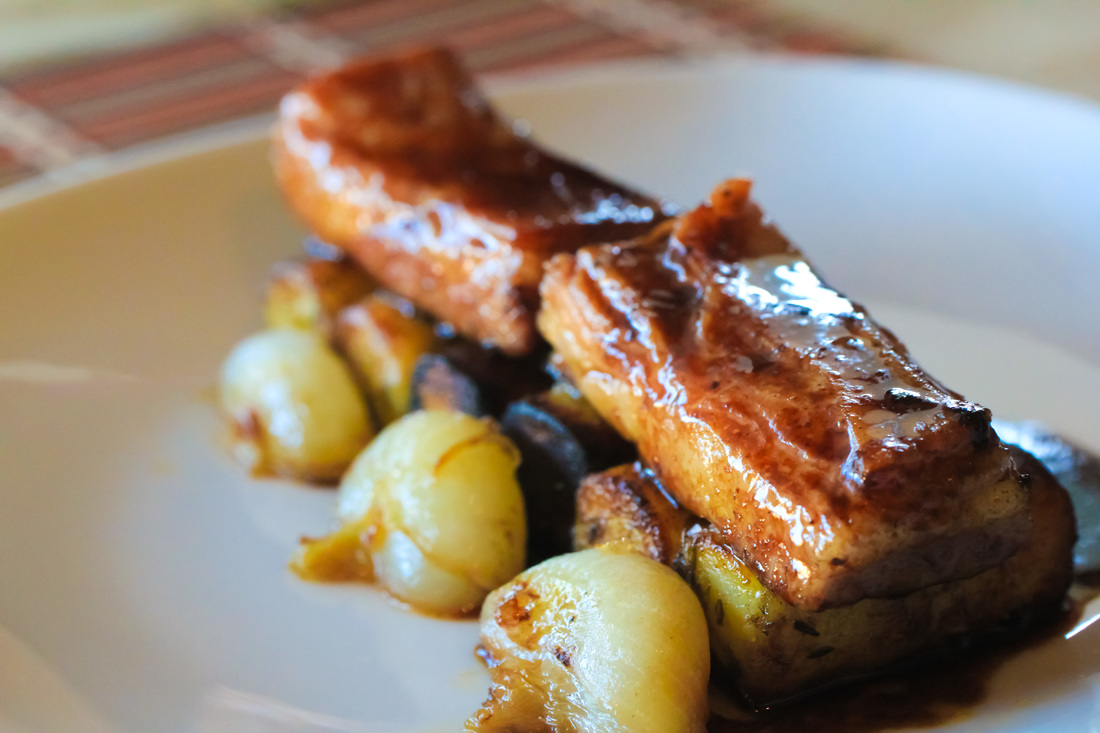 Pork Belly is delicious and is best when the fat has been rendered for a long time. Sous Vide cooking is perfect for this purpose. Here is a great recipe that will combine sous vide pork belly and sous vide potatoes.
Start with the brine. Mix all the ingredients together. Bring to a boil. Check that the salt is fully dissolved then cool. Immerse the pork in the brine. Vacuum seal and refrigerate for 48 hours.
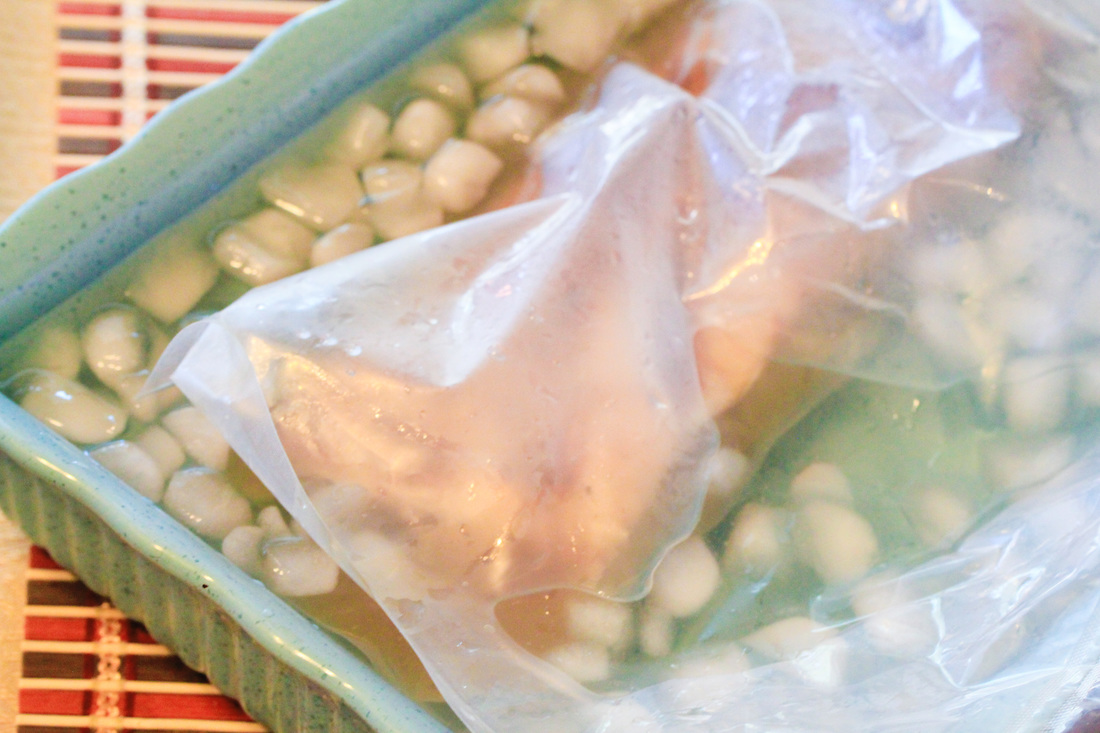
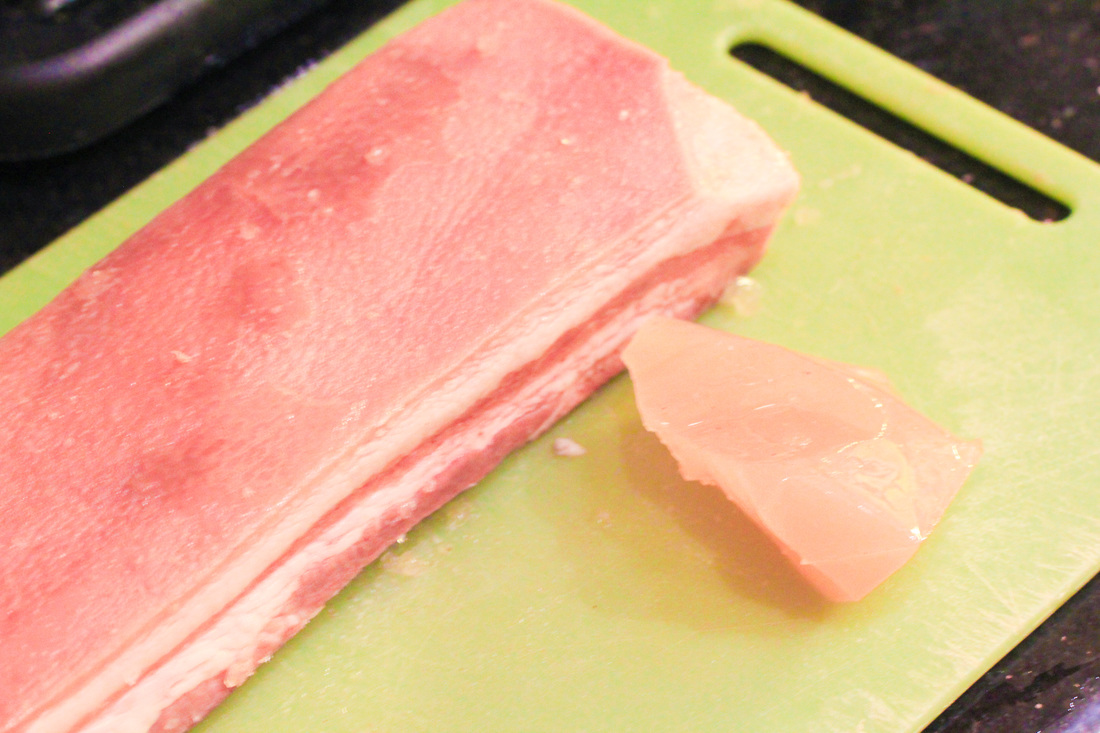
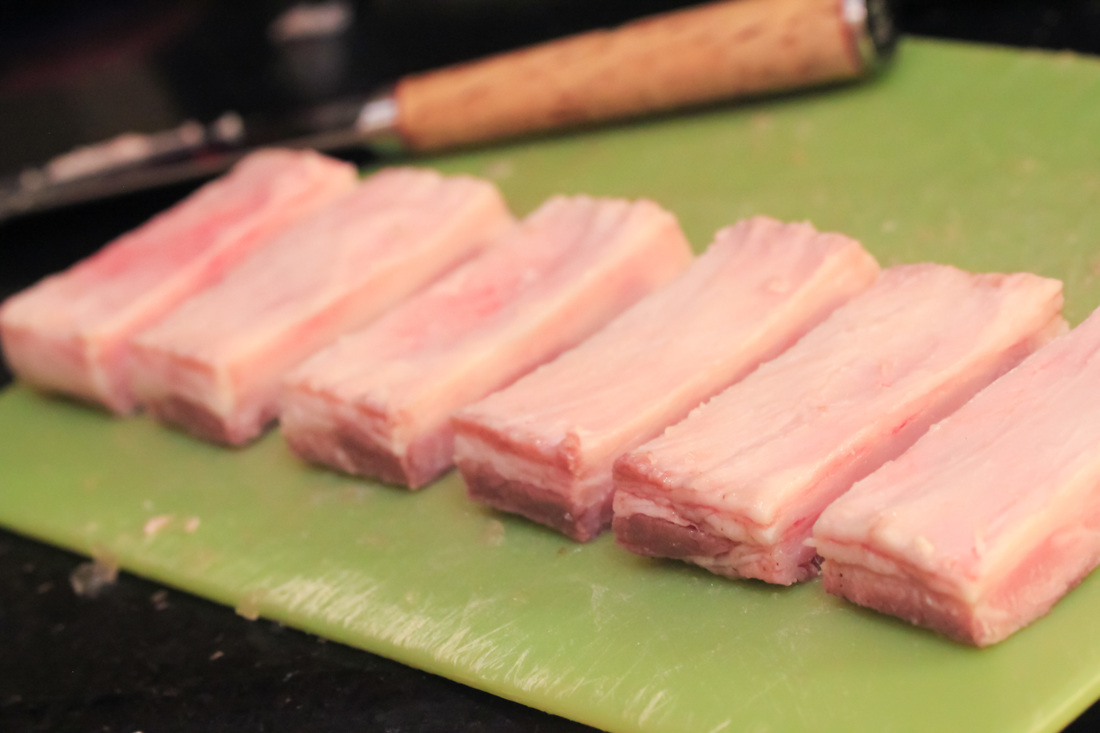
When brined for 48 hours, rinse the pork belly well under cold water. Place in sous vide bag with 2 cups of water. Seal under full pressure. Set up the water bath to 140 degrees Fahrenheit. Insert the bag and cook for 36 hours. When done, remove and cool at room temperature for 15 minutes, then chill in ice water for another 30 minutes. Remove the belly from the bag and wipe off all the jelly that has extracted from the pork belly during the cook. Remove the skin and most of the fat - leave only a thin layer. Cut the pork belly into blocks and seal individually in smaller sous vide bags. Refrigerate until needed.
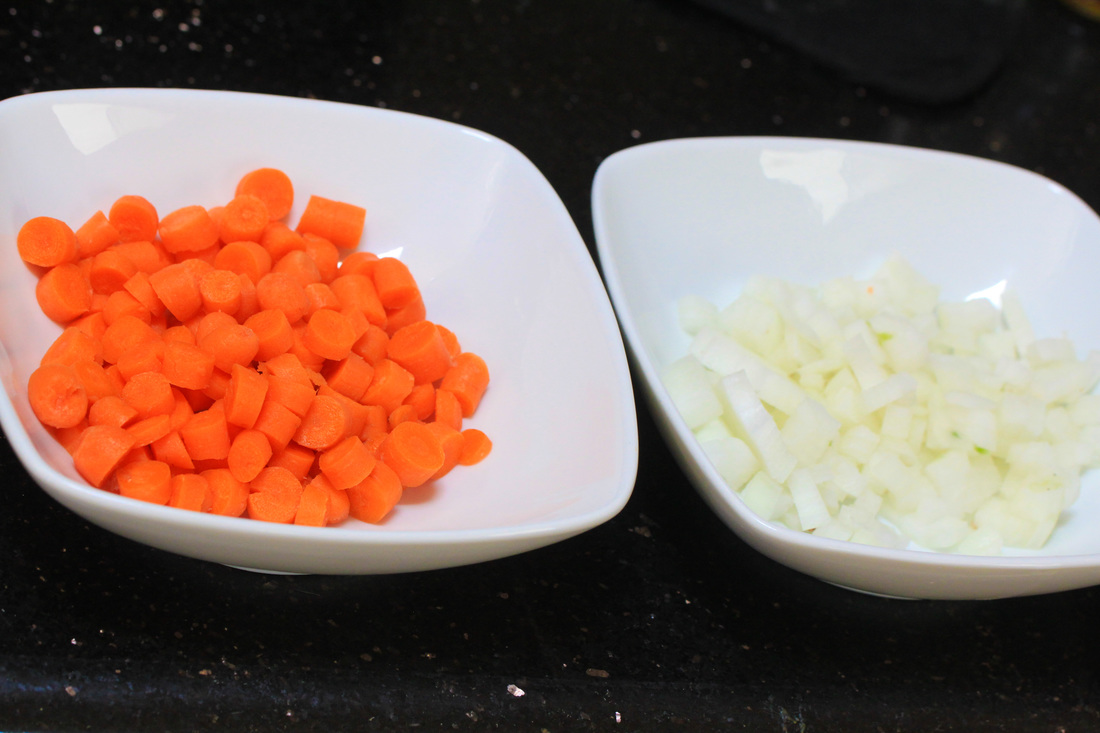
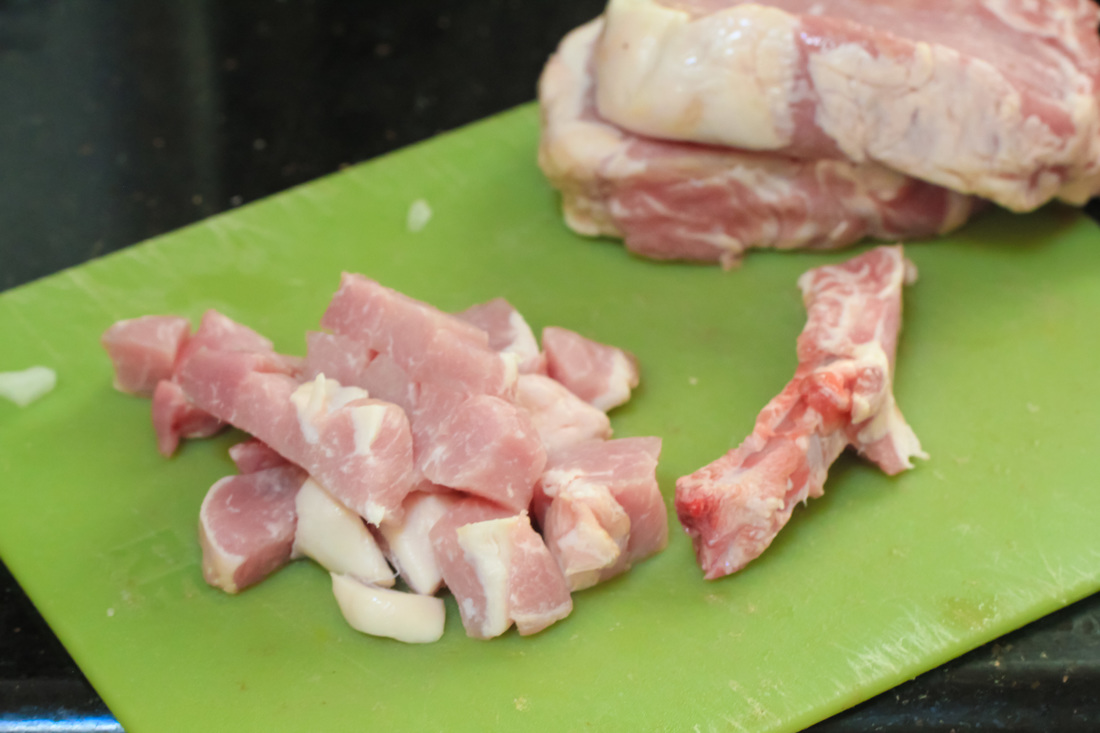
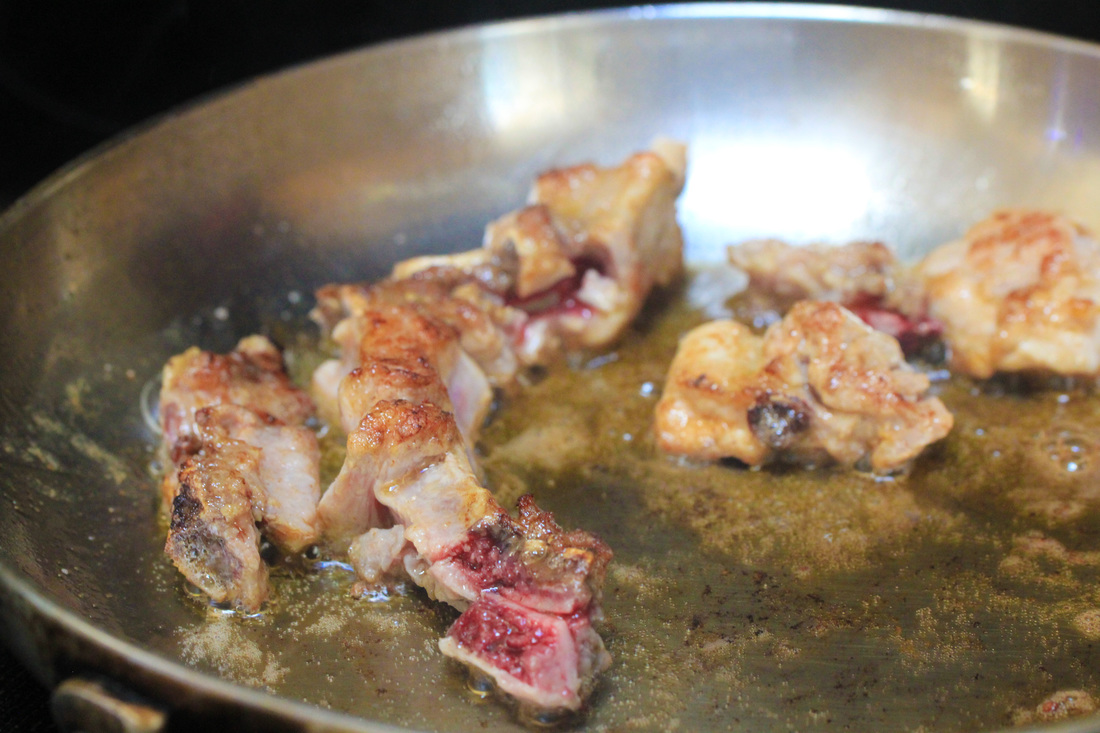
Chop the bones into small pieces and rinse a couple of times in cold water. Dice the pork. Chop the onions and slice the carrots finely.
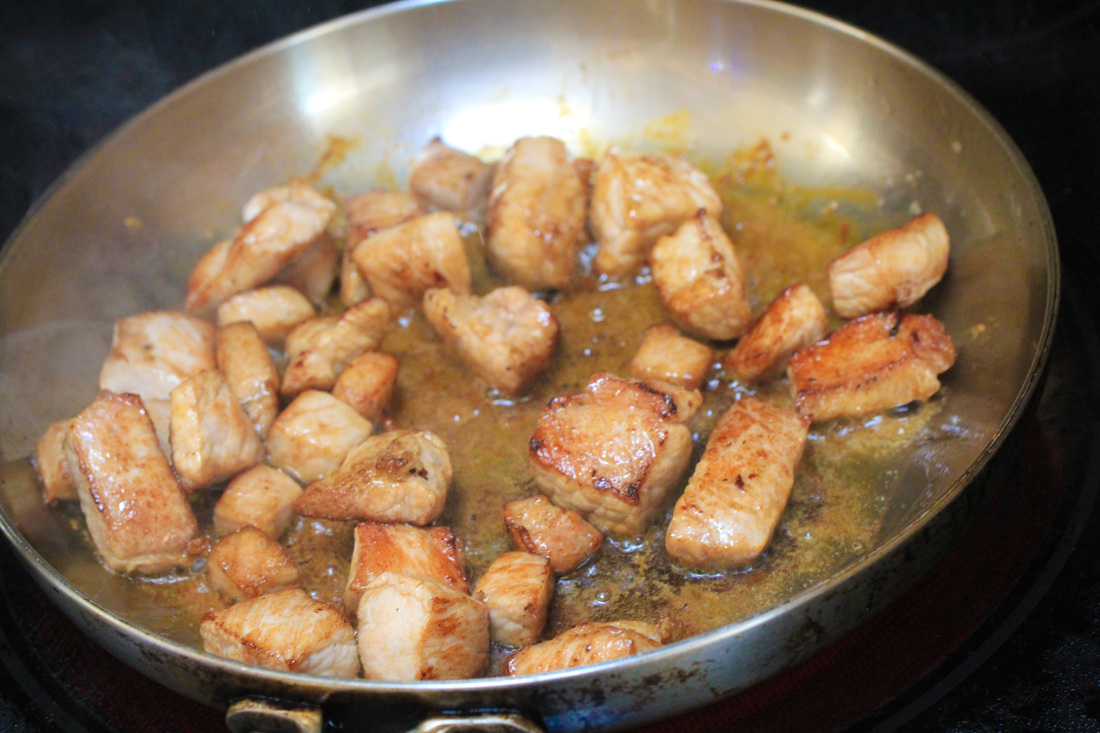
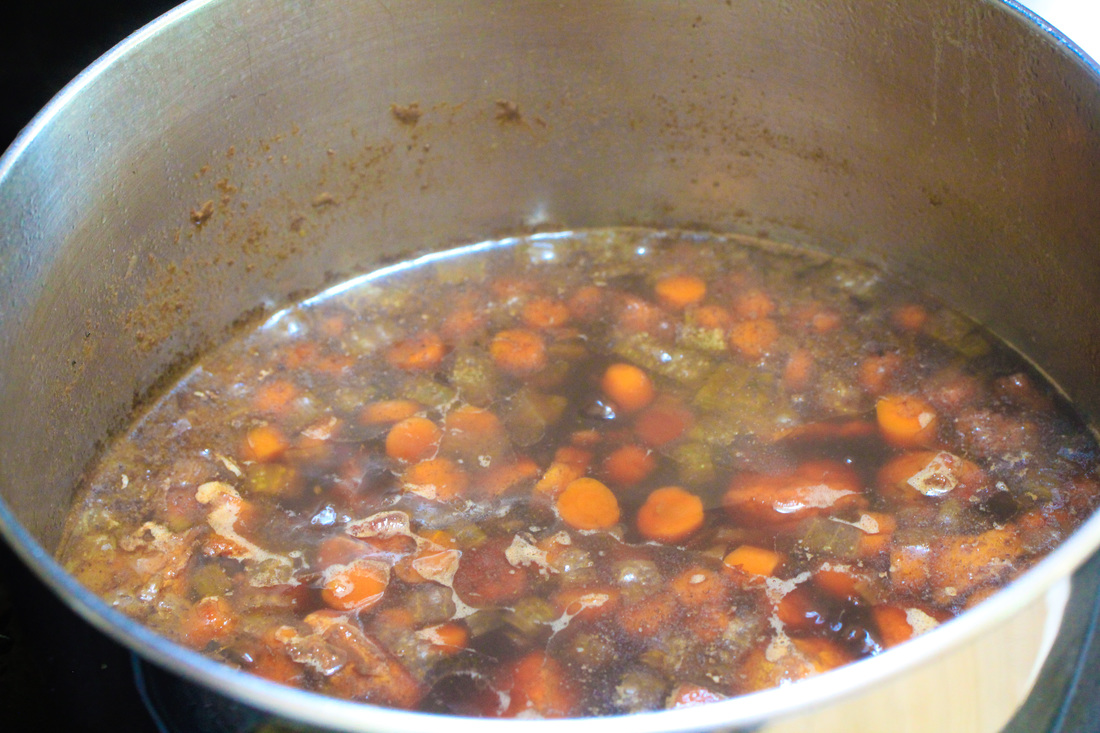
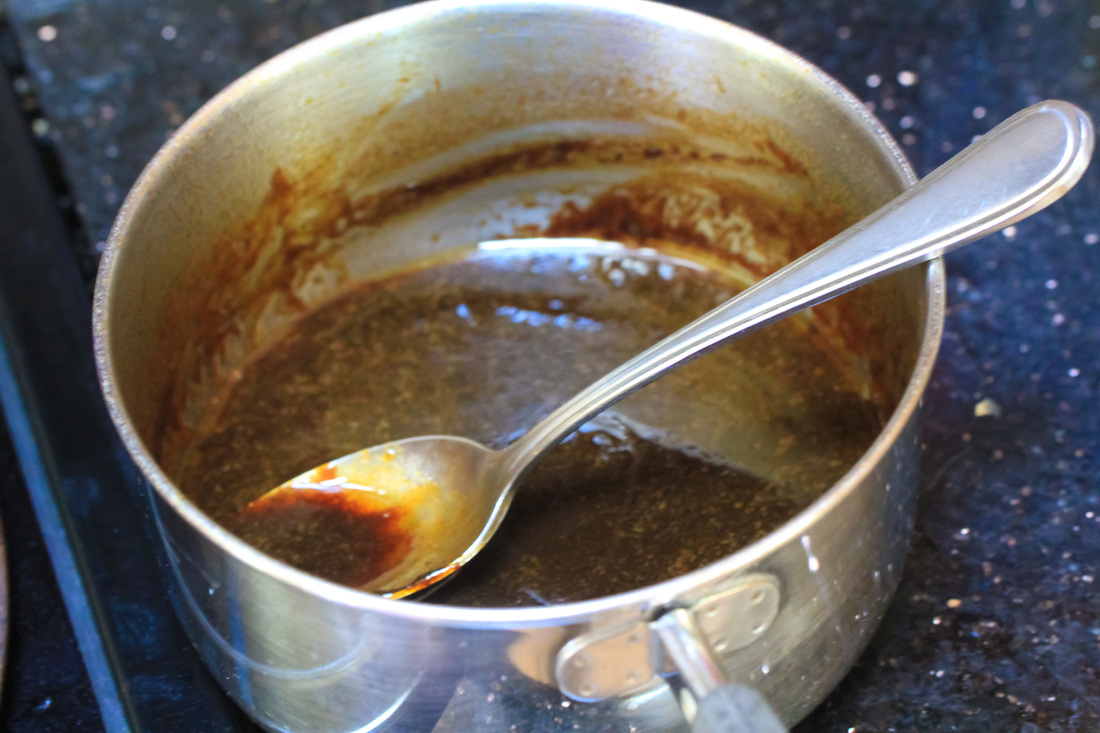
Place the pork bones in saute pan over high heat with butter and fry until evenly golden. Make sure that you don't burn the butter. Drain and transfer to large sauce pan. Now add the cubed pork to saute pan and brown evenly. Cook for about 8 minutes. Transfer meat to sauce pan. Cook the carrots and onions in the rendered fat until soft and beginning to color. Transfer to sauce pan. Pour away excess fat then deglaze saute pan and add to sauce pan. Add chicken stock (you can add some additional spices here as well, like Thyme, Bay leaves, Sage). Simmer for 4-5 hours, skimming the surface from time to time. When done strain the stock into clean pan. Reduce to sauce consistency. Set aside.
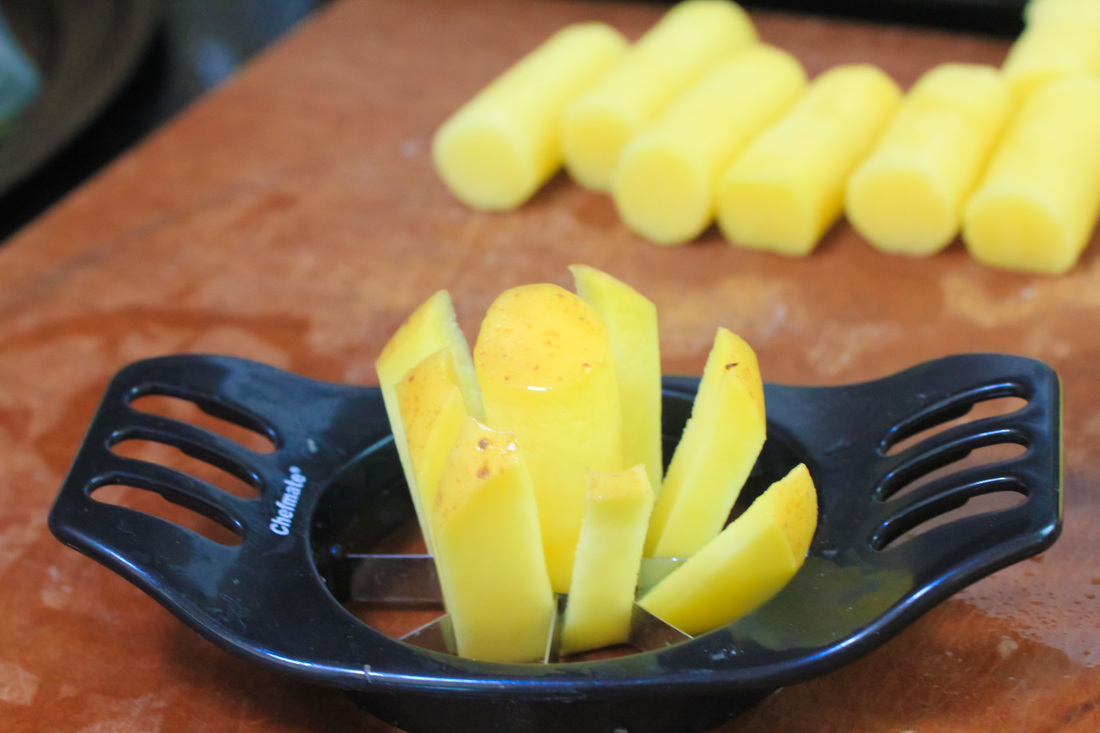
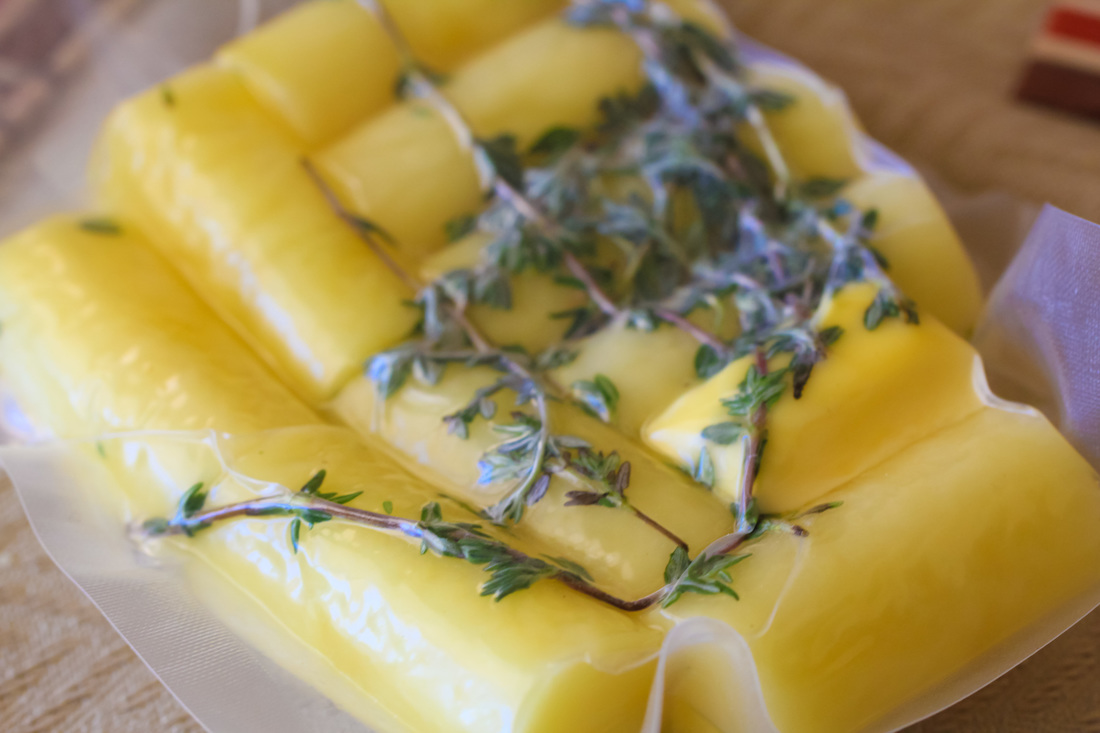
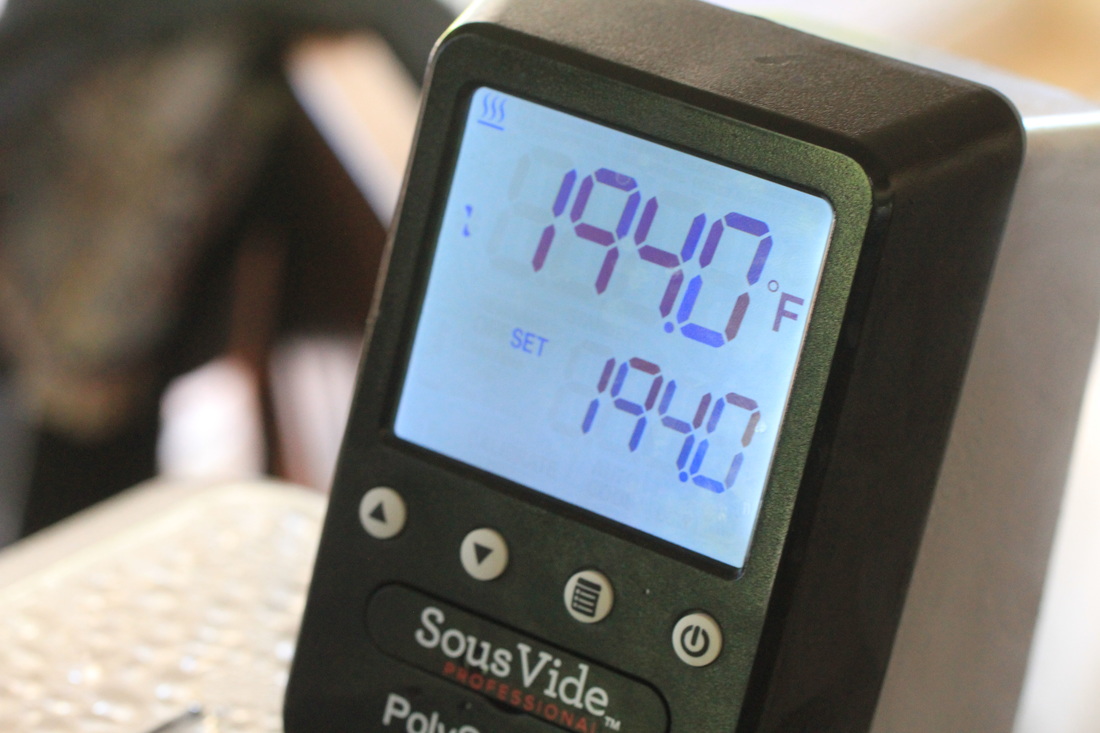
To make the potatoes, cut the potatoes into segments and use an apple divider to create potato rolls + trim so they have similar lengths. Put in sous vide bags with thyme and 1 Tbs butter. Seal under high pressure. Set water bath to 194 degrees Fahrenheit and cook for 1 hour.
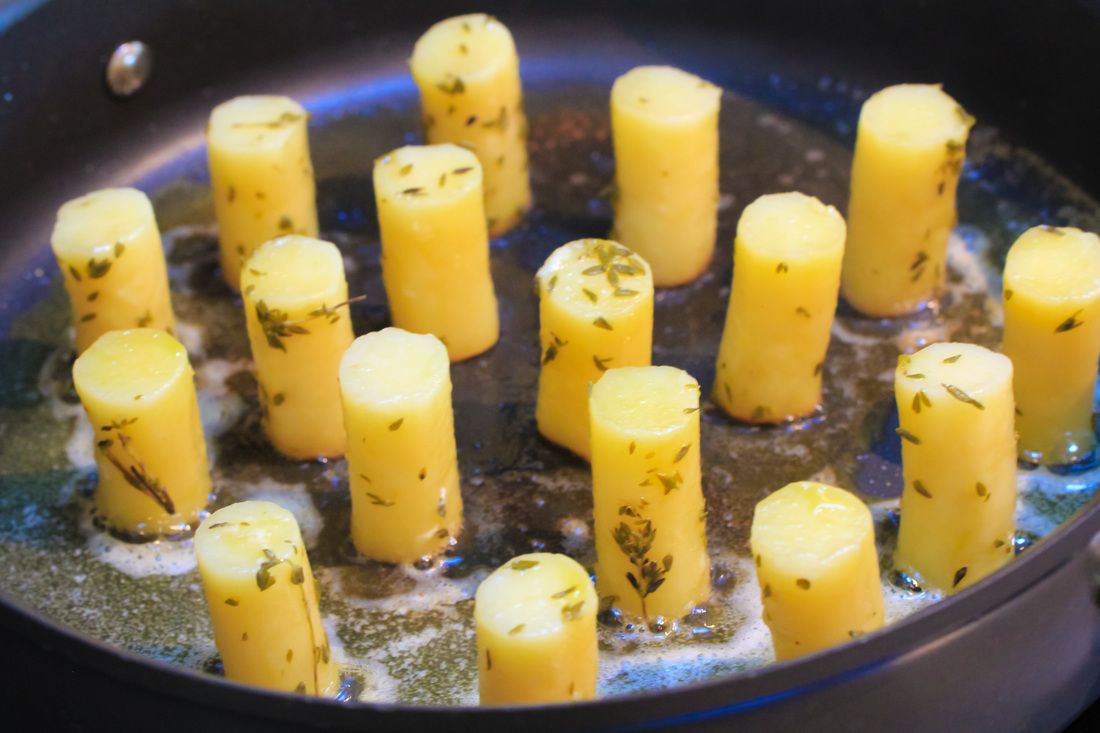
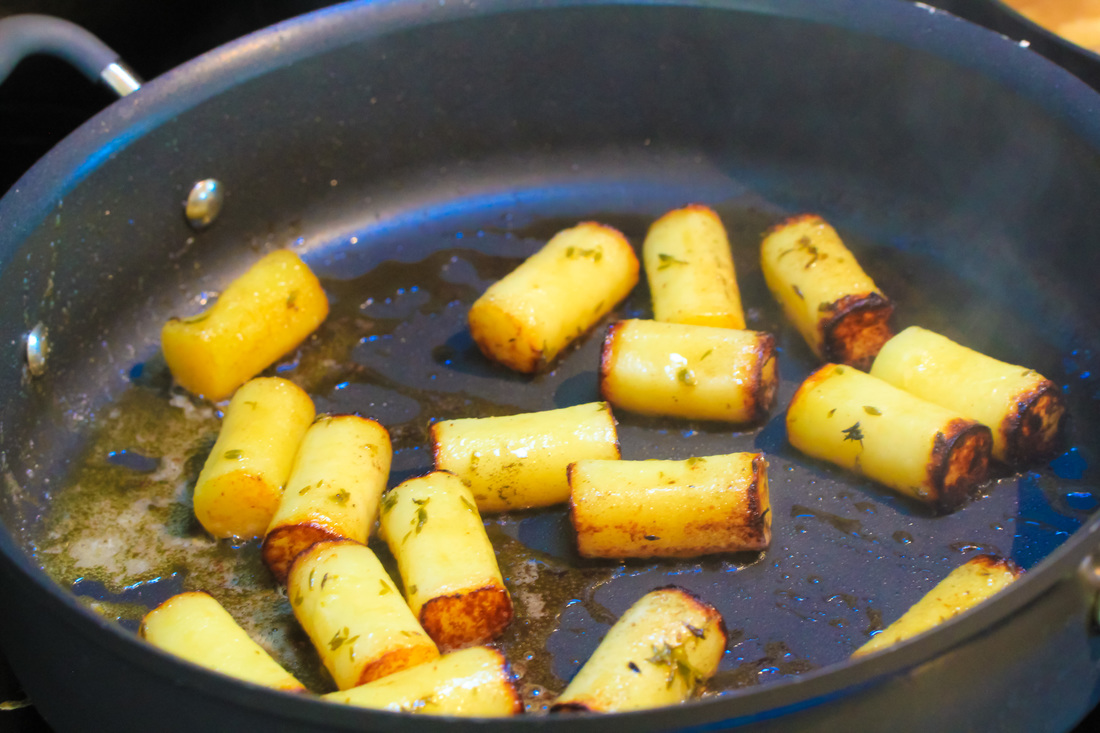
After 1 hour the potatoes are cooked. Heat a sautepan on medium-high with some butter and brown the potatoes. While the potatoes are browning saute the onions and start re-heating the pork sauce. Reheat the pork belly in a water bath at 140 degrees Fahrenheit for 20 minutes.
Heat a saute pan over high heat. Remove the belly from the sous vide bag and blot dry with paper towel. Sear the fatty side until crips and golden. Transfer belly to tray and glaze with the pork sauce. Place a dollop of sauce on a plate. Place 6+8 potato-rolls on top of the sauce. Place 2 Pork belly slices on top of the potatoes. Place Cipollini onions on one side of the potatoes. Serve immediately. 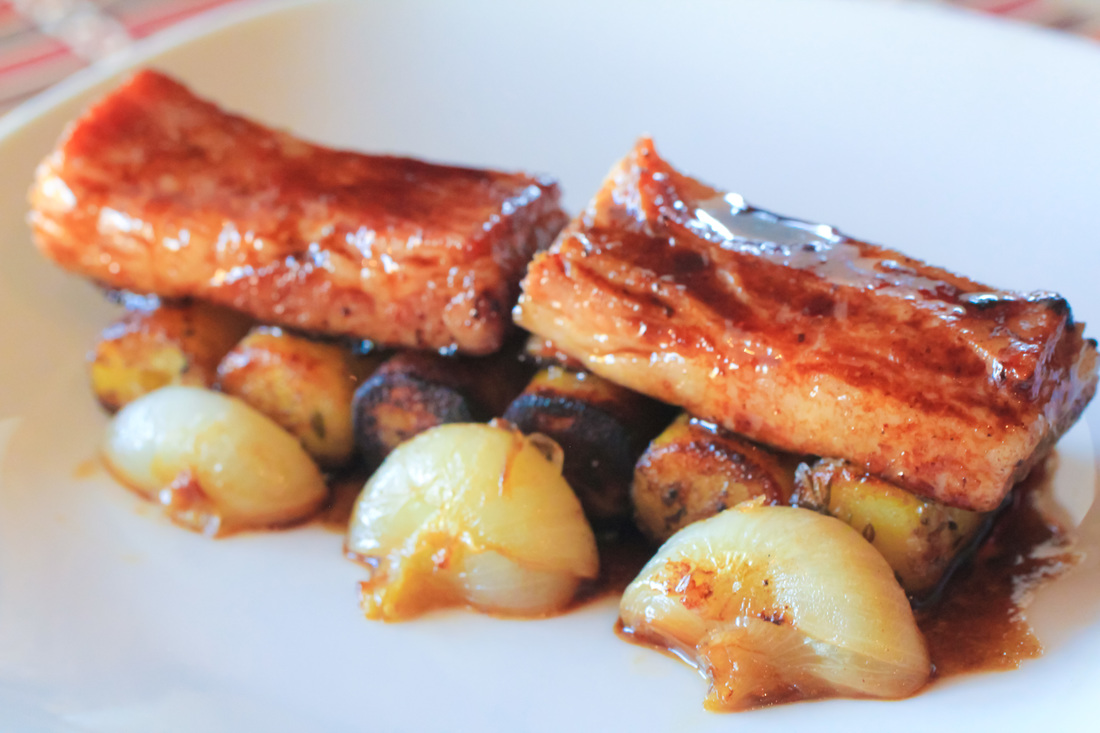 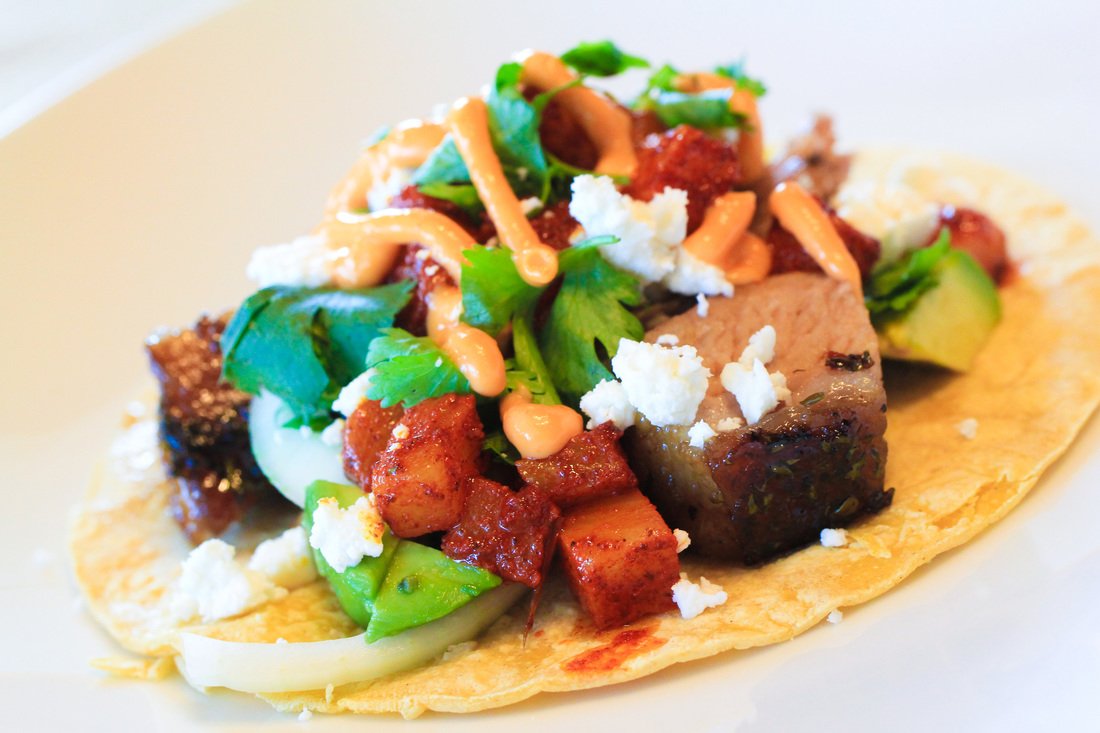
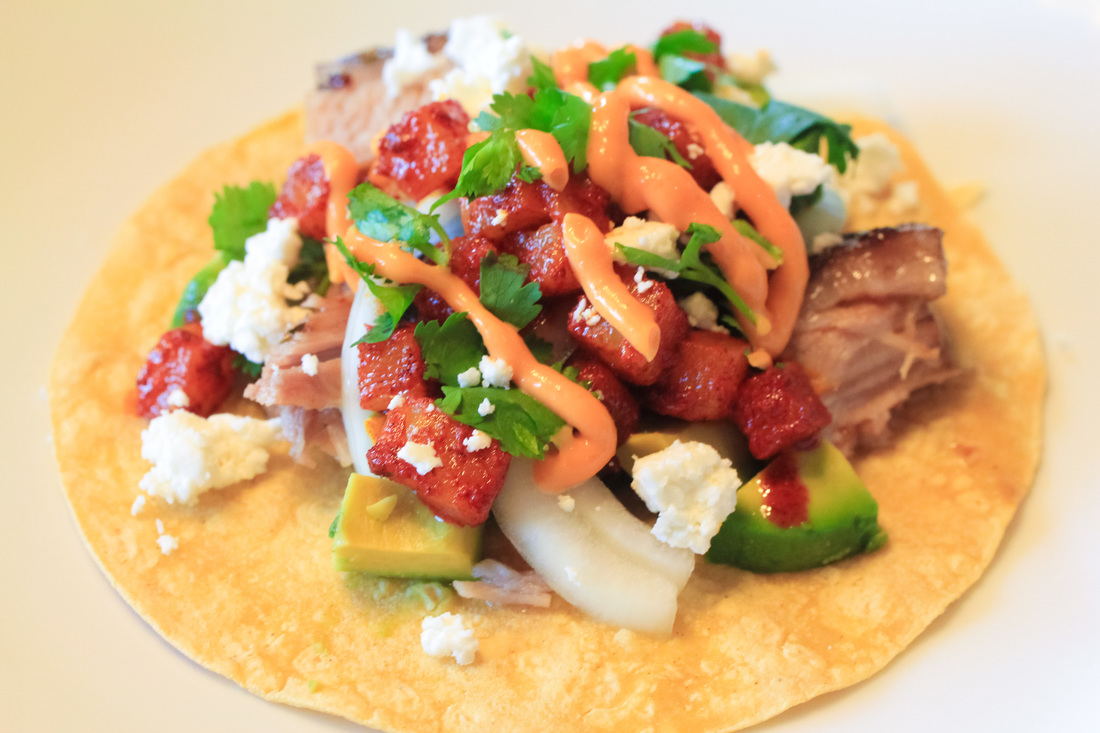
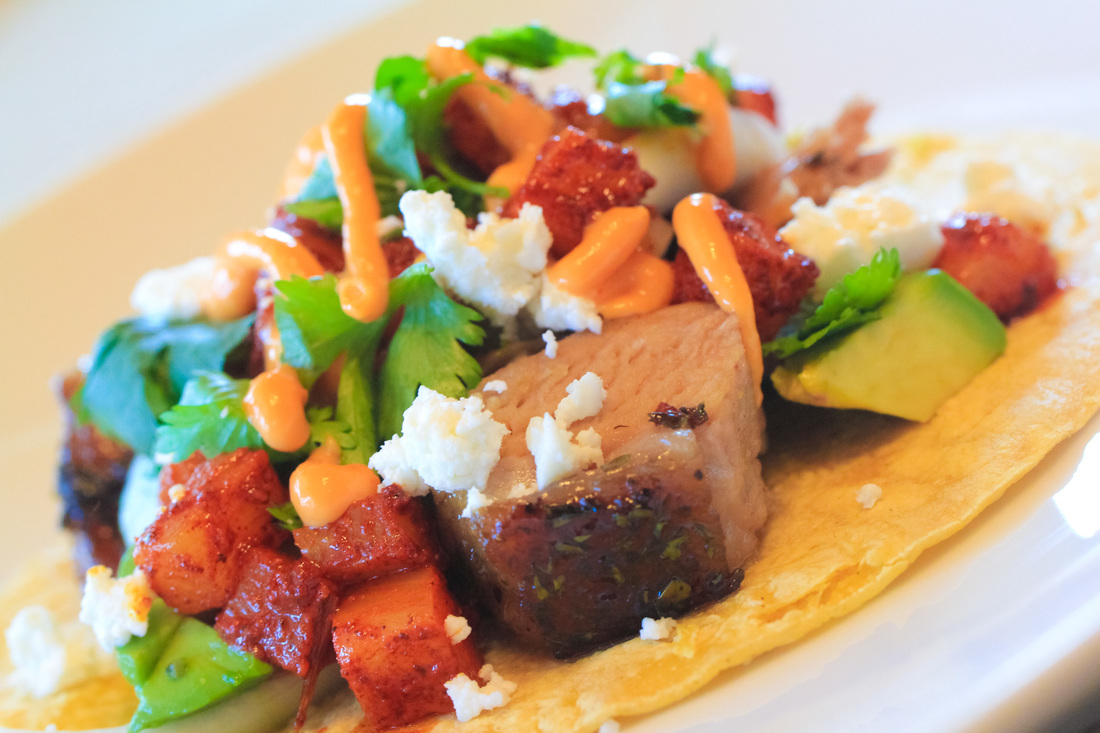
Street tacos are fun because you have a lot of freedom to mix your favorite ingredients together. I really like this recipe because it brings together tangy notes from the onions, sweetness from the pineapples, creaminess from the Queso Fresco and avocados, some spicy notes from the Sriracha mayo, and finally the rich flavor of the braised pork belly. This recipe will take some time to finish, but don't let that scare you away. The final result is a wonderful blend of flavors and you will most certainly get rave reviews from your guests.
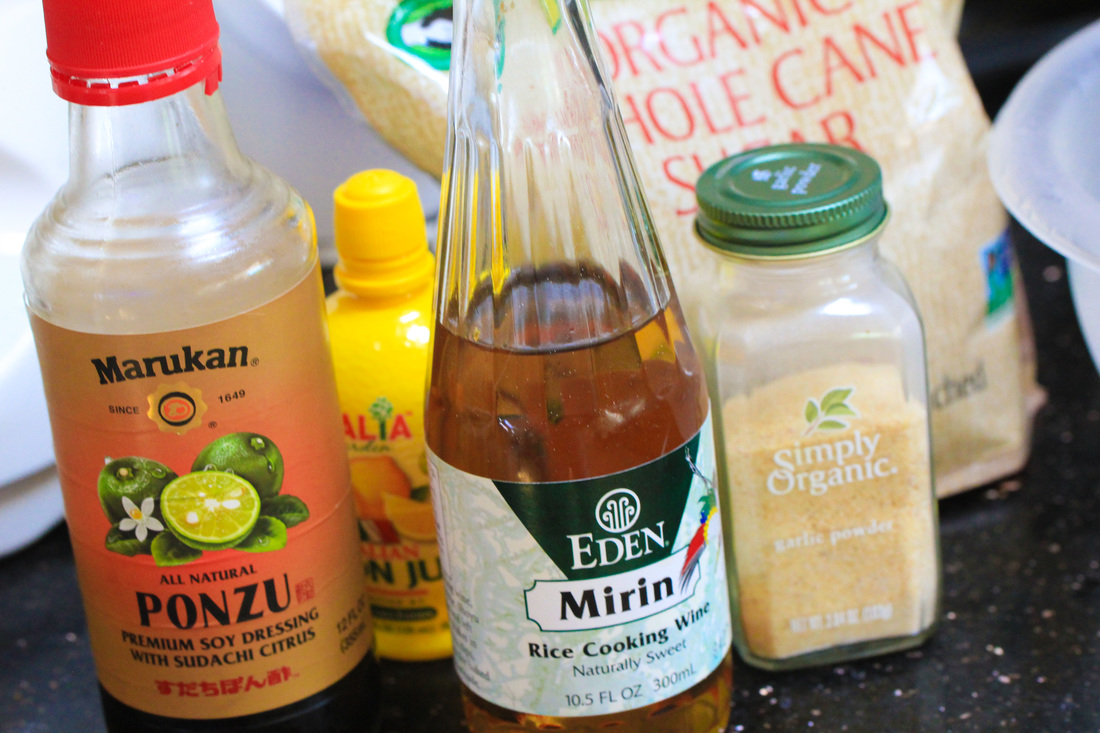
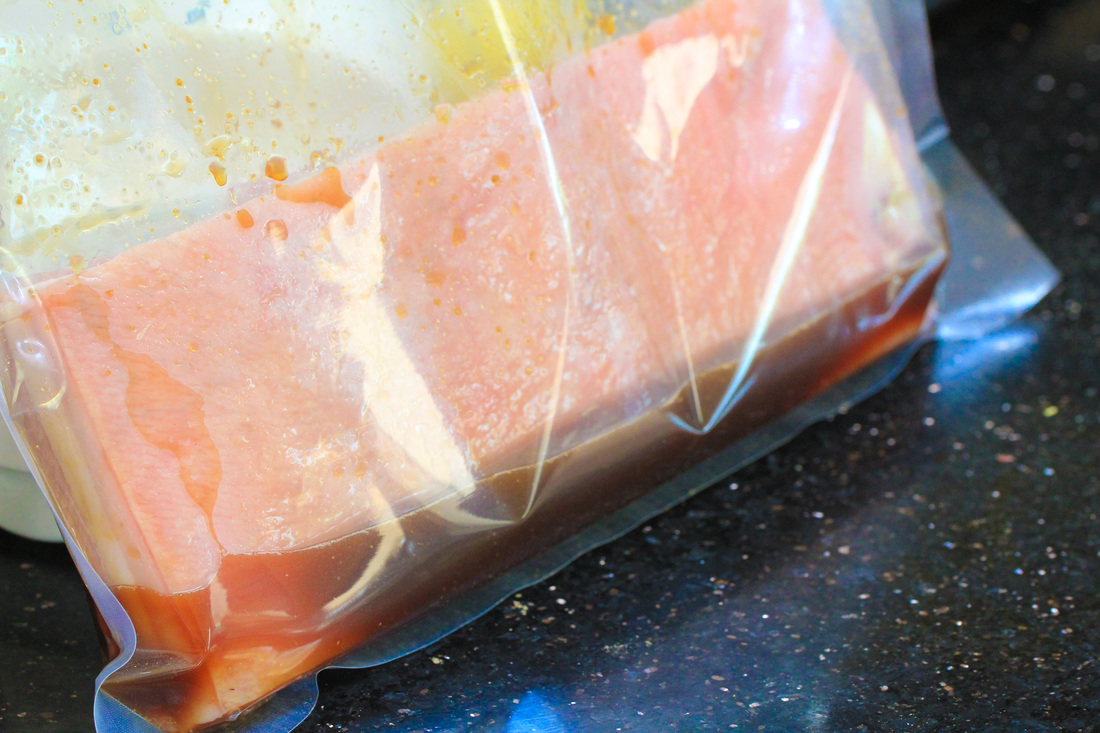
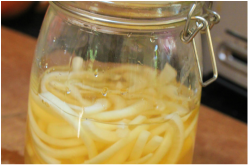
Start with the marinade. Mix the ingredients together. Put the pork belly in a vacuum bag and pour the marinade into the bag. Seal and refrigerate over night. Also make the pickled onions a couple of days earlier. Slice the onion thinly and mix with the rest of the ingredients. Place in the refrigerator for at least 8 hours.
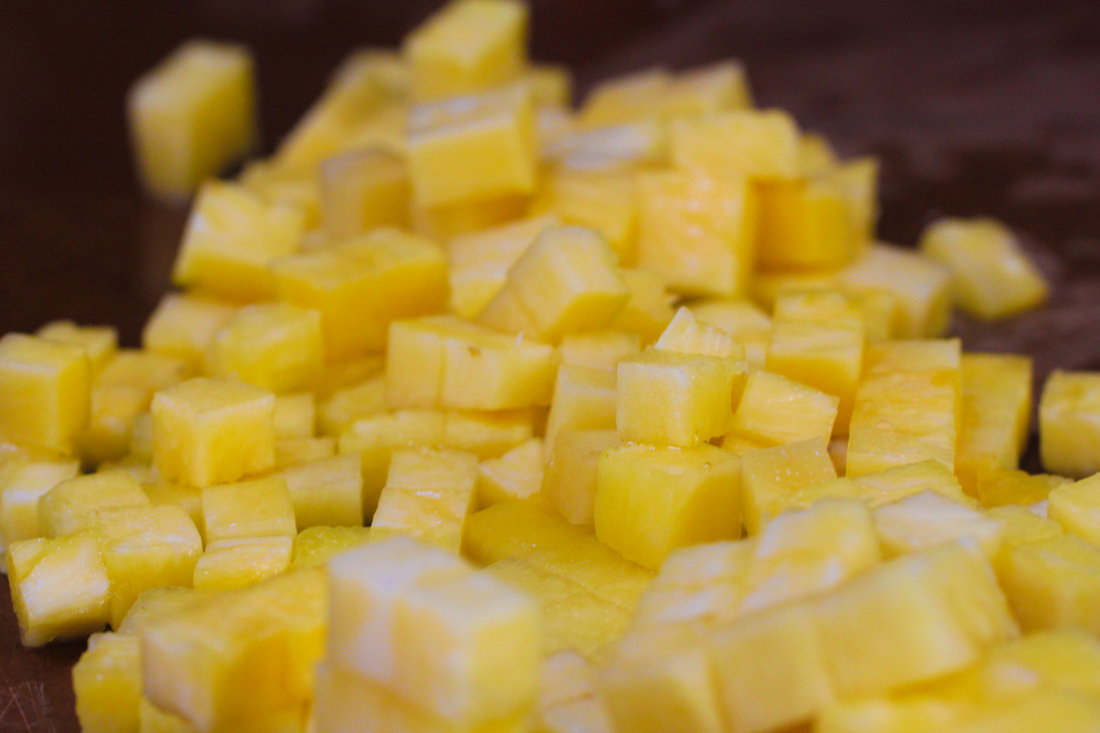
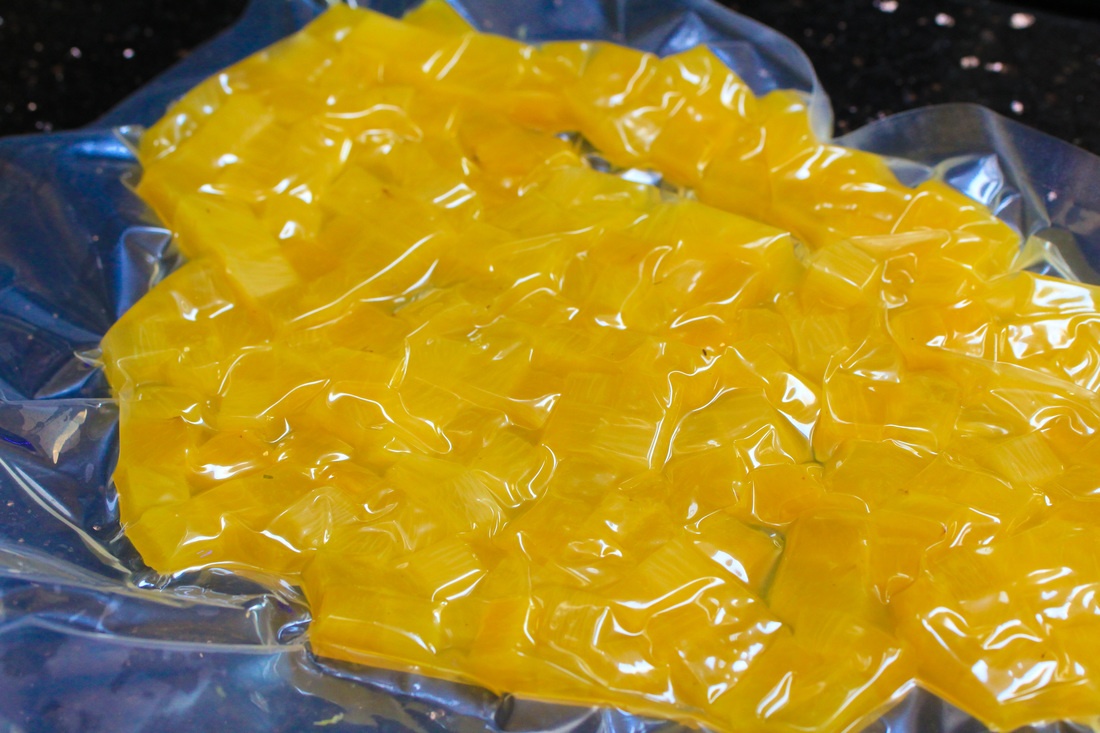
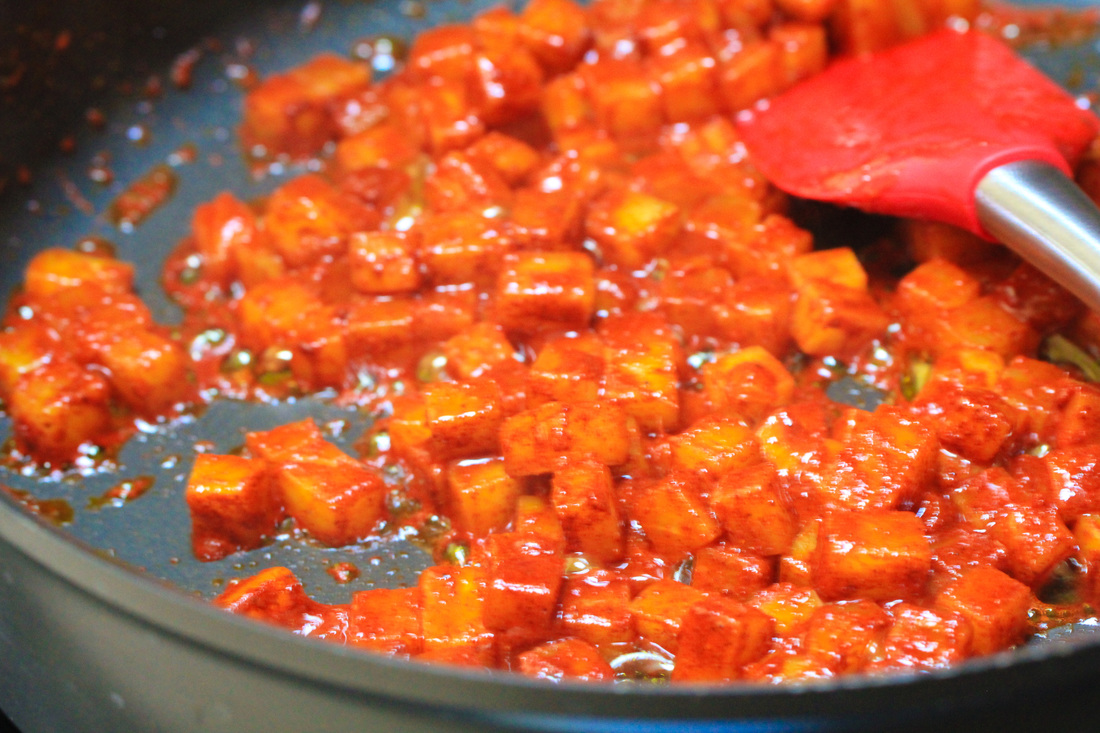
Cube the pineapple into small cubes. To make the texture better for tacos - vacuum seal the cubed pineapples. It will make for a more dense texture and richer flavors, this is optional though. Heat oil in a medium skillet over medium high heat. Add pineapple, sugar, and ancho chili powder and stir to coat. Cook, stirring occasionally, for 4-5 minutes, until pineapple caramelizes with a nice golden brown color. Set aside until time to serve.
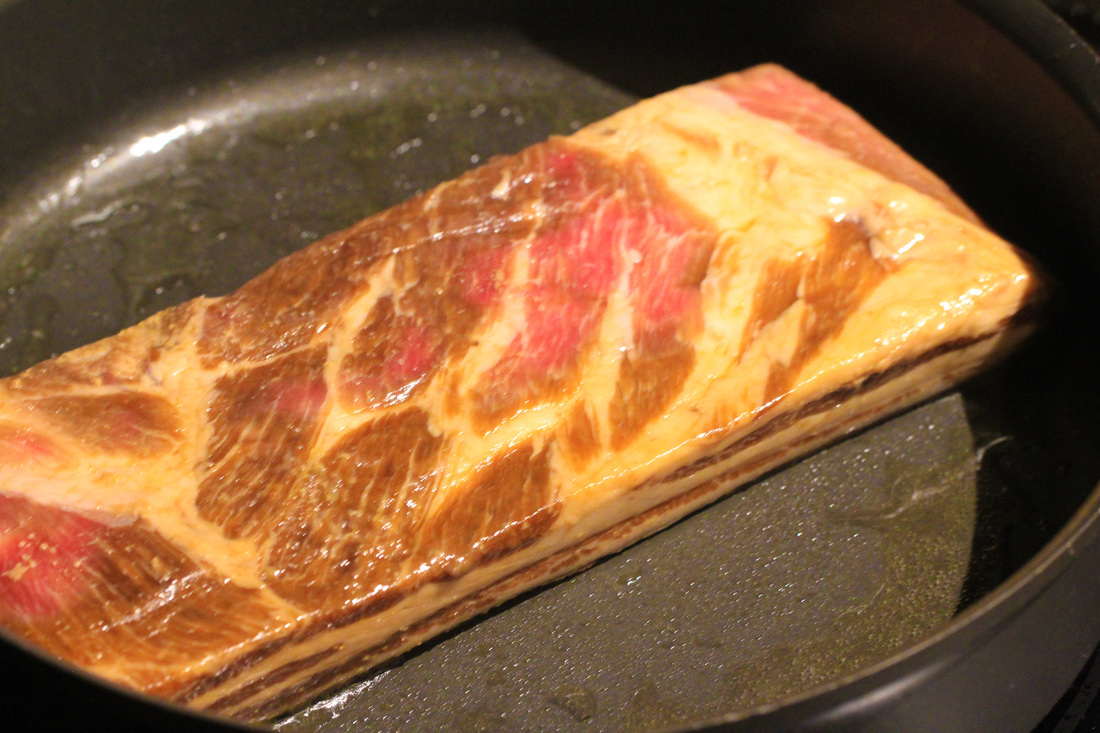
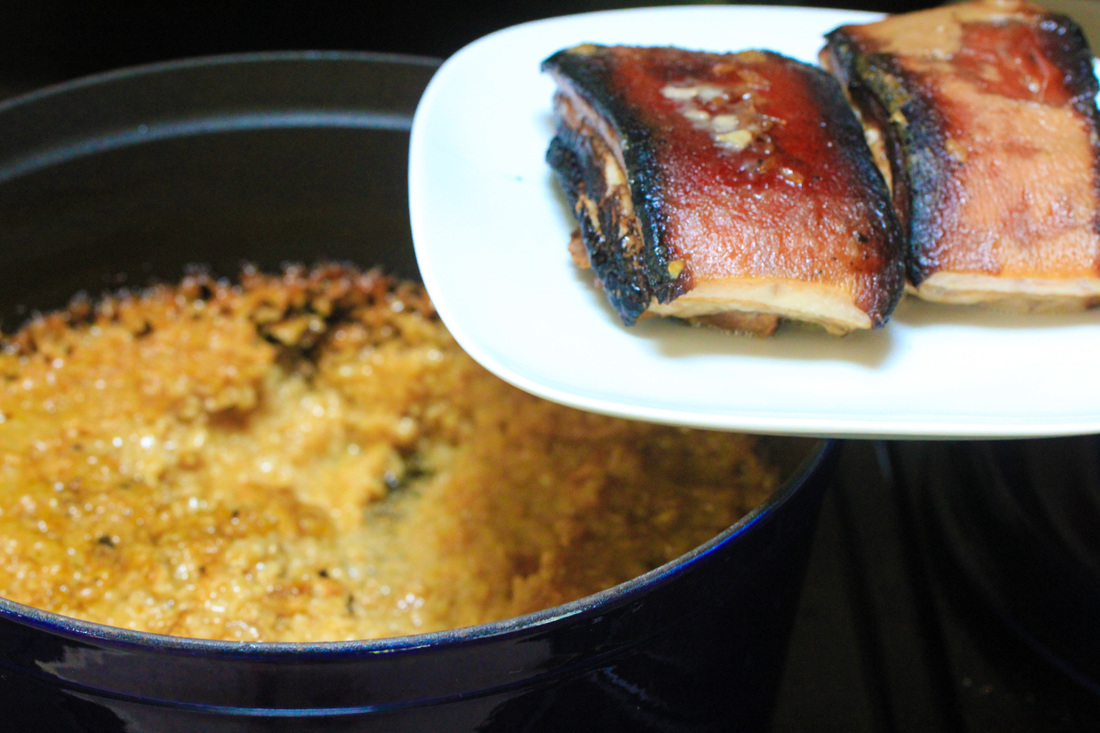
reheat oven to approximately 250 degrees Fahrenheit. Heat oil in a sautepan and add the pork belly, skin side down. Brown for approximately 5 minutes and the flip and brown other side for another five minutes. Put the pork belly in a ovenproof casserole. Pour the chicken stock over the belly so it covers the belly by an inch. Add the brown rice on top of the belly. Cover the casserole with a lid and braise for 8 hours. When done a lot of the fat from the pork will be absorbed by the rice. Remove from the oven, uncover and let the pork cool for a couple of hours in the cooking liquid. Carefully remove the pork from the casserole and refrigerate for at least 8 hours.
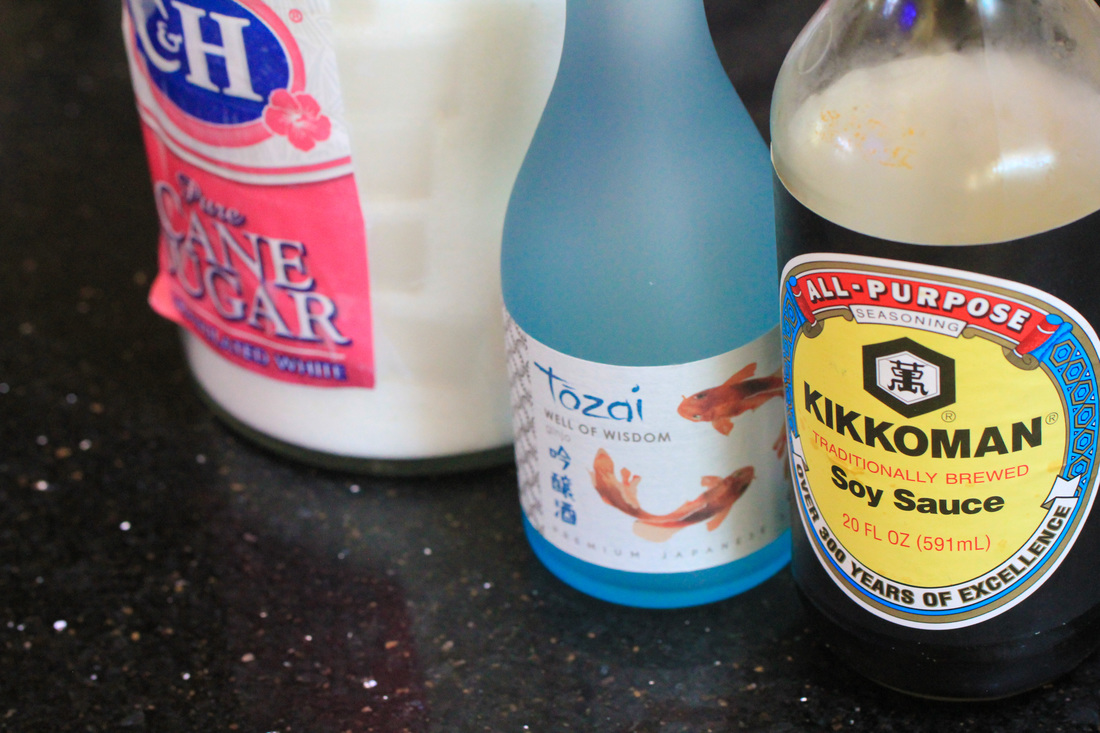
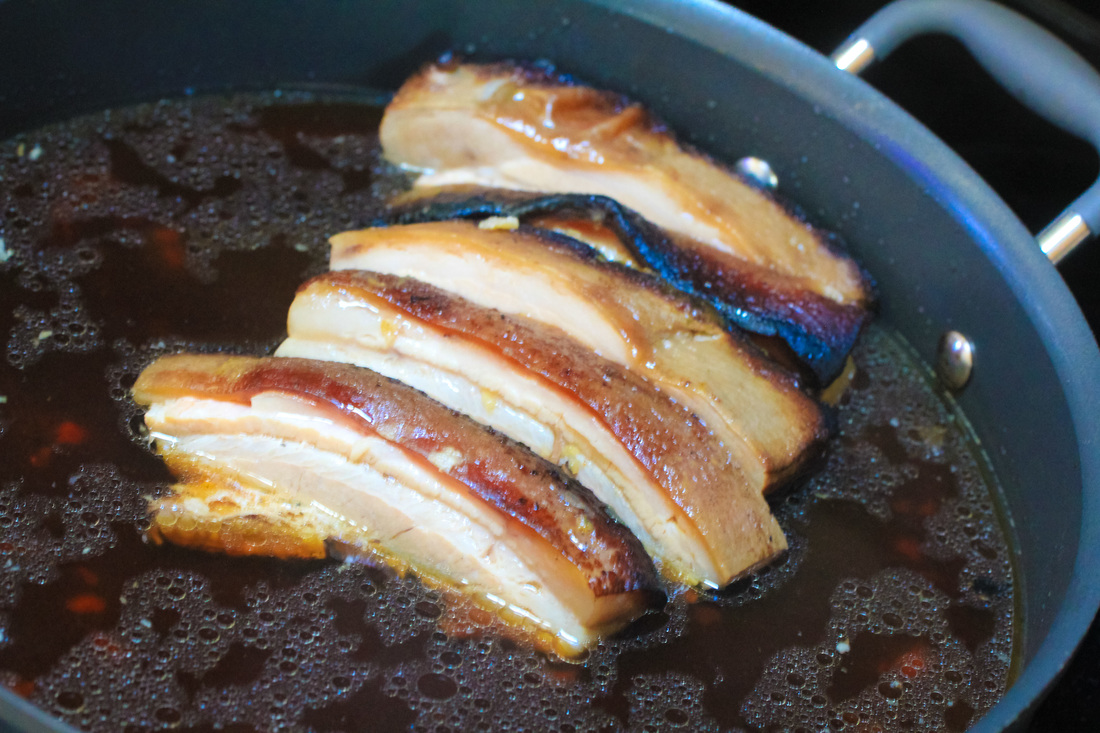
Mix the soy sauce, sake and sugar with the water. Slice the pork belly and carefully transfer it to a medium sauce pan. Add the liquid and bring to a simmer. Reduce heat to low and partially cover the pan. Simmer until pork belly is very tender, about two hours. Let pork belly cool slightly, then slice into approximate ½" slices. Top tortillas with a couple slices of pork belly, chopped avocado, ancho chili roasted pineapple, pickled onions, and a sprinkle of queso fresco and cilantro. Top the tacos with some Sriracha Mayo. Serve with lime wedges and preferably a margarita. Enjoy!!!
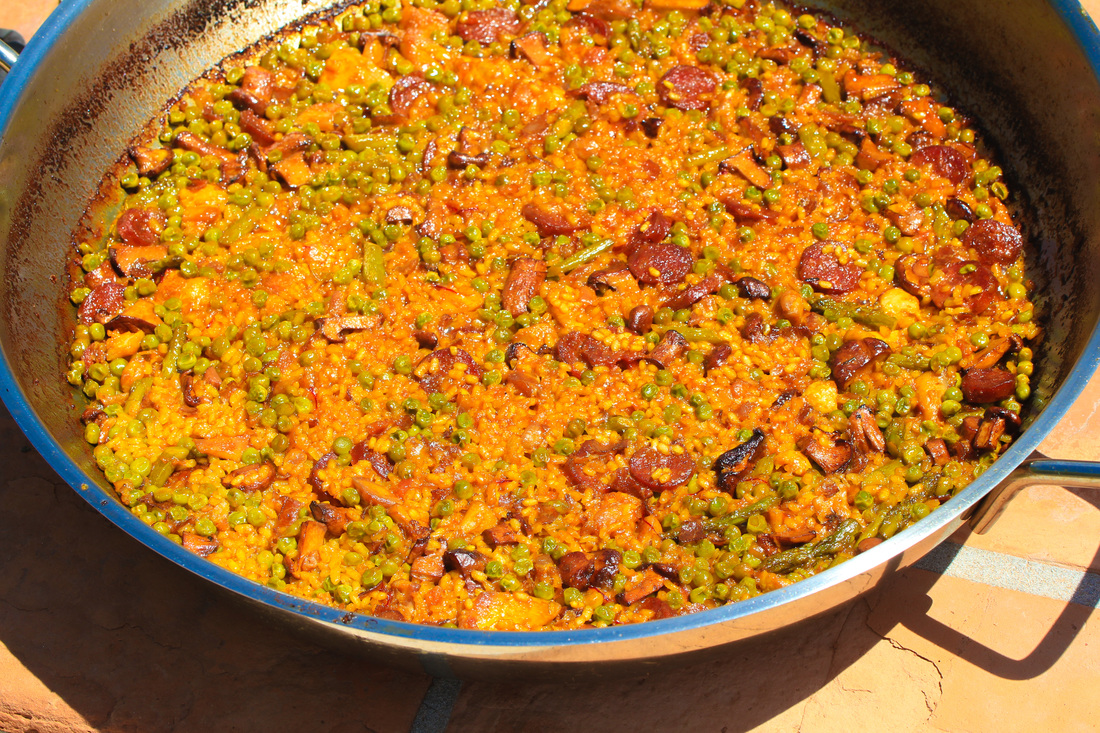
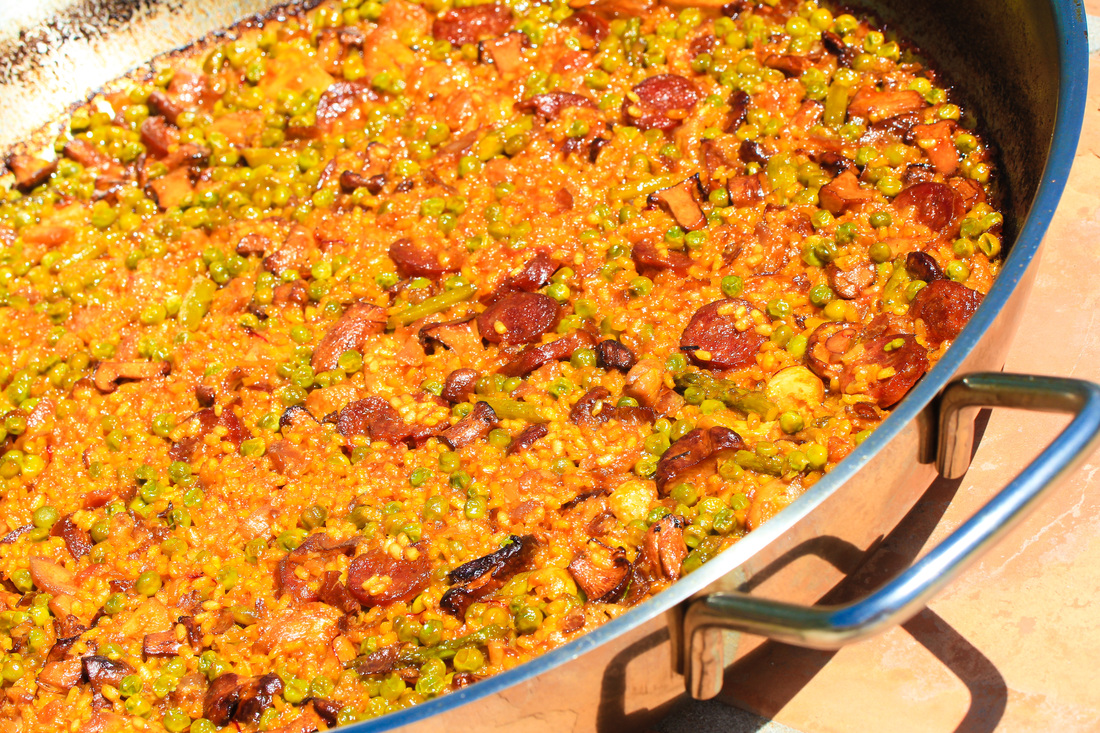
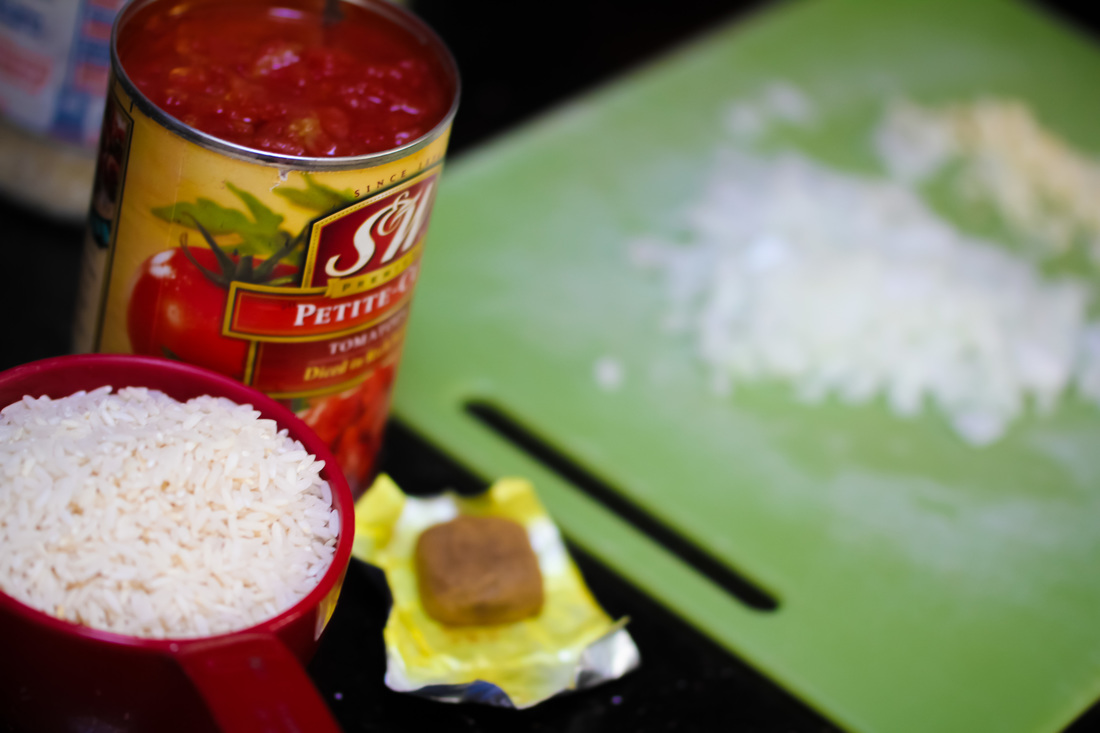
Paella is a fantastic dish that can be combined in so many different ways. There is a book from Phaidon filled with only Paella recipes. I prefer a seafood paella but I have noticed that not everybody like seafood. So here is my 3C Paella with chicken, chanterelles and chorizo. Chorizo can toughen up and become chewy when used in Paella but I really like the flavor so I throw it in there anyways. Just remove the casing and get a good Spanish brand and you should be okay.
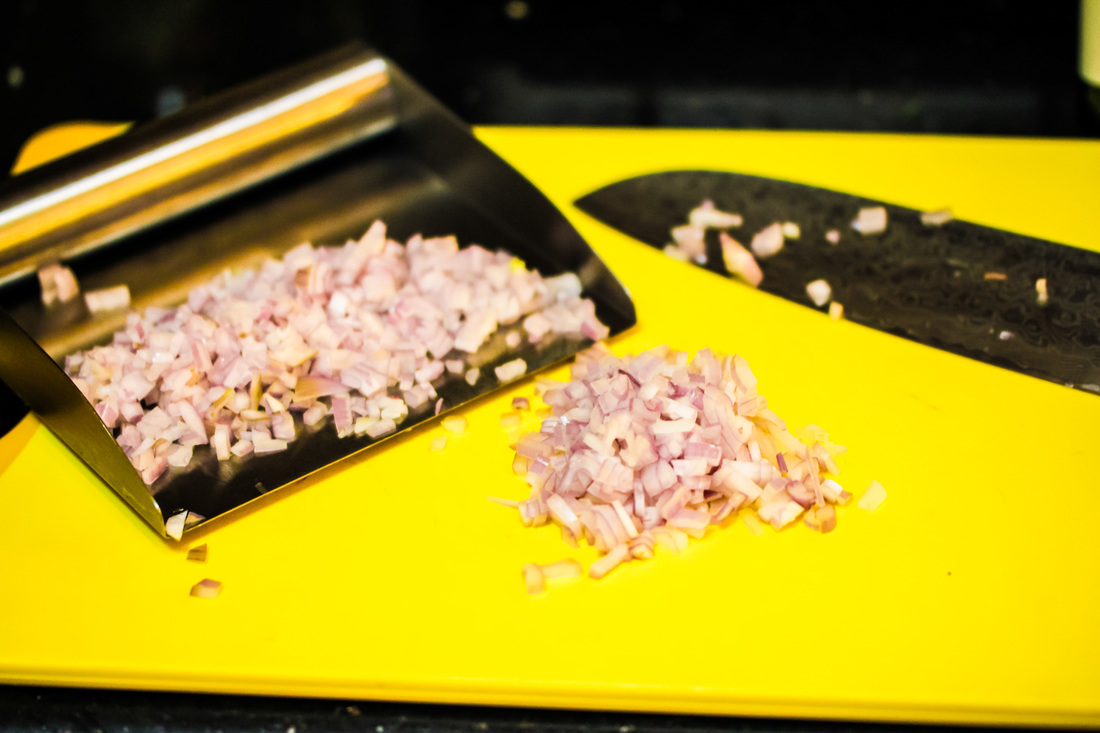
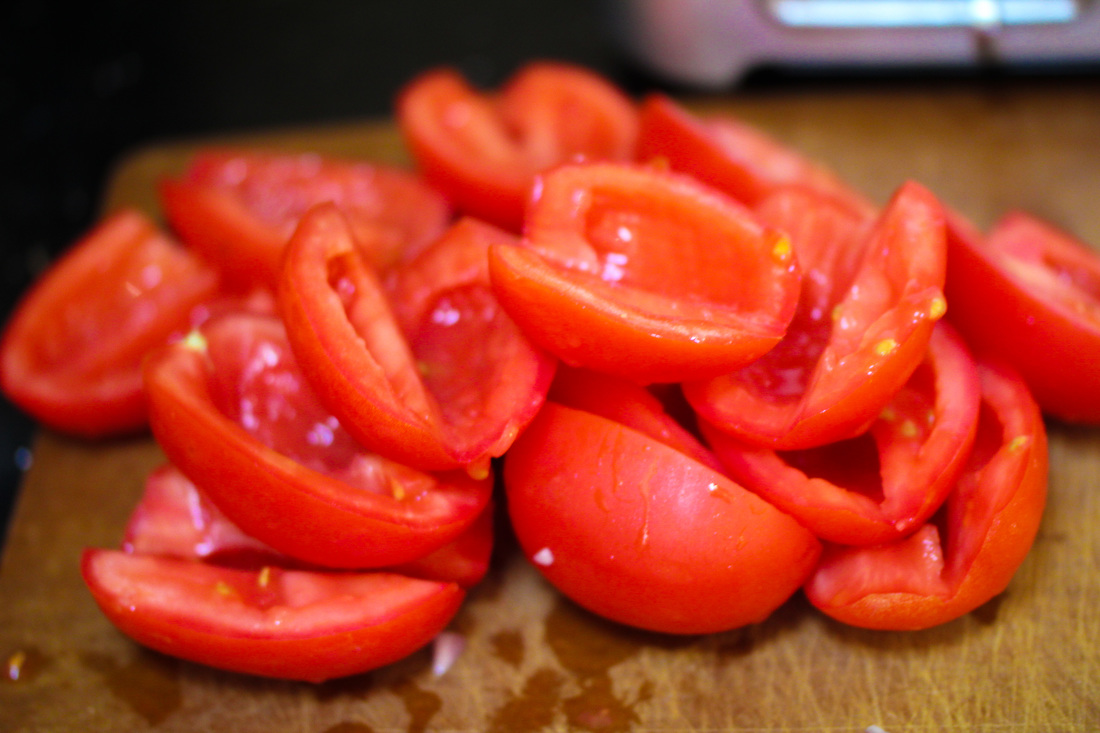
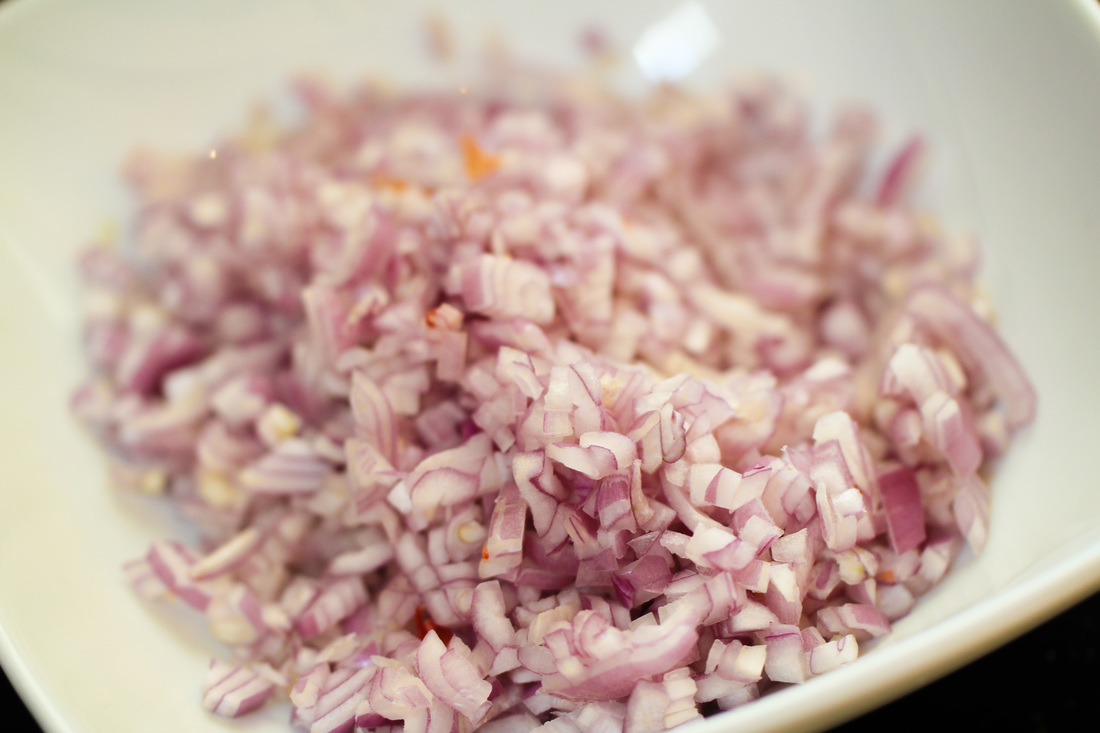
Start with the Sofrito. Cut the tomatoes in half. Scoop out the seeds. Finely chop the onions. If you can find Spanish onions that would be your best choice. If you cant, shallots is a good substitute.
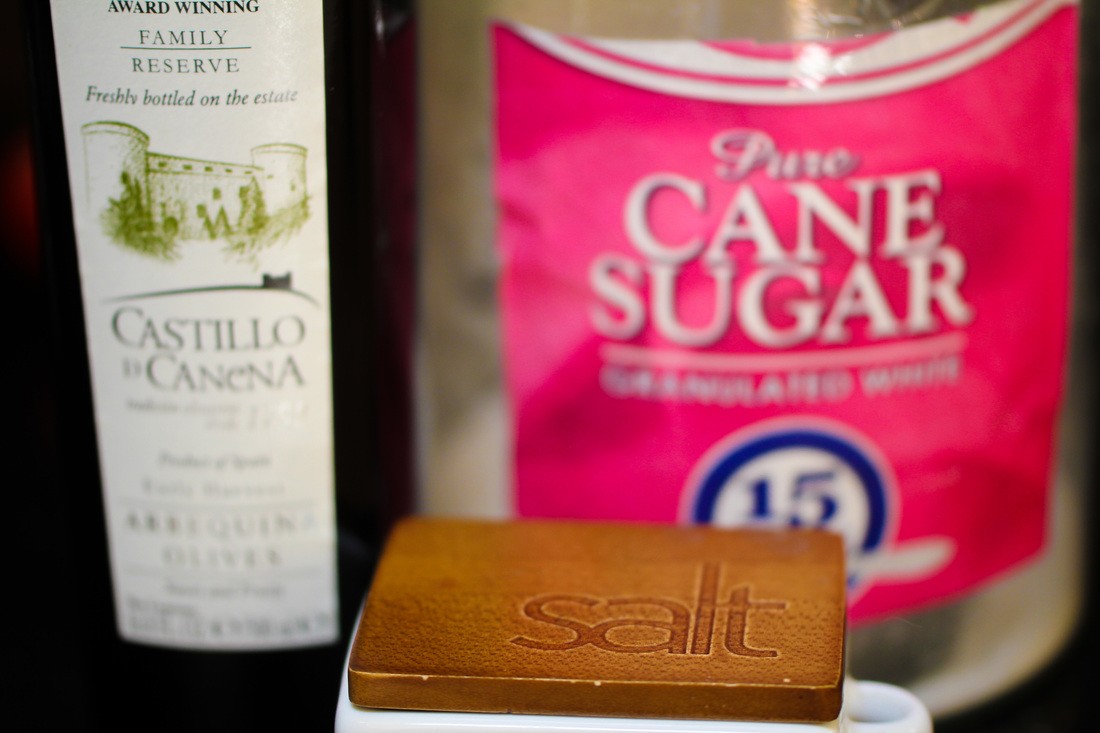
Place a grater over a large mixing bowl. Rub the open face of the tomatoes over the grater until the flesh is grated. Discard the skin. Watch your fingers and knuckles when you do this. Heat the oil in a saucepan on low-medium temperature. Add the onions, sugar and salt.
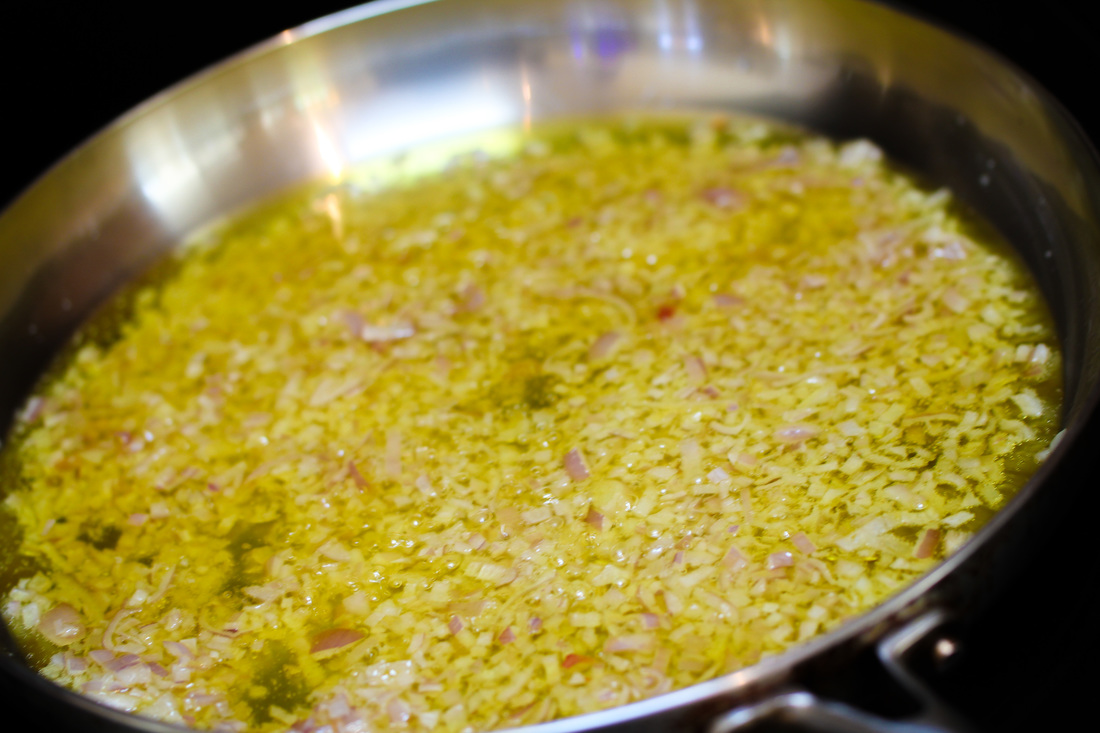
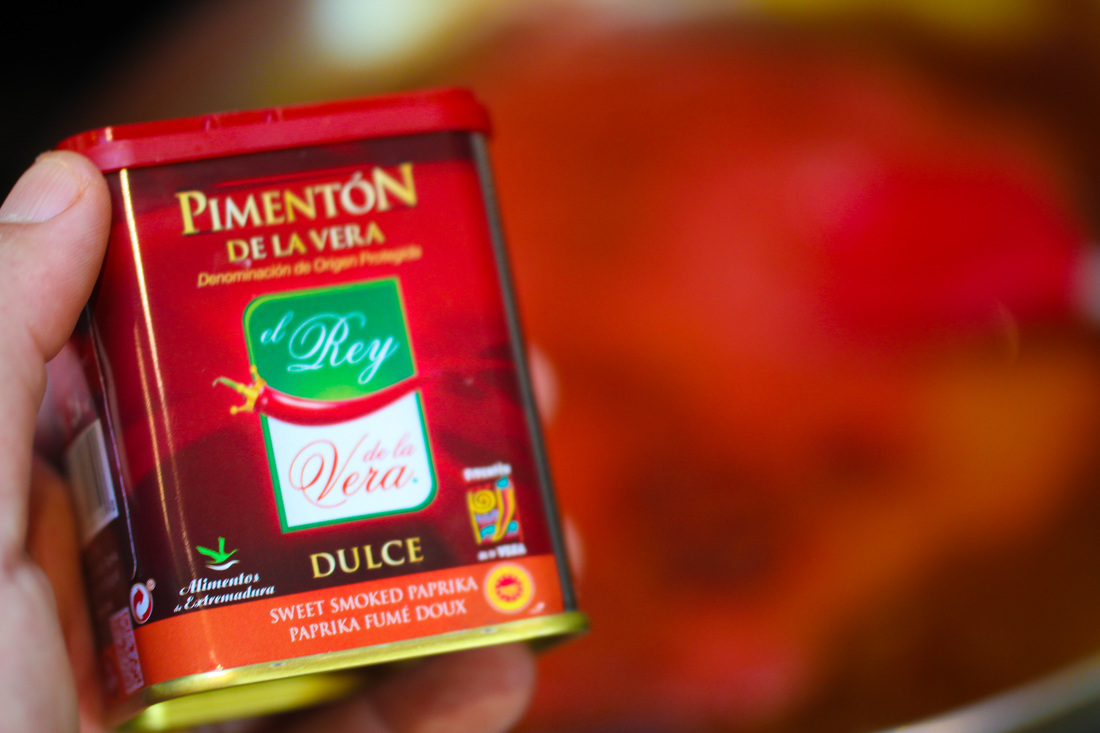
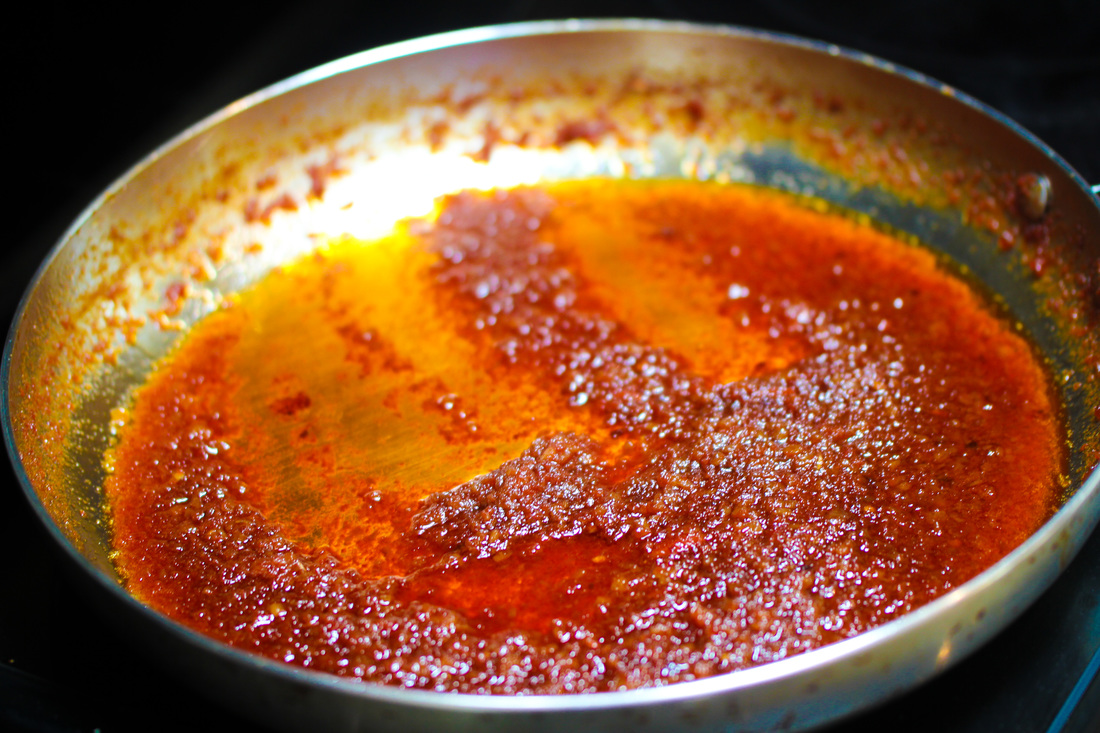
Cook, stirring frequently until the onions become soft and tender. The key to a good Sofrito lies in a good caramelization of the onions. Keep cooking until the onions turn brown, about 35-40 minutes. Add the sweet Spanish paprika (Pimenton), and stir. When thoroughly mixed , add the tomato puree. Cook for another 20 minutes. The Sofrito is ready when the tomato has turned deep-red and the oil is separated from the tomato-onion mix.
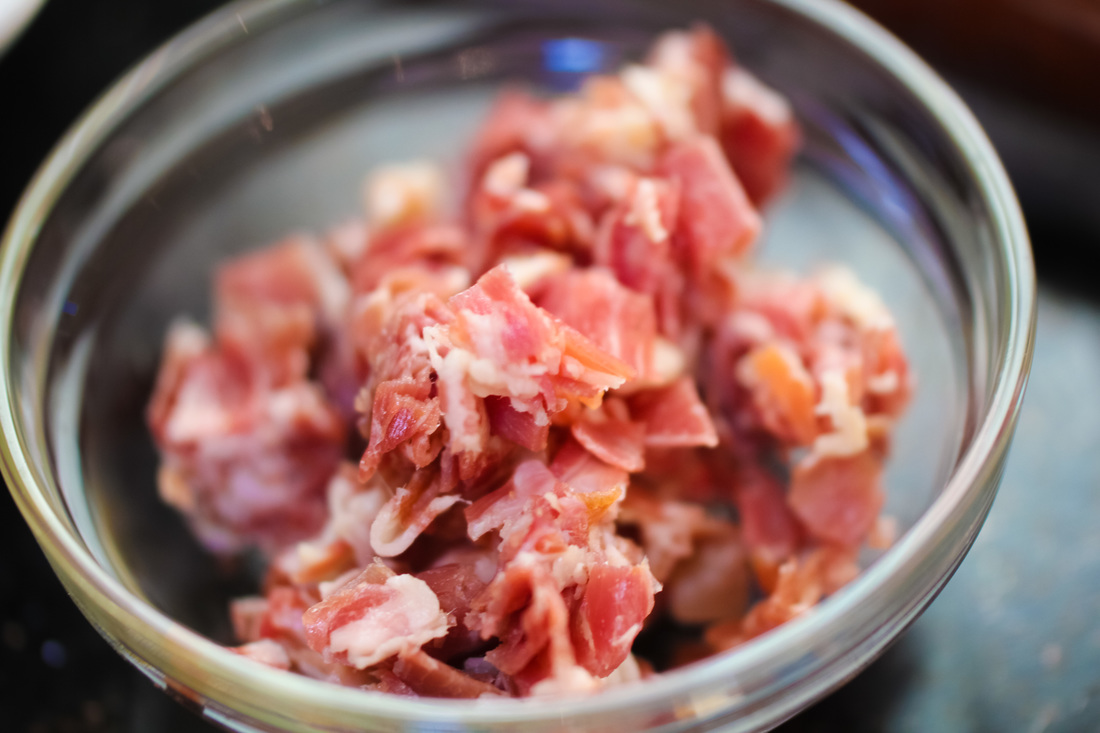
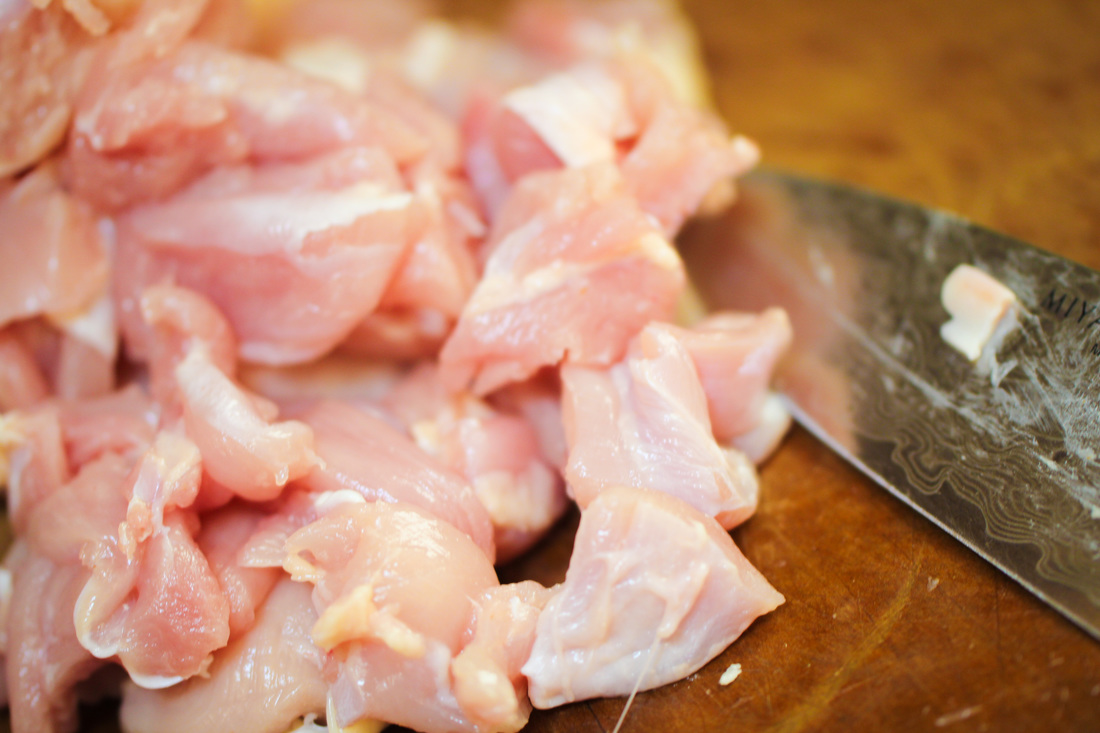
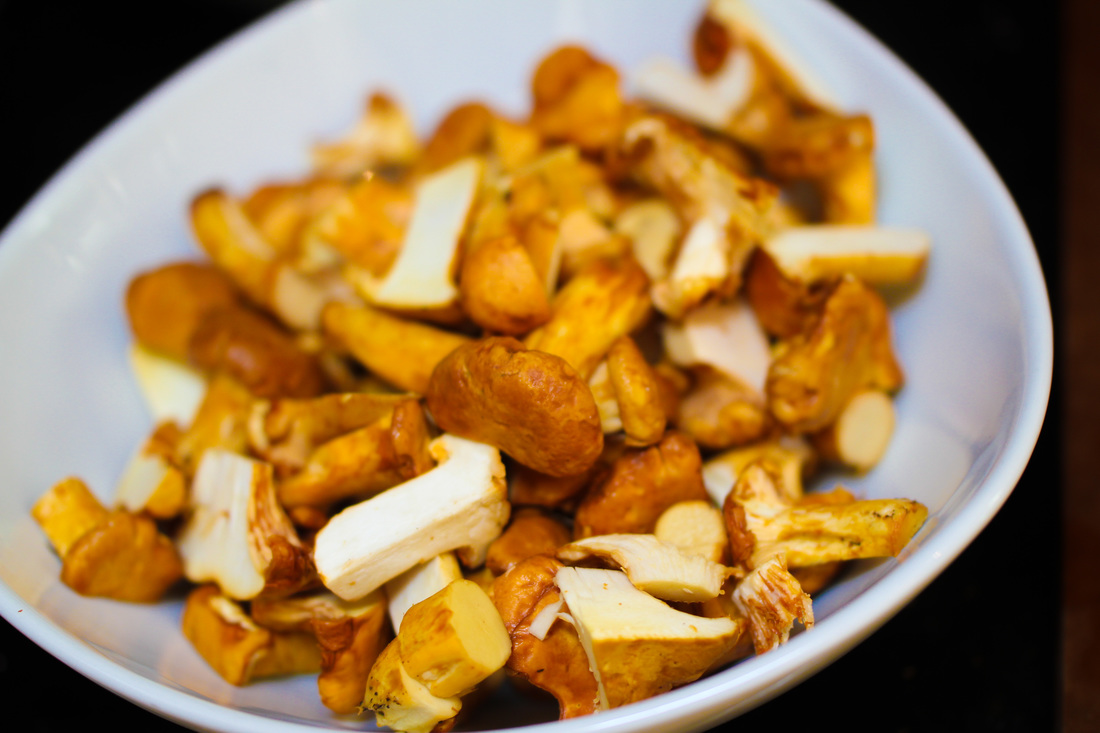
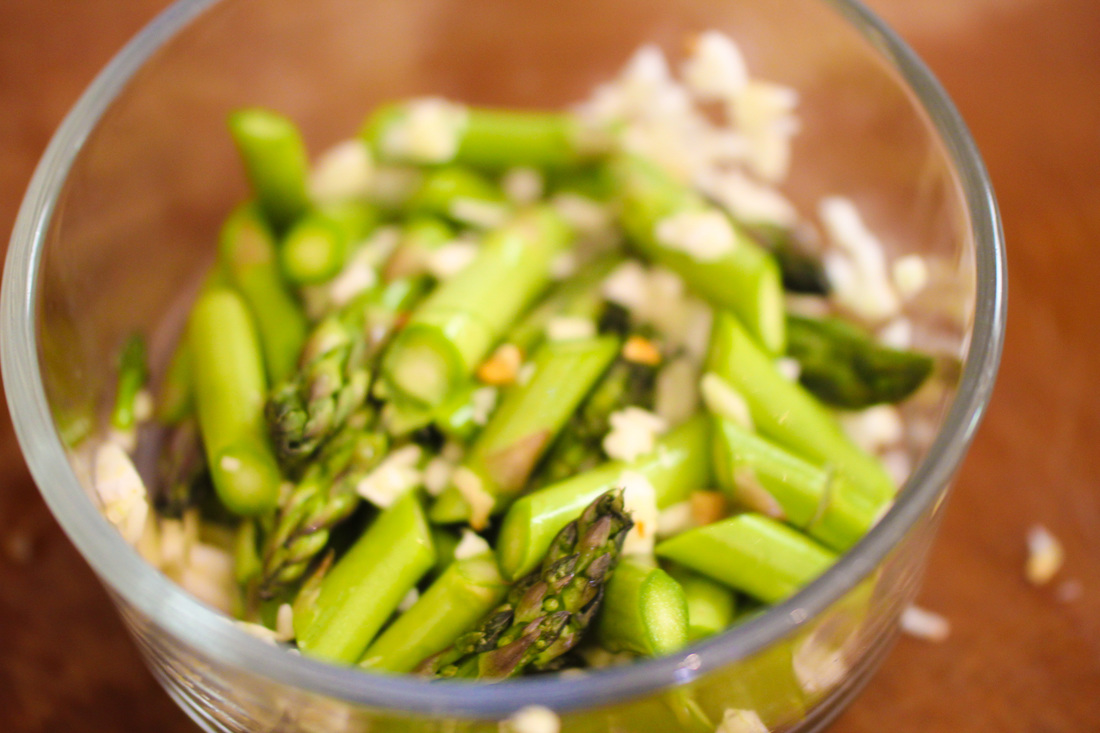
Now, prepare all the ingredients for the Paella. Chop the Jamon, slice the Chorizo, trim and cube the chicken, clean and half the chanterelles, trim and slice the asparagus, chop the garlic. 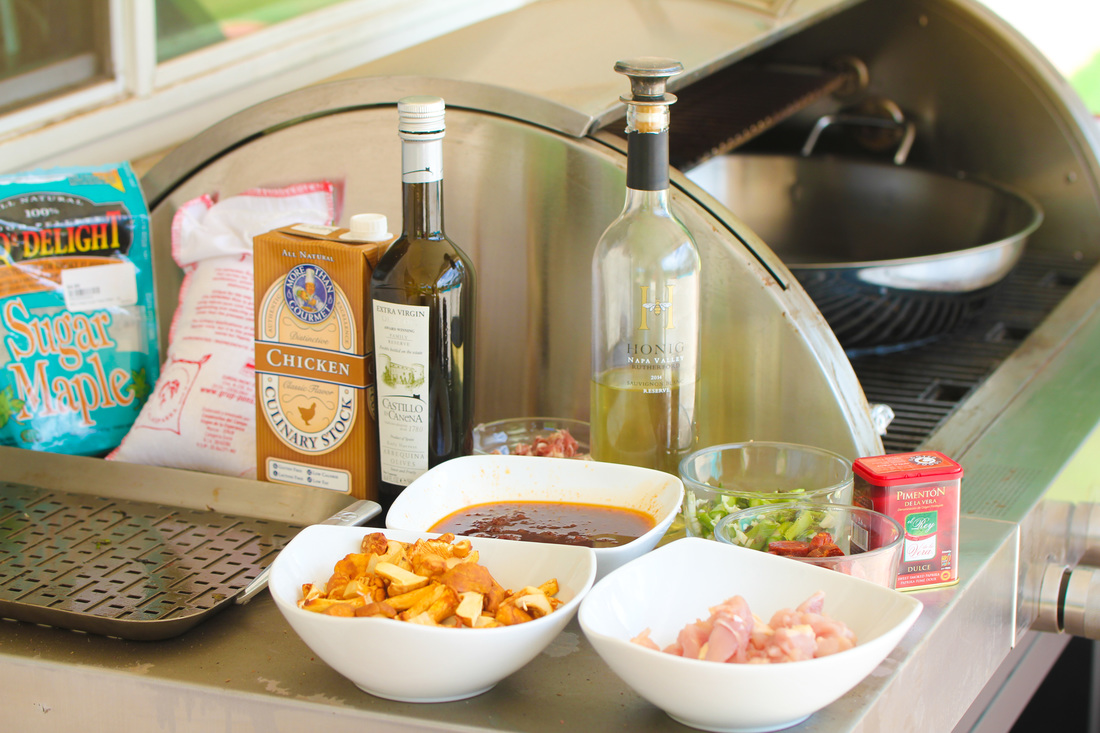 You can do this on a stove top, but I prefer to do it on the grill. I have a large Paella pan and it heats more even on the grill than when spanning several heating areas on the stove. Make sure that you have all the ingredients ready before you start the paella - there are several steps and timing is important. You don't want to overcook the ingredients.
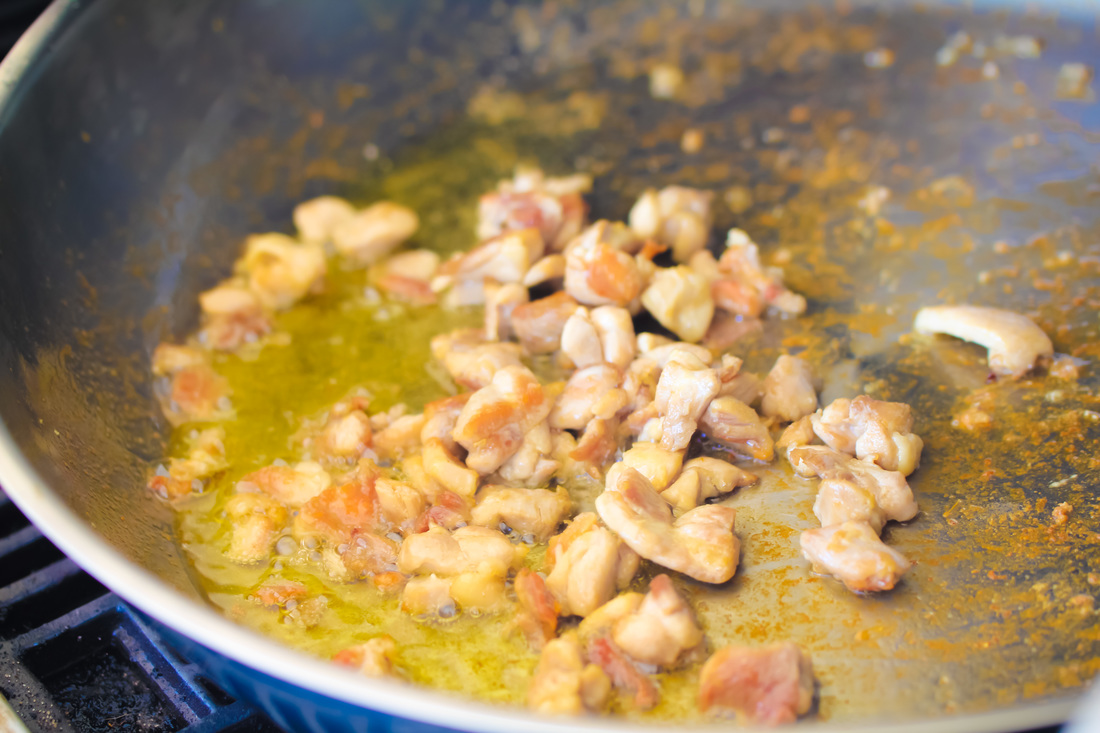
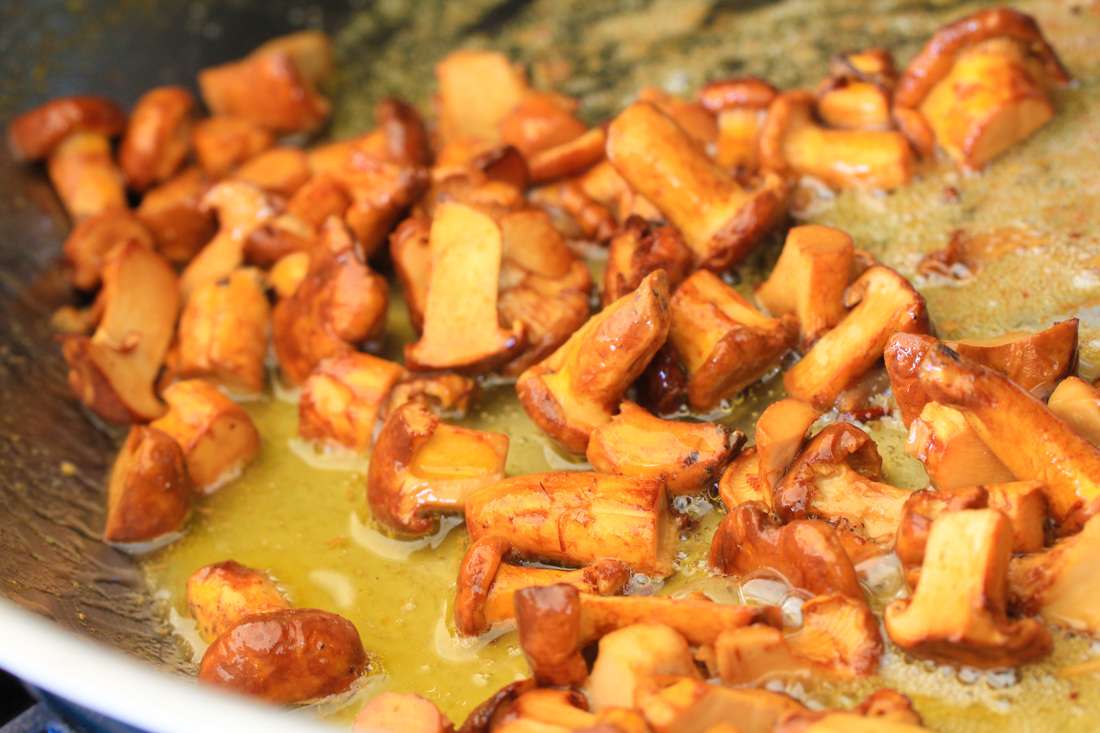
Heat the olive oil over high heat - this could take a while if you use the grill. Be patient and test with dripping some drops of water into the pan. When it sizzle, it is hot enough. Add the chicken and saute until it is brown on all sides. When they have a nice color - remove and set aside. Add the chanterelles to the pan and saute until they are golden. This will take about 3 minutes.
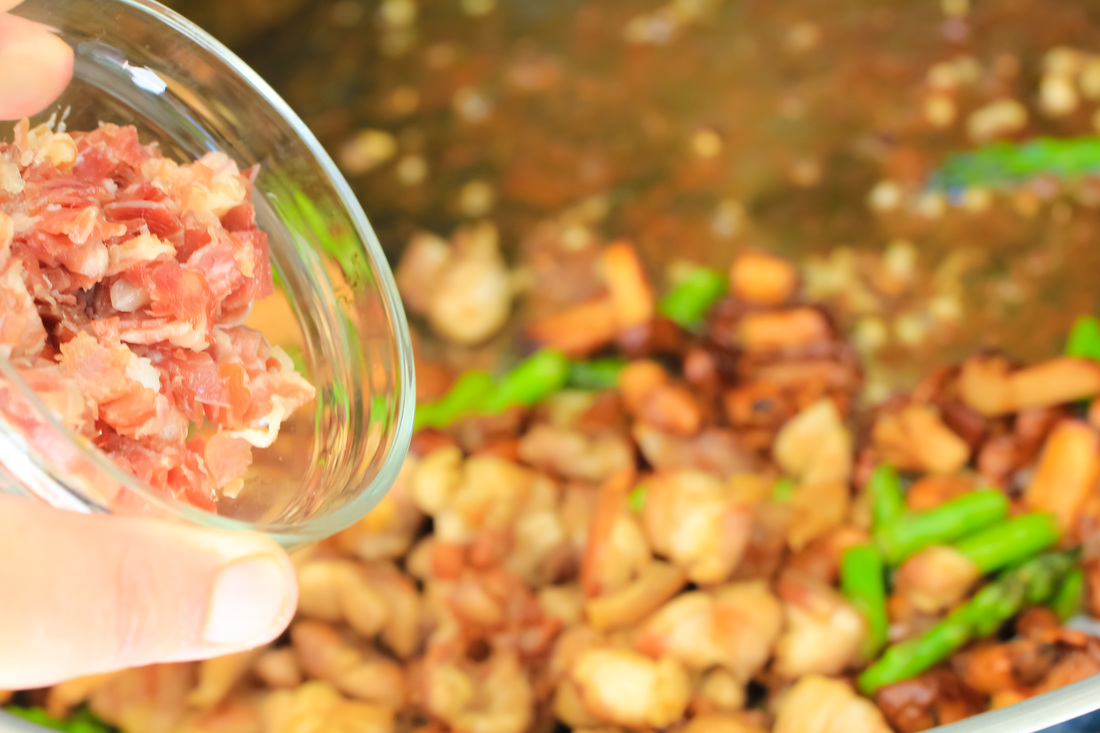
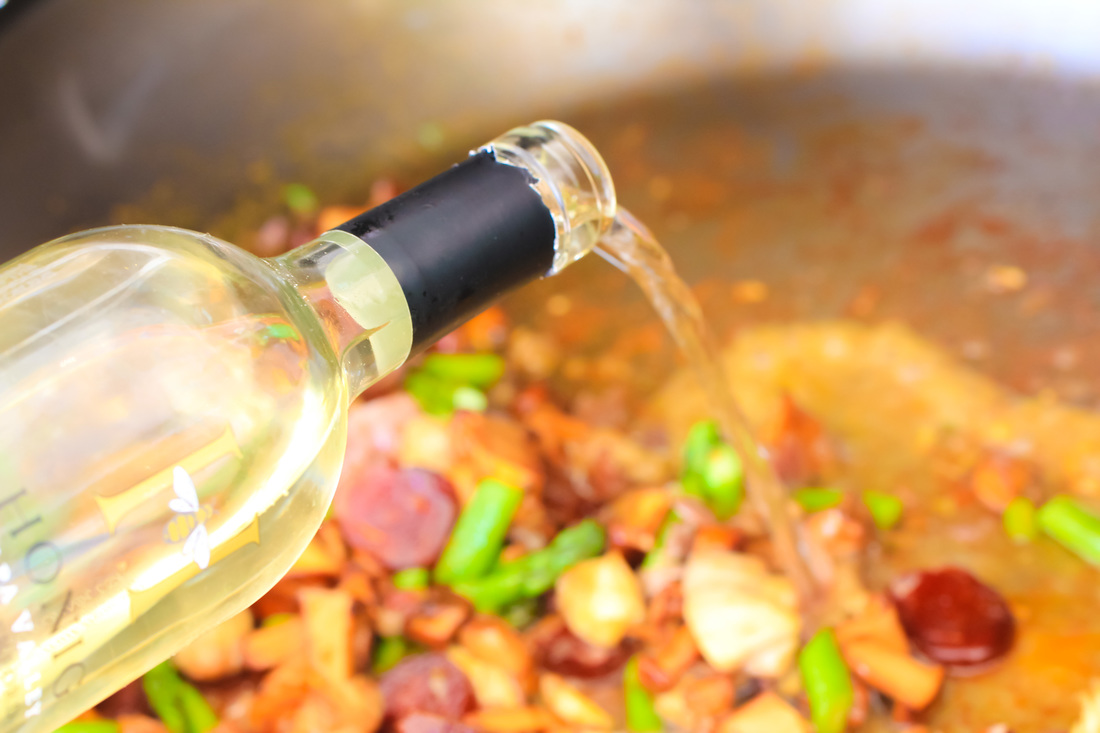
.Add the ham, the asparagus, the garlic, and the chorizo to the pan. Cook for another 2-3 minutes. Add the chicken back to the pan. Deglaze the pan by adding the wine and stir. Reduce until half of the wine has evaporated.
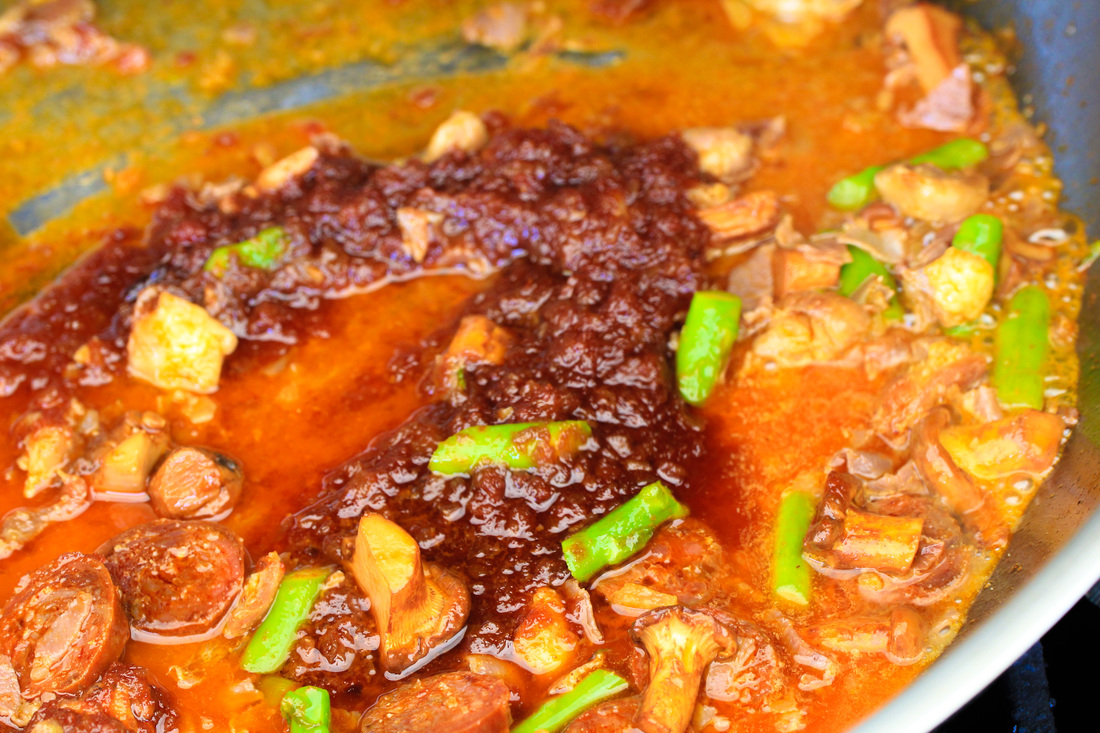
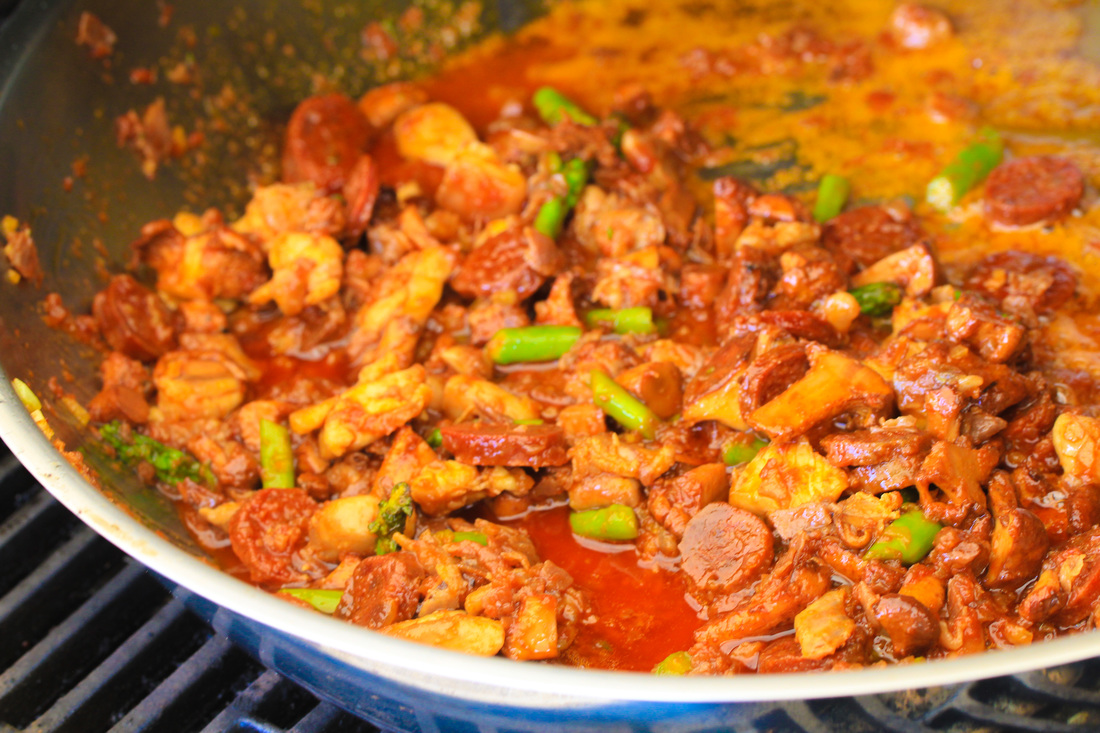
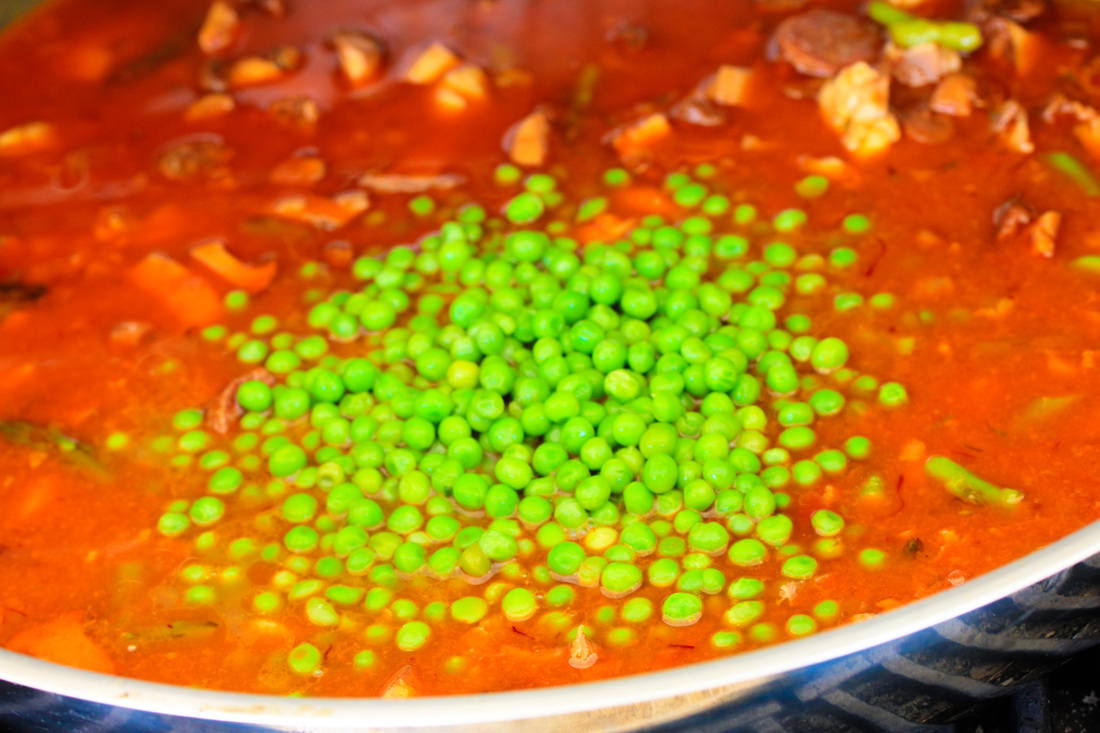
Add the Sofrito and cook for another 3 minutes. Make sure that you stir constantly. Add the peas. Pour in the chicken stock.
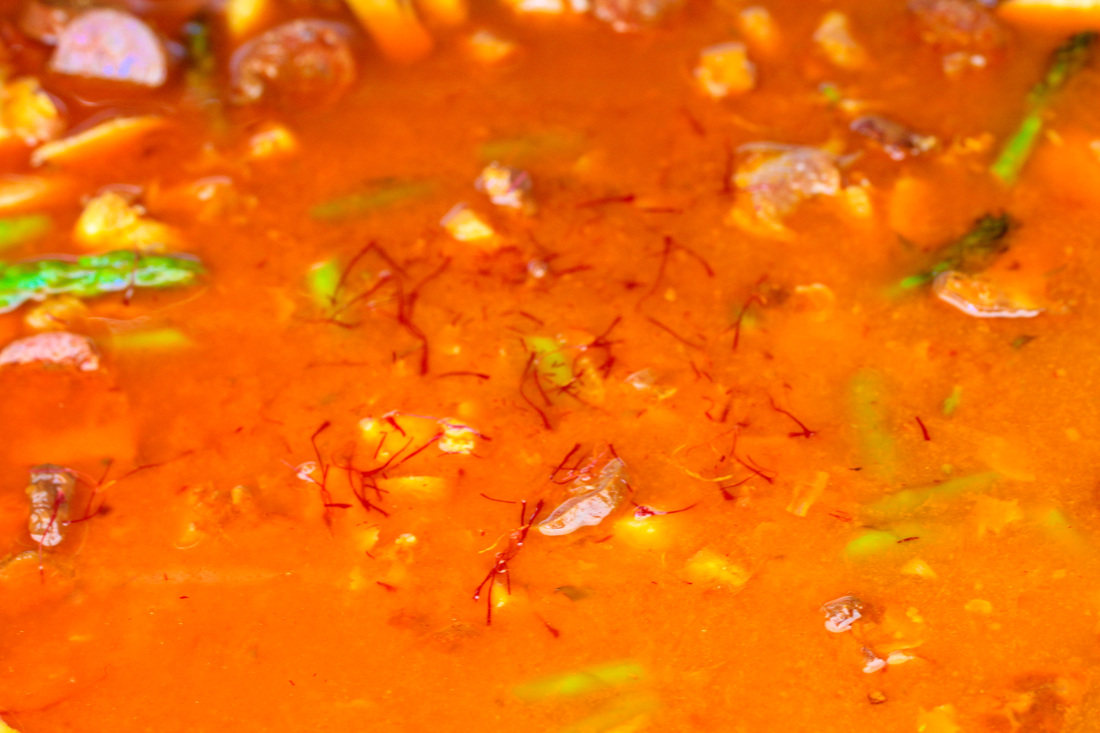
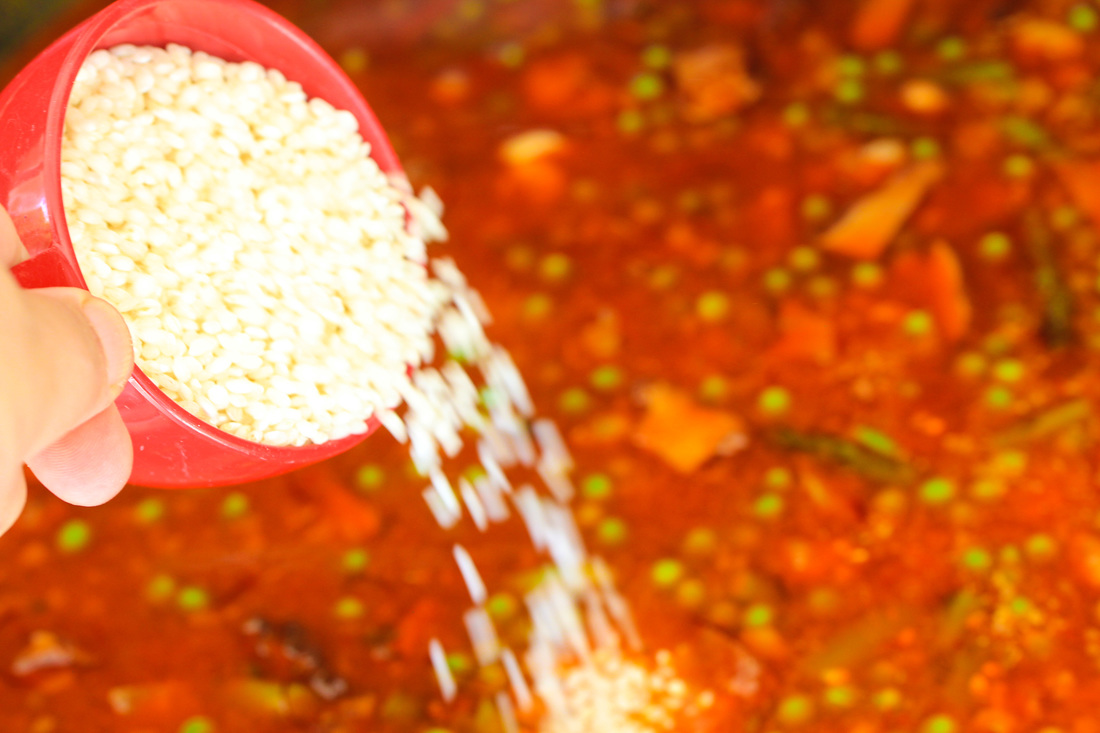
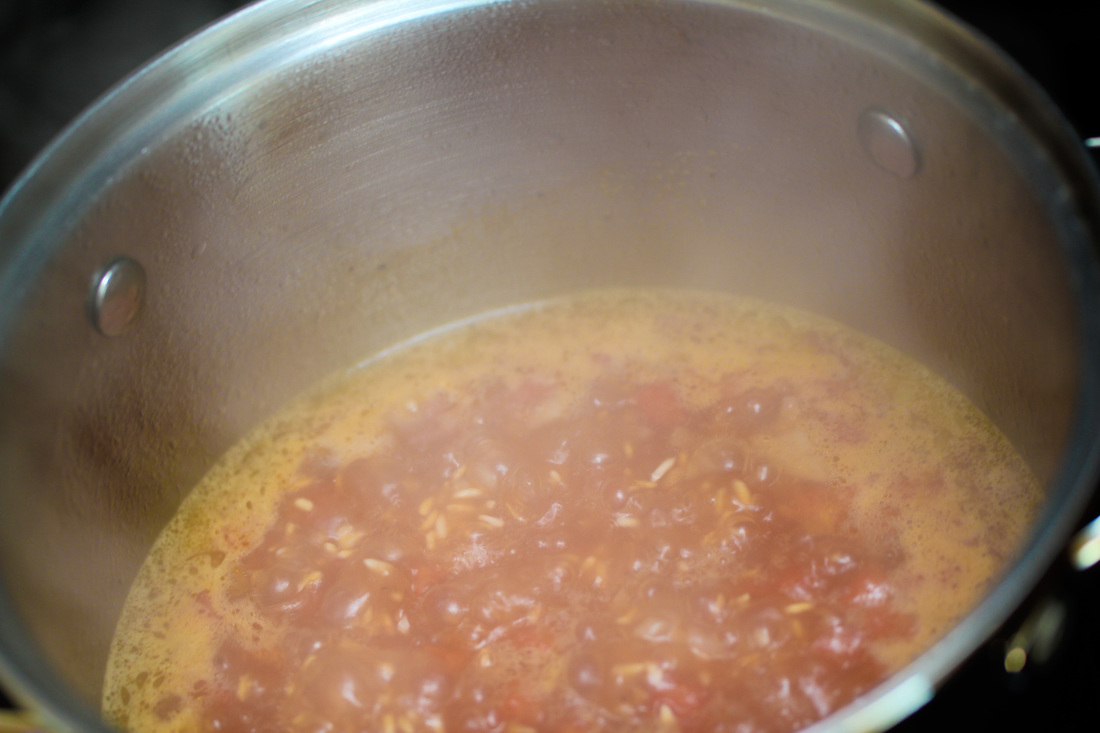
Add the saffron thread. They are best if you toast them in some aluminum foil first and then crush them. This will release even more flavors. Add the rice - make sure that you distribute it evenly in the pan. Cook for another five minutes - stirring every 30 seconds or so. You will see the rice floating to the surface when it starts absorbing the chicken stock.
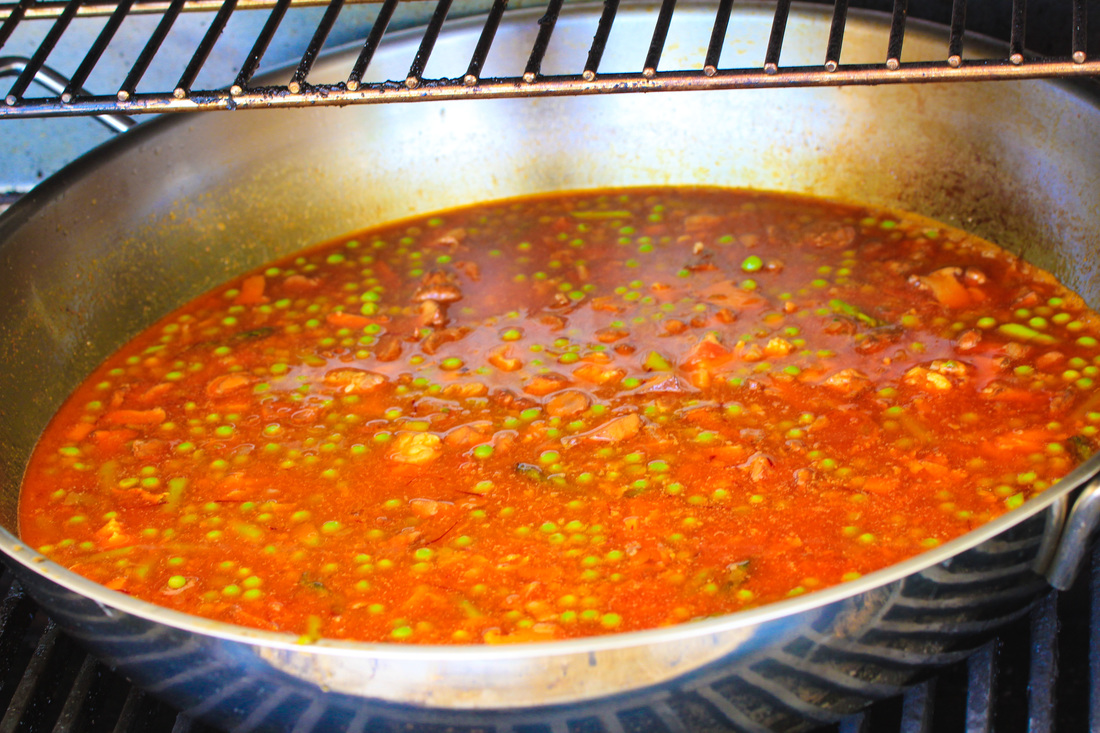
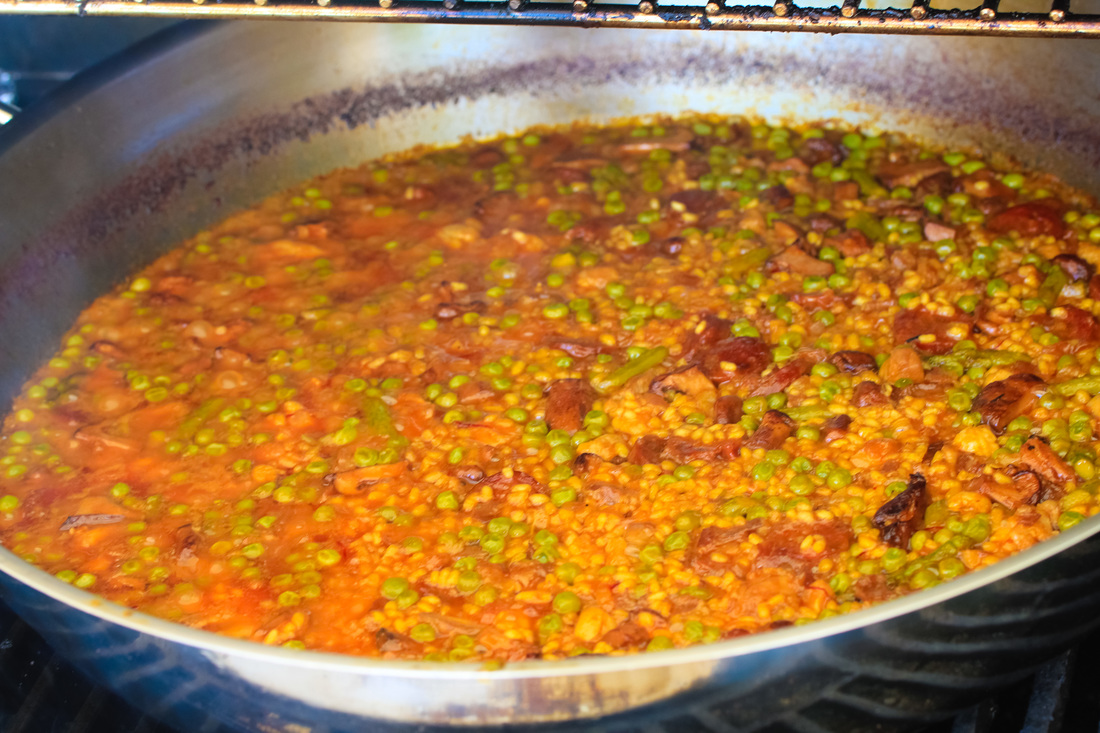
Reduce the heat to low and cook at a slow boil until all the liquid is absorbed. This normally takes 10-15 minutes. This is important: DO NOT put your finger or spoon into the paella during this part. If you do, the rice will cook unevenly. It is really hard to resist but if you want a great paella - don't!! On the two pictures above you can see the rice absorbing the liquid slowly. 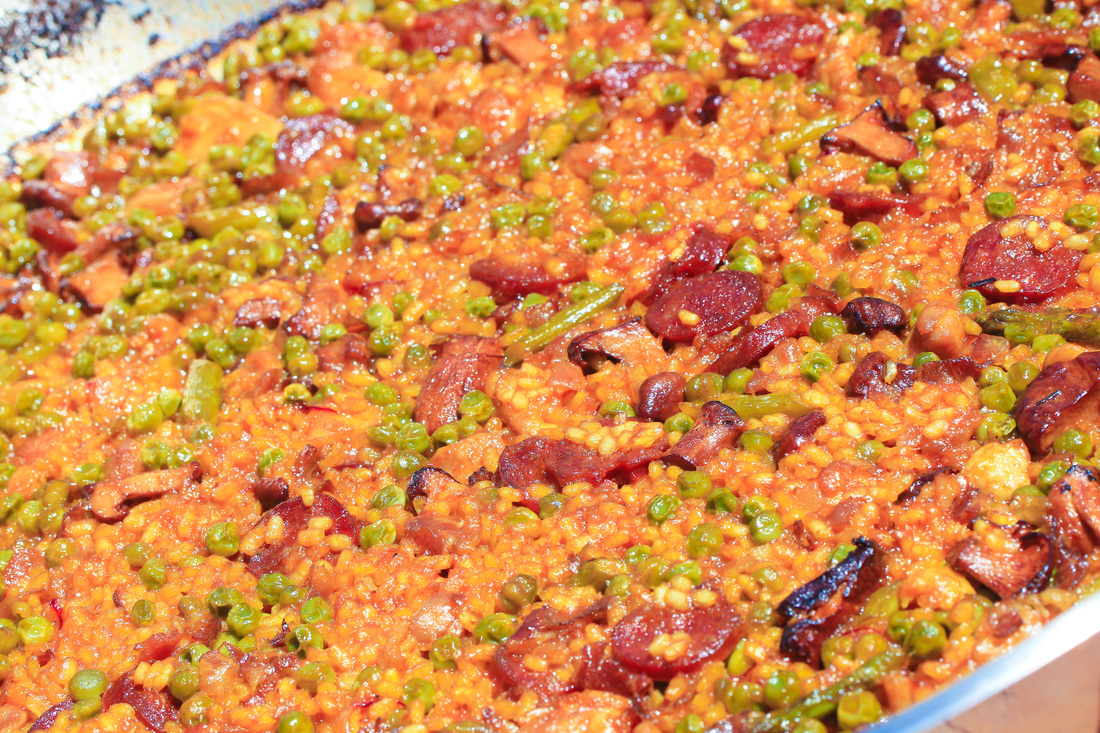 Remove from grill and let the paella sit for 3-4 minutes There should be a nice shine to the paella and all the liquid should be absorbed. The rice in the bottom should be crisp and crunchy and the rice on the top should be creamy and smooth. The great thing about paella is that if done correct - you will have rice with different textures that add a nice touch to the dish. Serve immediately!! Another great thing about paellas is that it is easy to switch out ingredients and you will get a different kind of paella. Instead of chicken stock - use fishstock and instead of chicken and chorizo, use shrimp and mussels and you have a great seafood paella. Experiment and enjoy - this is a great base recipe. 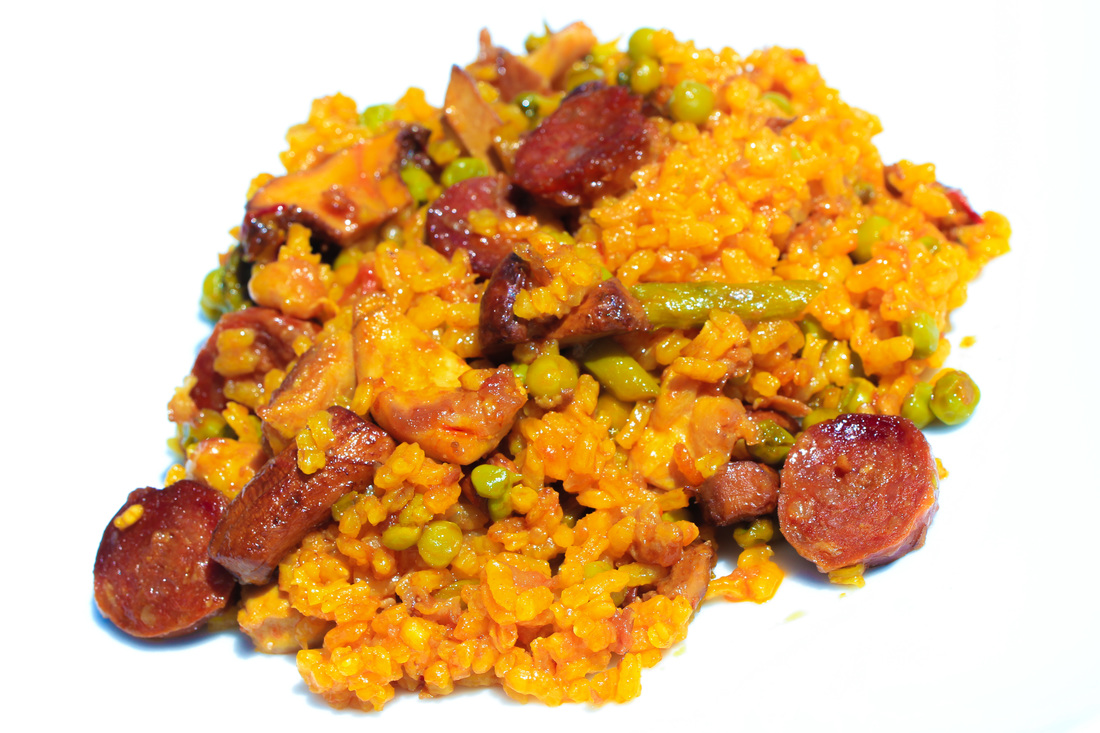 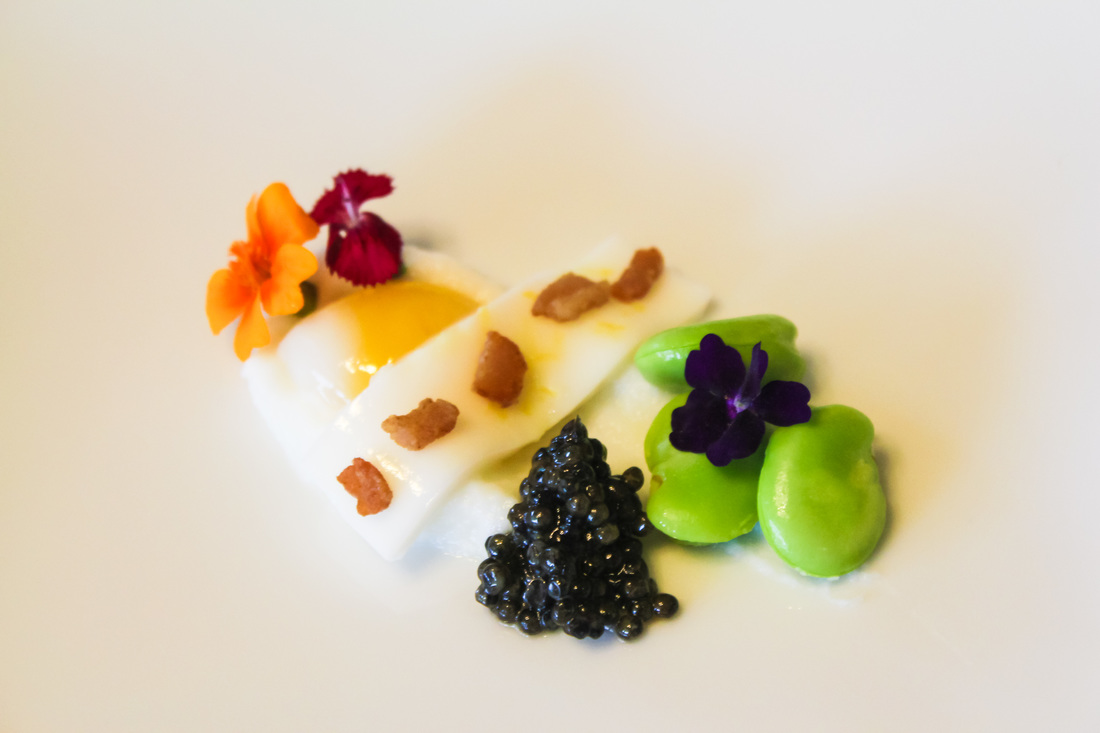
Everybody sometimes want to make a fancy appetizer, that will have the guest in awe. You can never go wrong with caviar to achieve this. The salty, irony tasty and the pop when you bit into them is simply amazing. Here is a great recipe inspired by Eleven Madison Park and Daniel Humm.
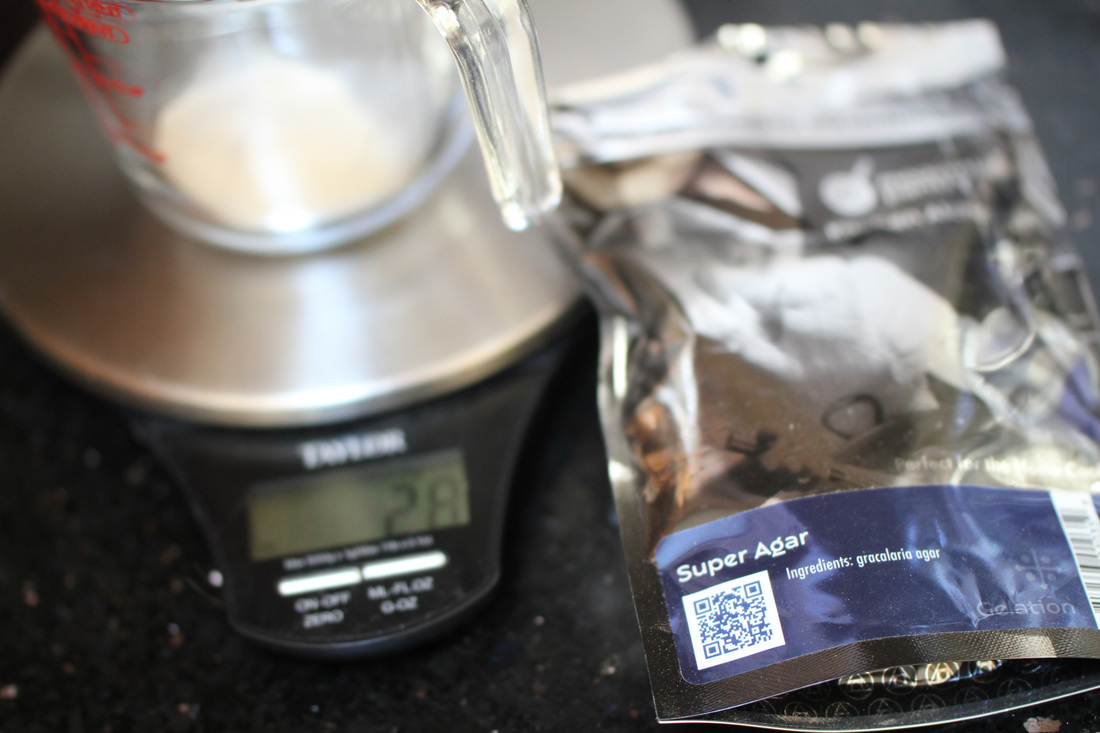
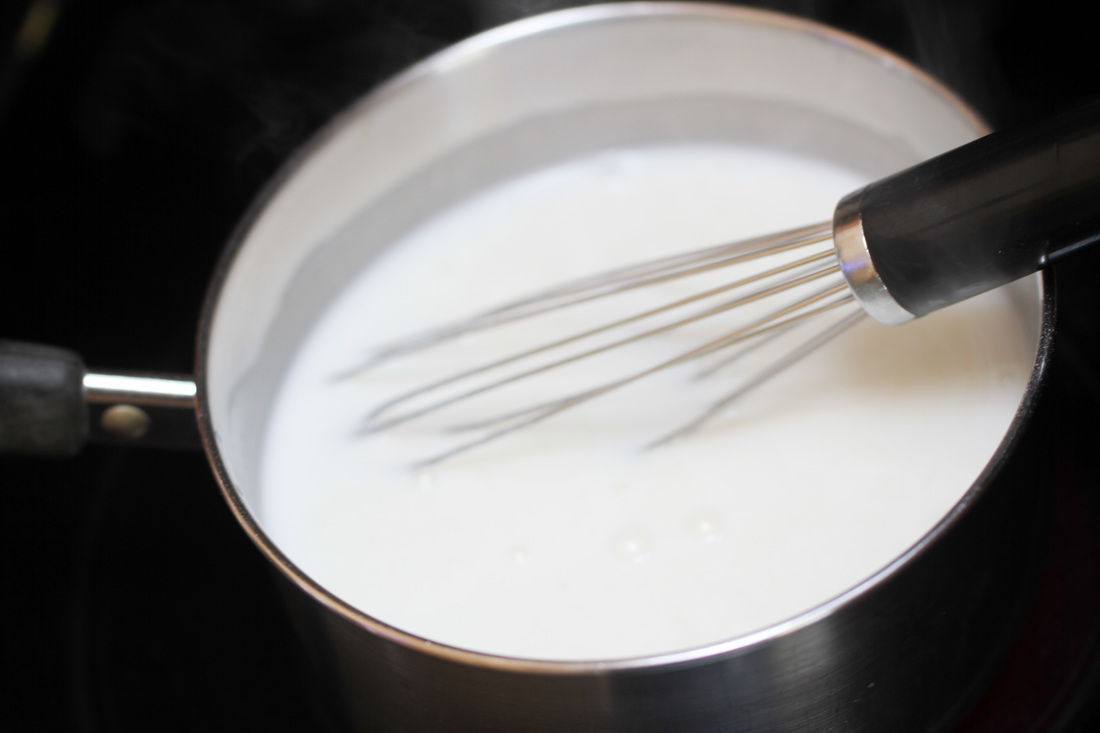
Start with the buttermilk gel. In a smaller saucepan, whisk together the buttermilk, agar-agar and salt. When it begins to boil whisk constantly for two minutes. Let it cool and refrigerate for two hours. After two hours cut into smaller pieces and puree in a blender on high speed until shiny and smooth. Set aside in a cool place.
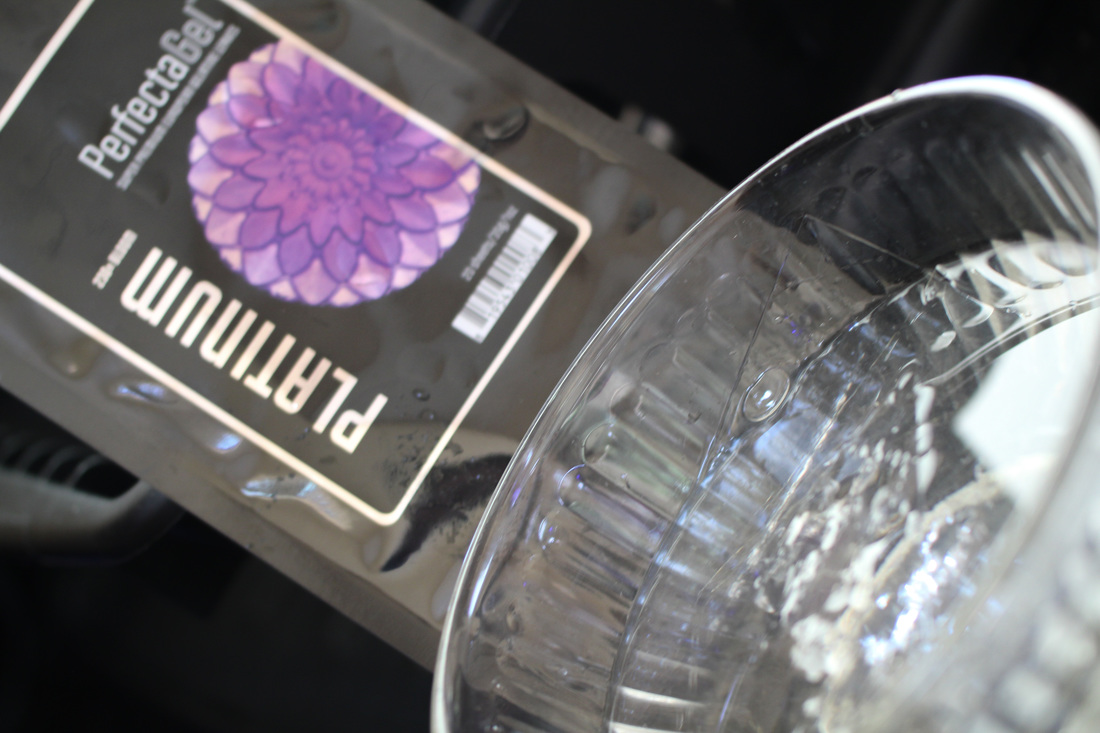
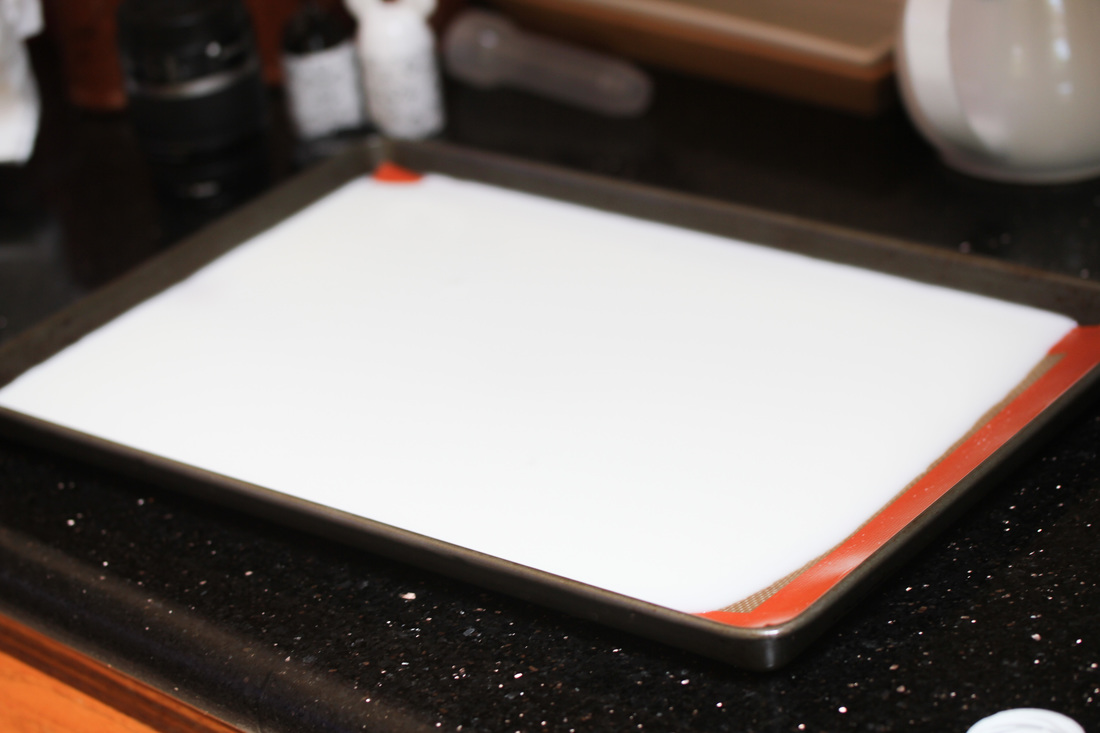
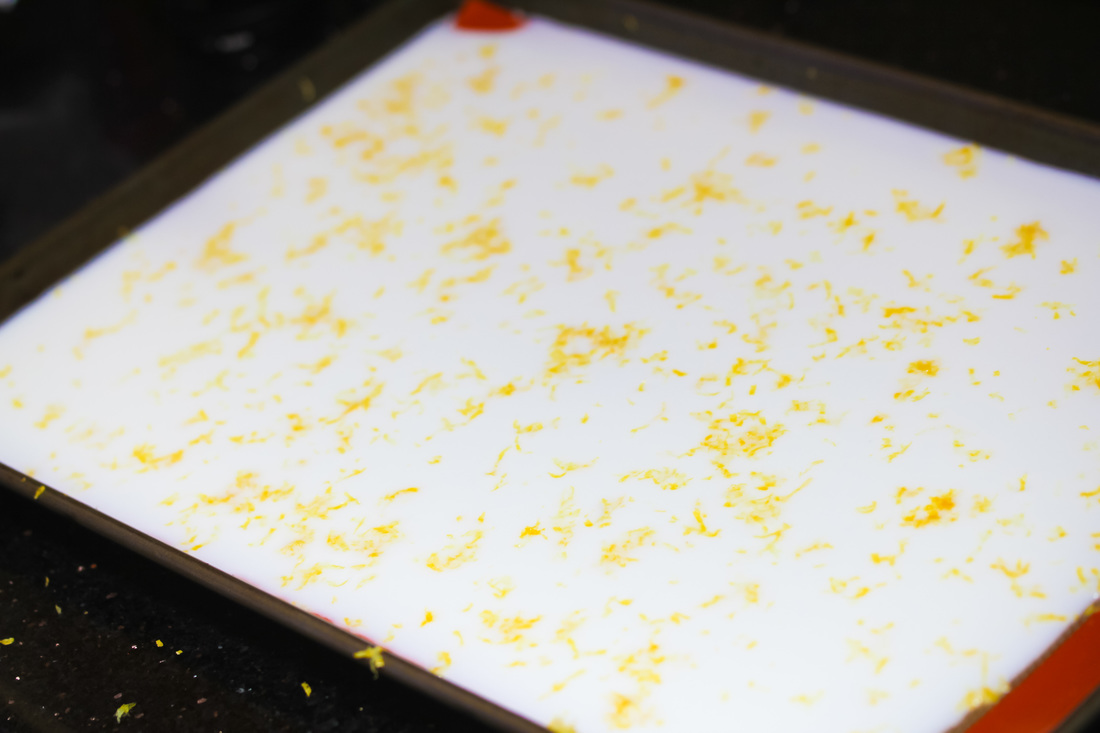
Start preparing the Buttermilk gelee next. Start by blooming the gelatin in a bowl of cold water for 10 minutes. While you are waiting, heat 1/2 cup of the buttermilk, but don't bring it to boil. Squeeze the gelatin to remove excess water. Stir into warm buttermilk to dissolve and then pur in the rest of the buttermilk. Season with salt to taste. Put a Silpat on a oven tray and pour the buttermilk, yielding a 1/16-inch thick gelee.
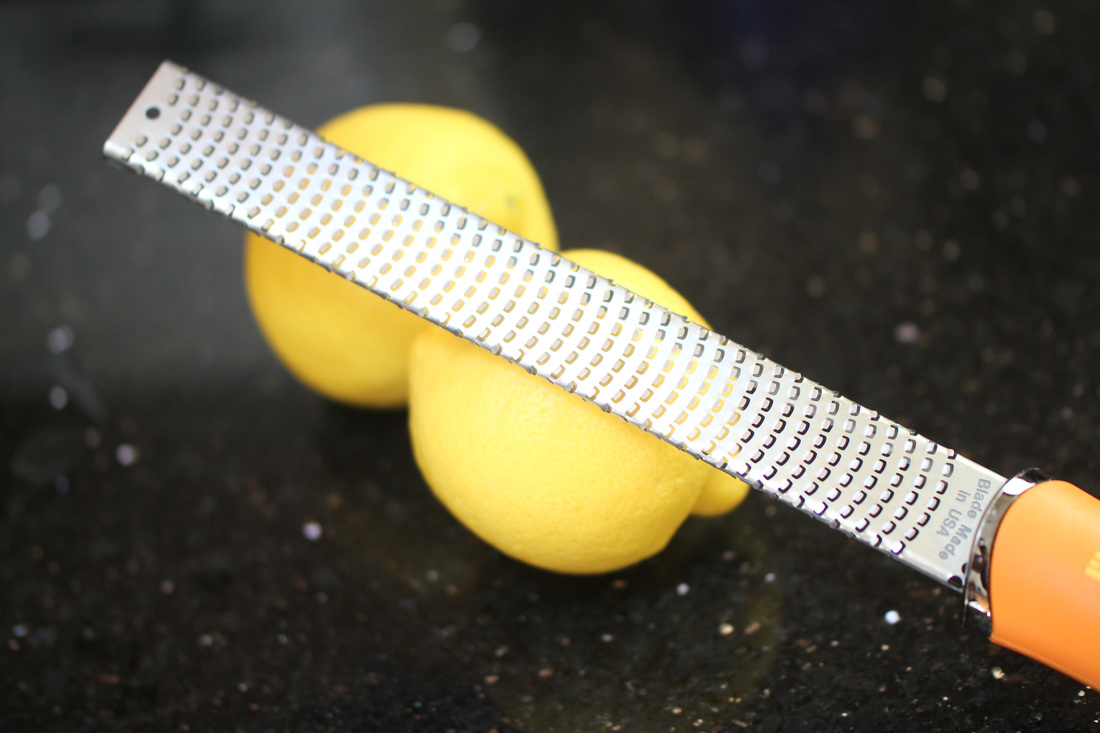
Zest the lemon with a microplane grater evenly over the gelee. Refrigerate for at least one hour, until set. When ready to serve, cut gelee into 1/2 by 3/4-inch strips.
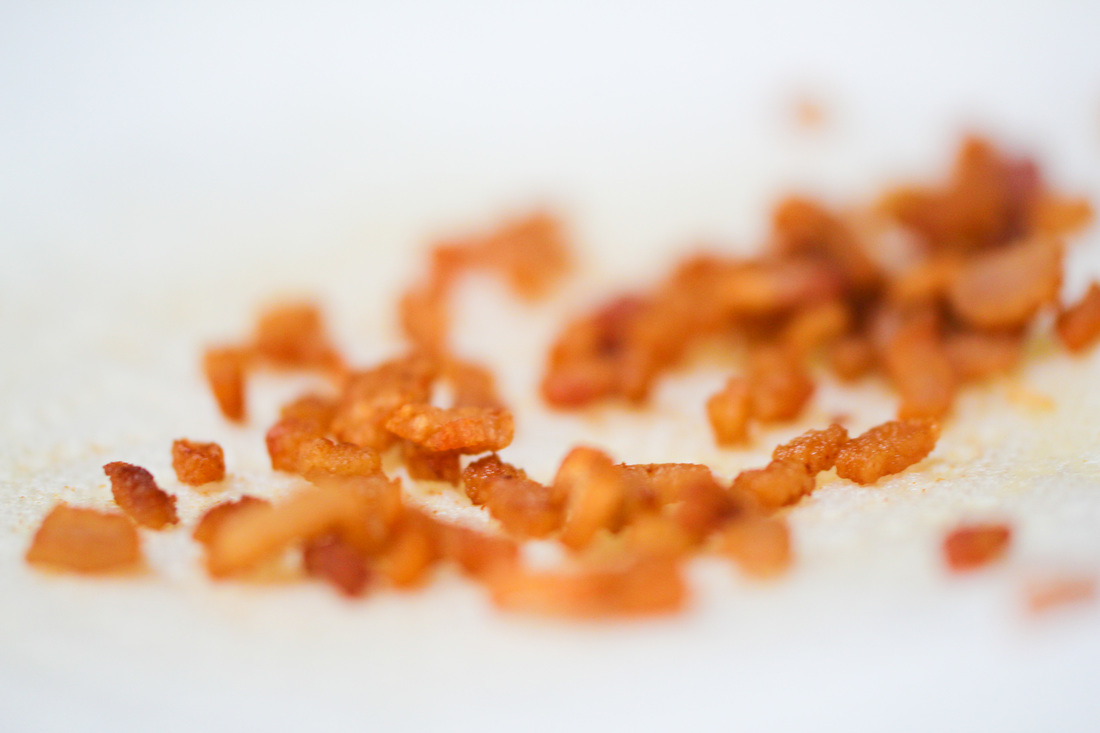
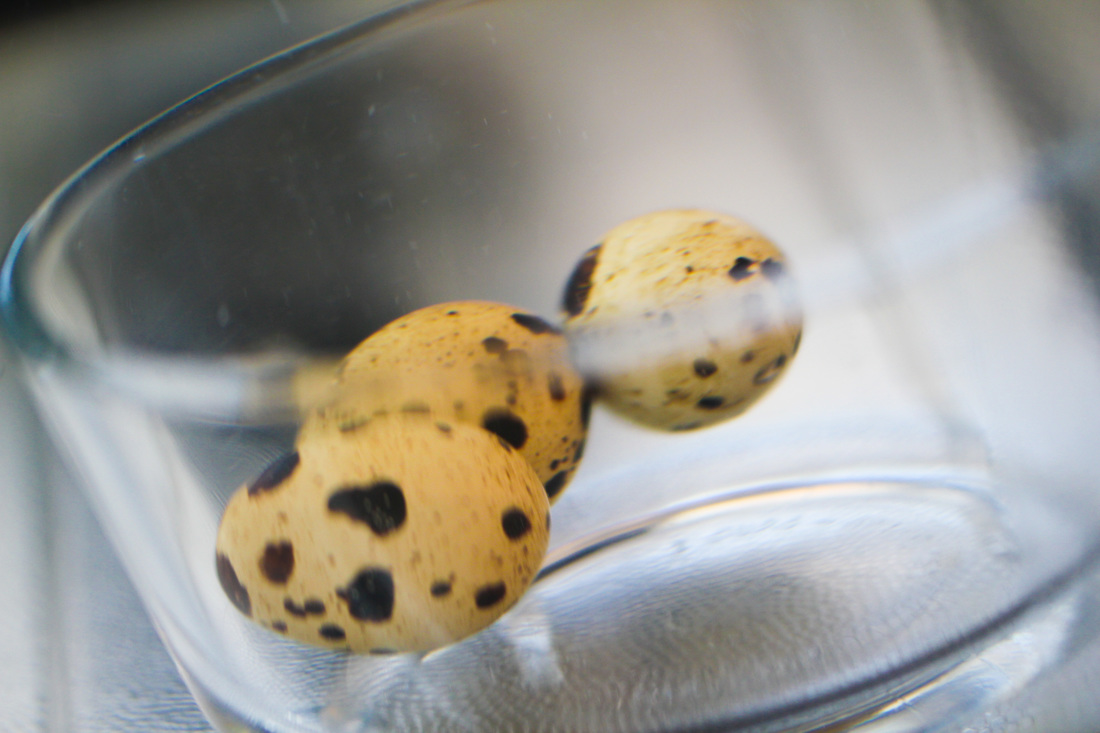
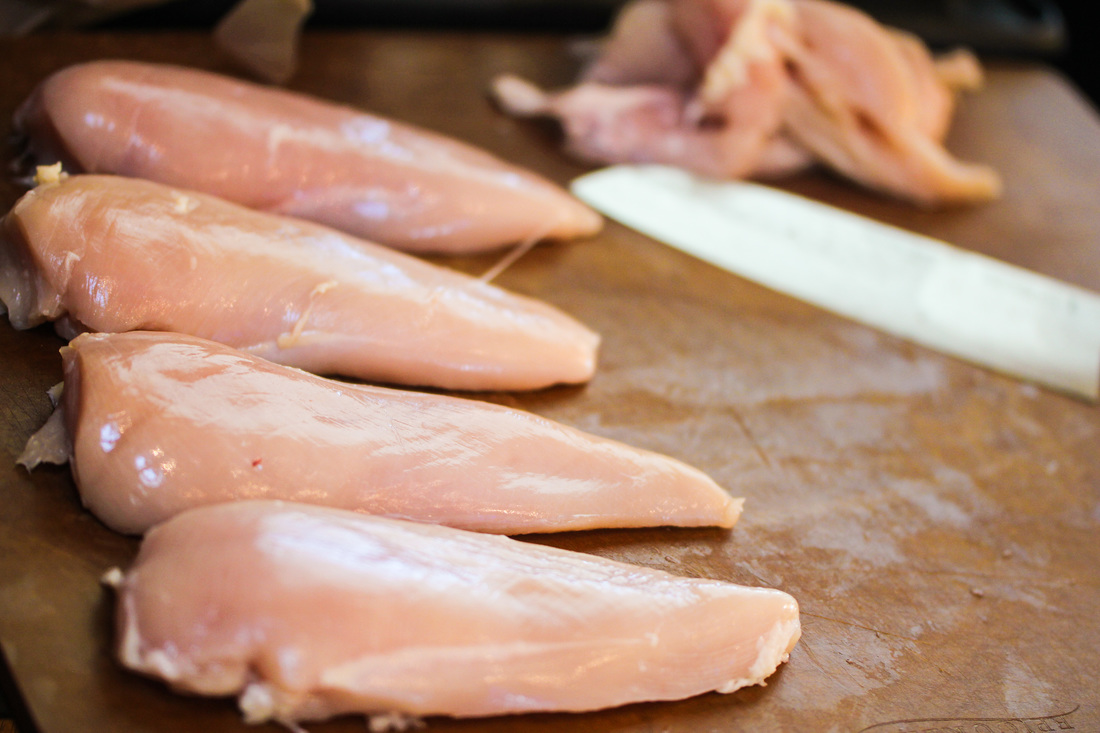
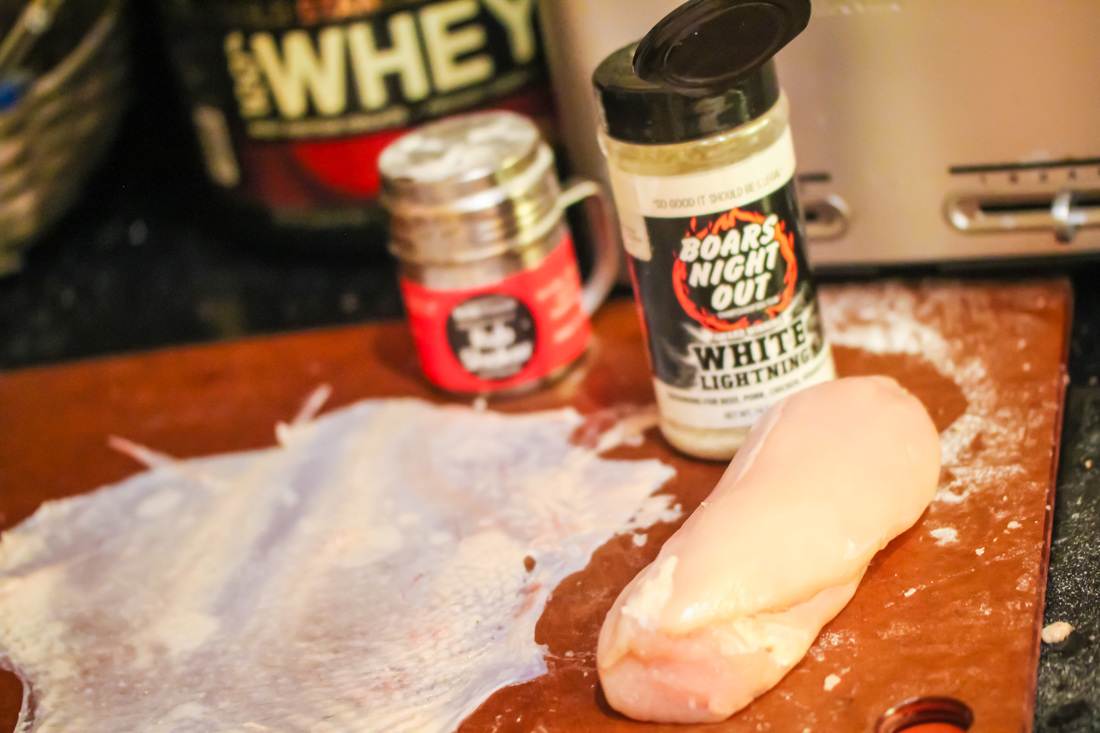
Cut bacon in small bits and quickly saute for a couple of minutes. Make sure that don't burn them. Boil the fava beans for two minutes and then quickly dip in waterbath. Poach the egg by sous viding them in 145.4 degrees Fahrenheit (63 C) for 30 minutes. Now you are ready to assemble your appetizer. 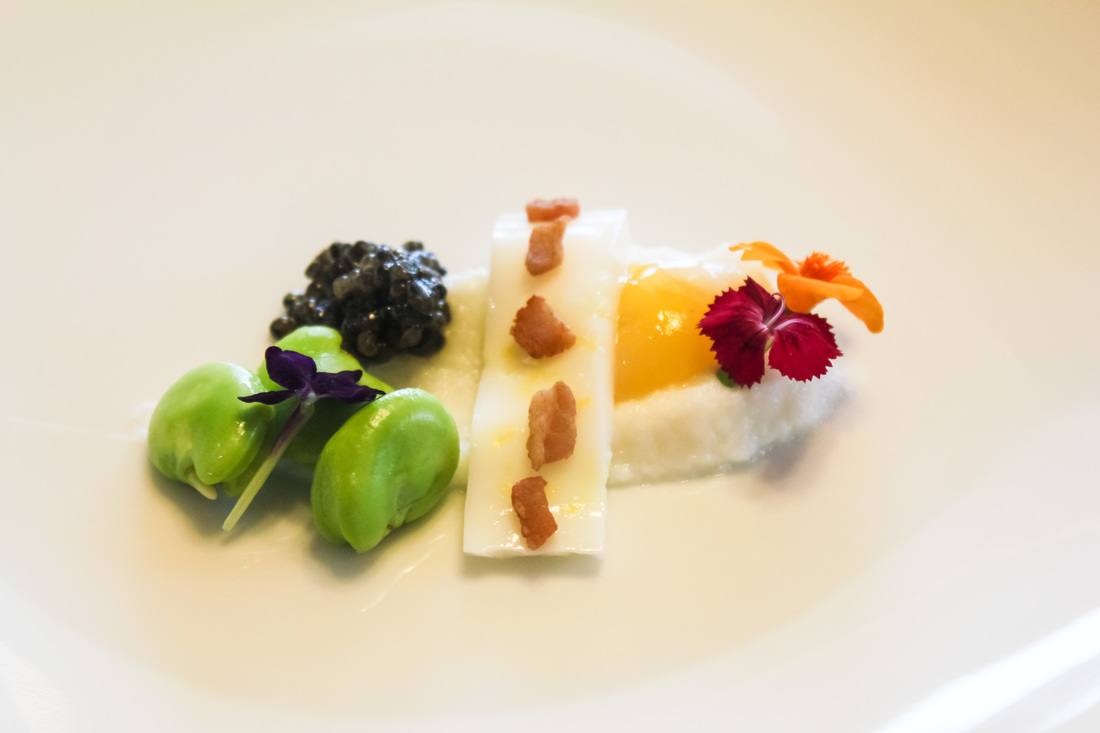 For each serving, spoon a tablespoon of the buttermilk gel on a plate and pull it to the left with a spoon. Place a quail yolk on top of the dollop. Season with some fleur de sel. Arrange some Fava Beans on the plate alongside the gel. Lay a tablespoon of caviar by the yolk and then lay a strip of the buttermilk gelee crossways over the yolk. Place 5-7 pieces of bacon bits on the gelee. Garnish with some edible flowers. 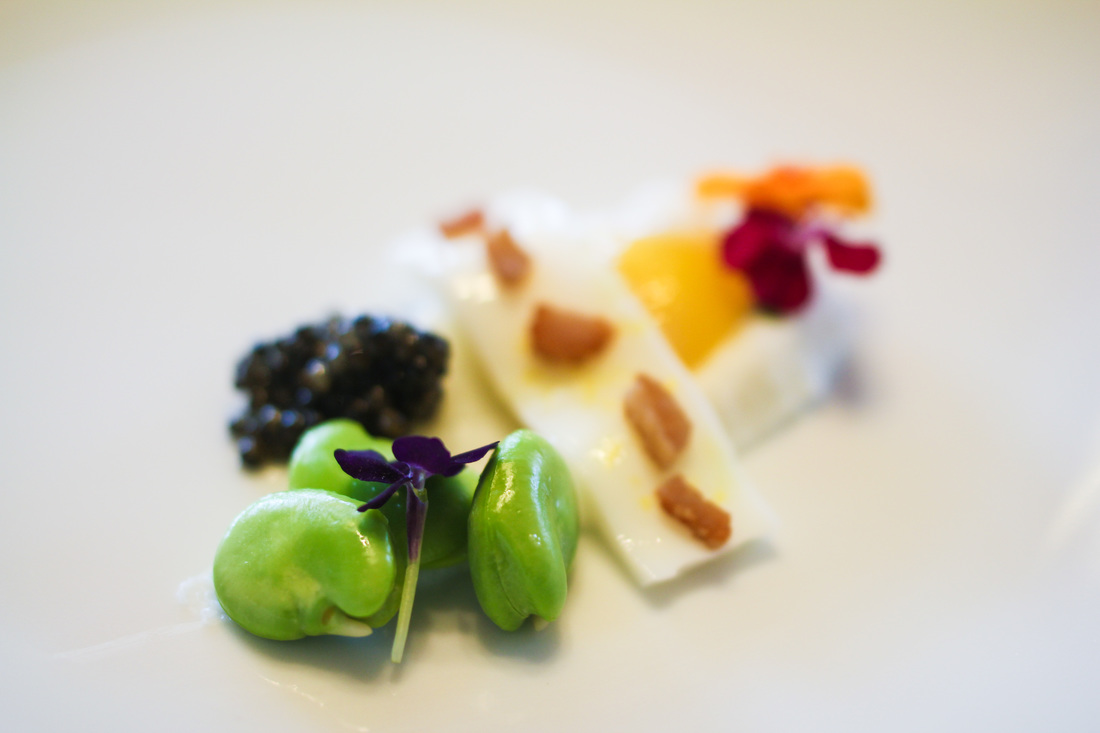 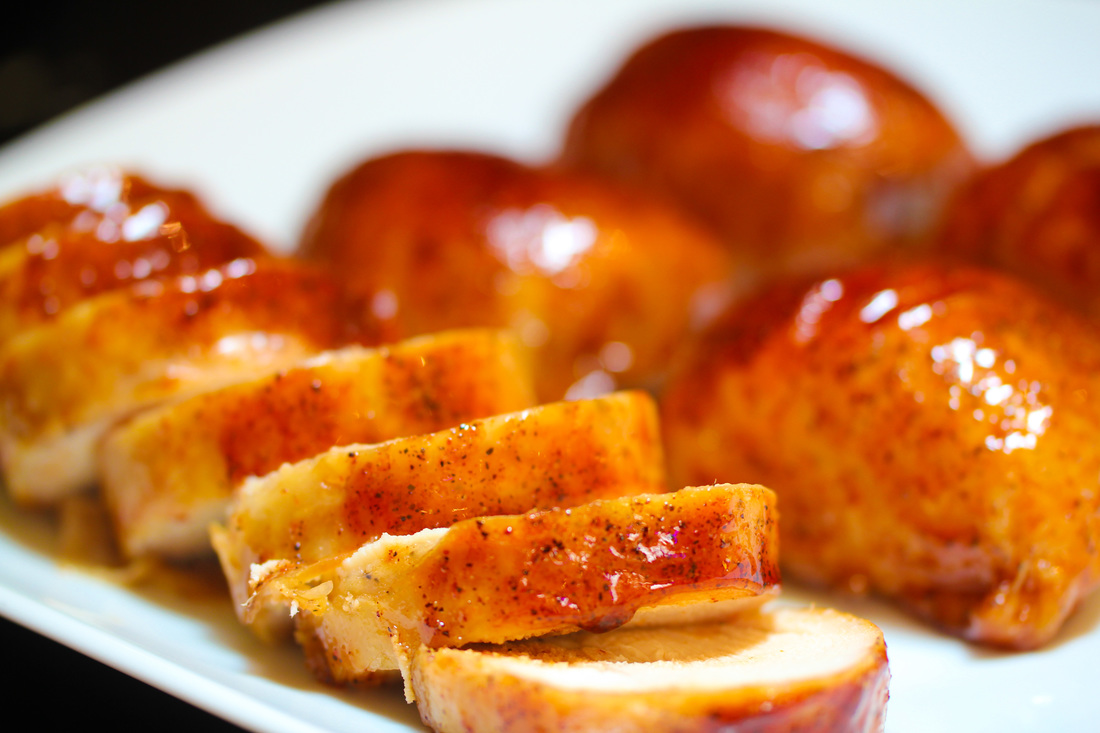 Ingredients: Skinless Chicken breast Whole chickens Your favorite chicken BBQ rub Butter - tons of butter RM Transglutaminase - I use Moo Gloo Dipping sauce - 1/3 BBQ Sauce 1/3 Honey 1/3 Apple juice Real men don't eat sushi - I remember this slogan from an old Chevy commercial back in my native Sweden. I happen to love sushi - but if you want to make something more meaty - well, maybe you should try Smoked Chicken Rolls. Moist and flavorful rolls of chicken wrapped in chicken skin. Too conduct this little neat trick you will need Meat Glue - Transglutaminase. Transglutaminase is an enzyme that catalyzes the formation of an isopeptide bond between a free amine group (e.g., protein- or peptide-bound lysine) and the acyl group at the end of the side chain of protein- or peptide-bound glutamine. In plain English - you can glue different cuts of meat together without any strange flavors.
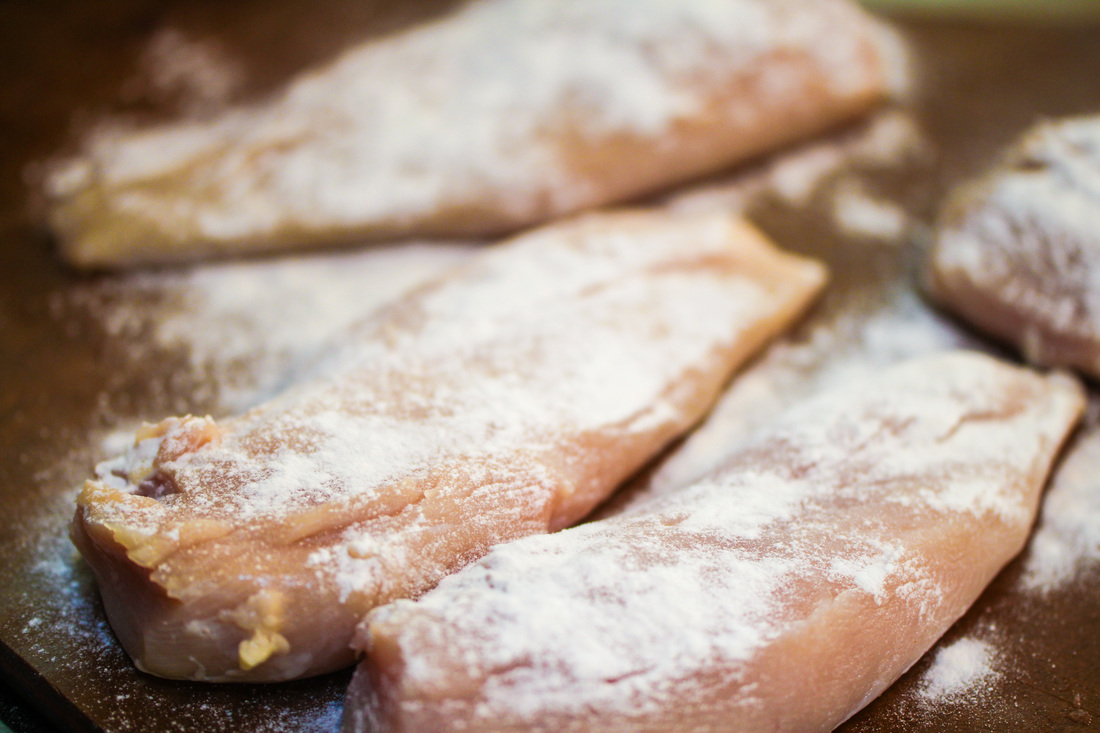
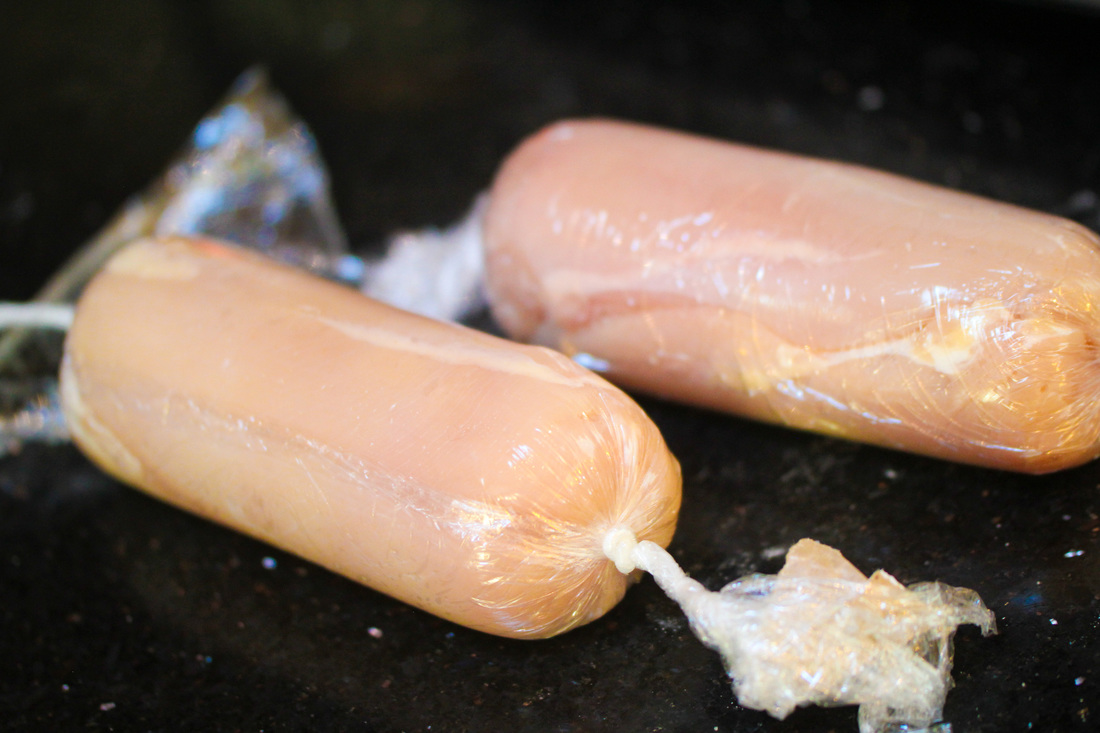
Start with trimming the chicken breast so that they are similar in size. Sprinkle richly on the sides you will connect with each other with Meat Glue. Place the chicken breast opposite each other - so the thin end in one breast connects with the wider end on the other breast. Roll them up so they get a nice log shape in some plastic wrap and keep in refrigerator for at least 8 hours. That is enough time for the meat glue to connect the tissues.
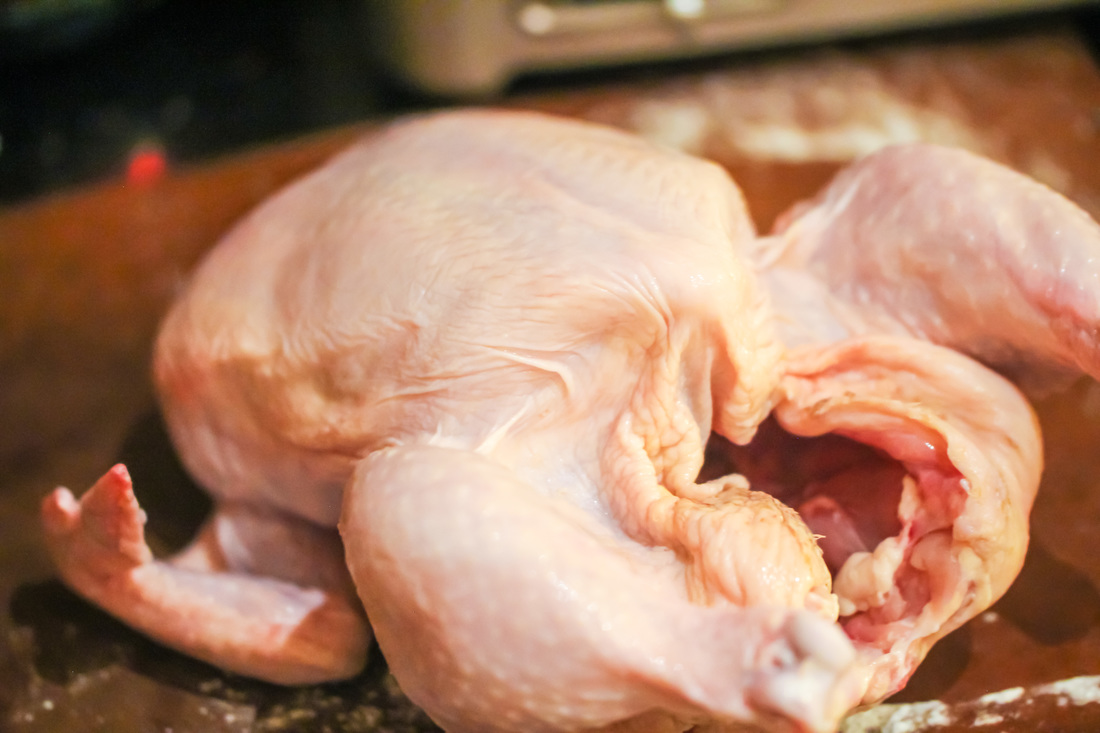
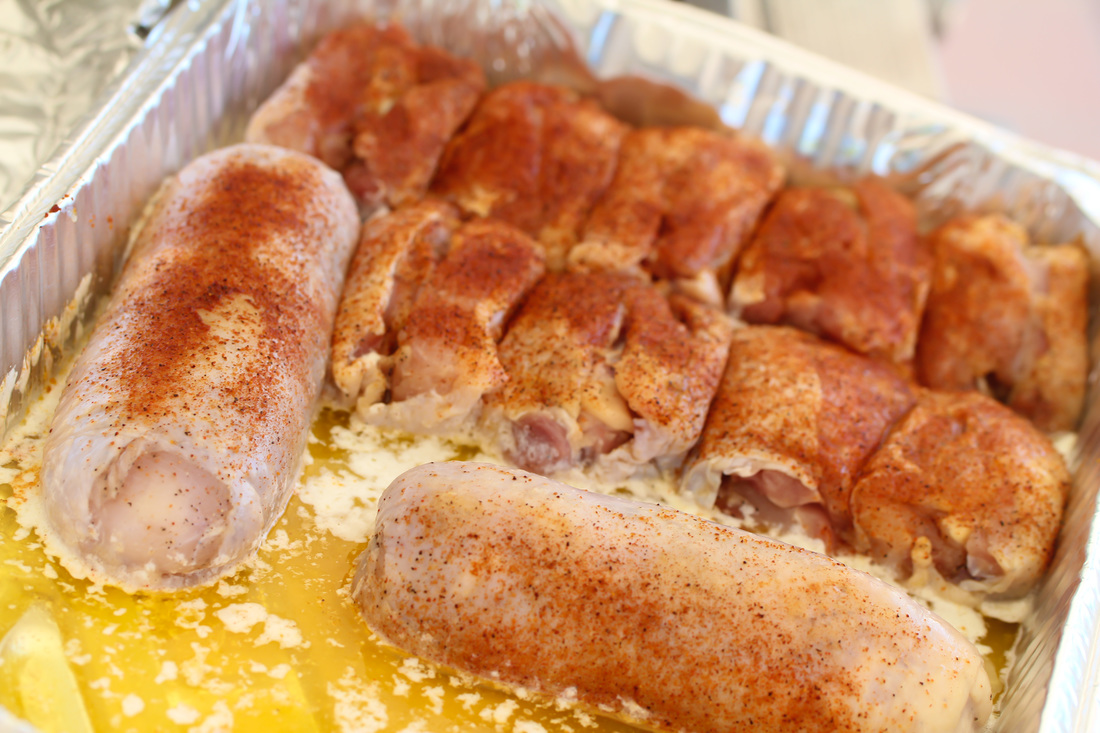
Carefully tear the skin of the whole chicken and trim the skin so it fits nicely around the chicken breast roll. Sprinkle your favorite chicken rub on the chicken roll and then sprinkle the backside of the skin with more meat glue. Wrap the skin around the chicken roll and put back in refrigerator for another 8 hours or so. When done, inject breast with some brine and sprinkle outside of skin. You are now ready to start cooking.
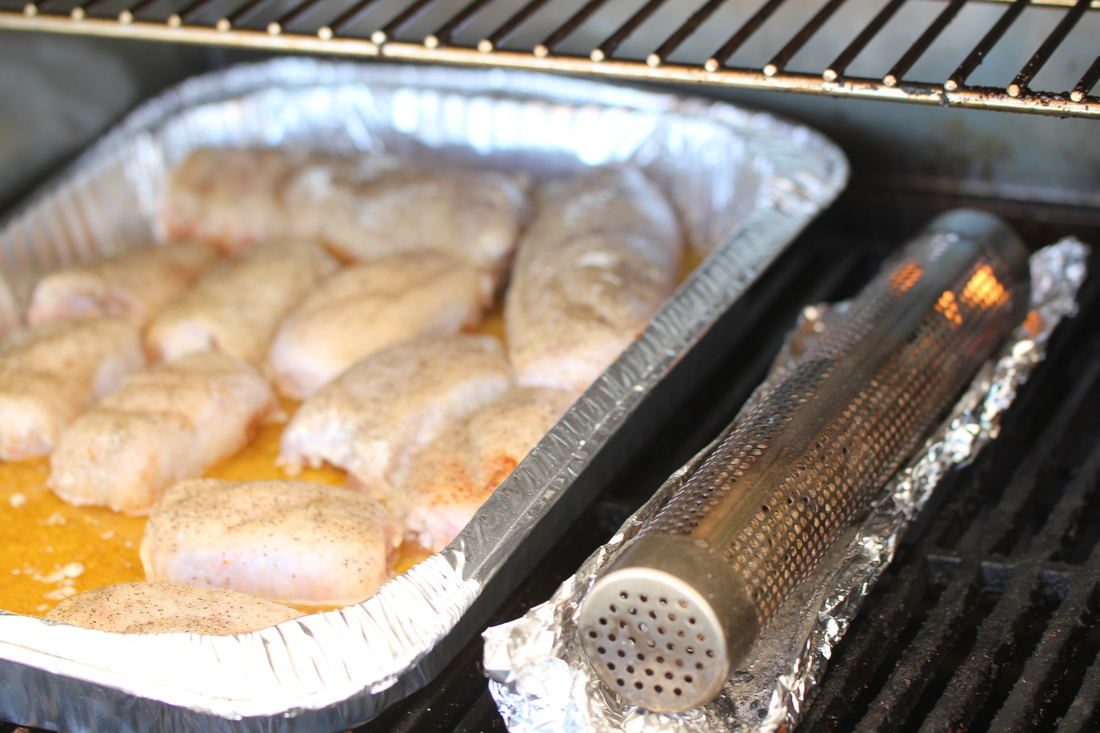
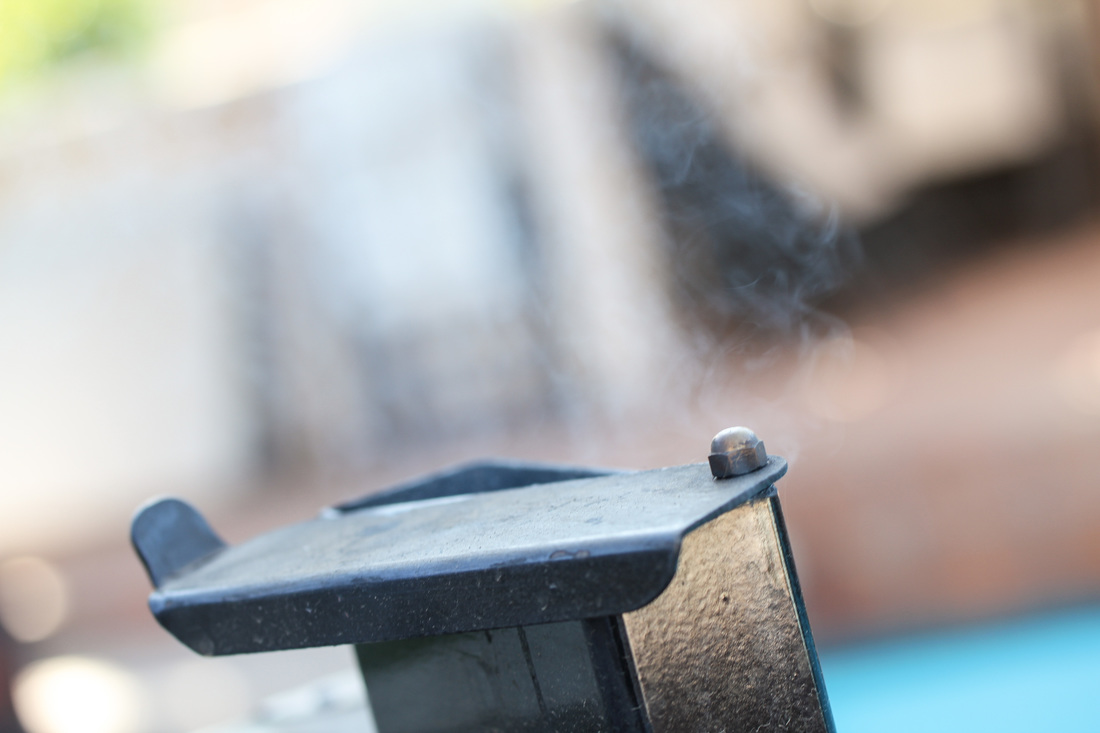
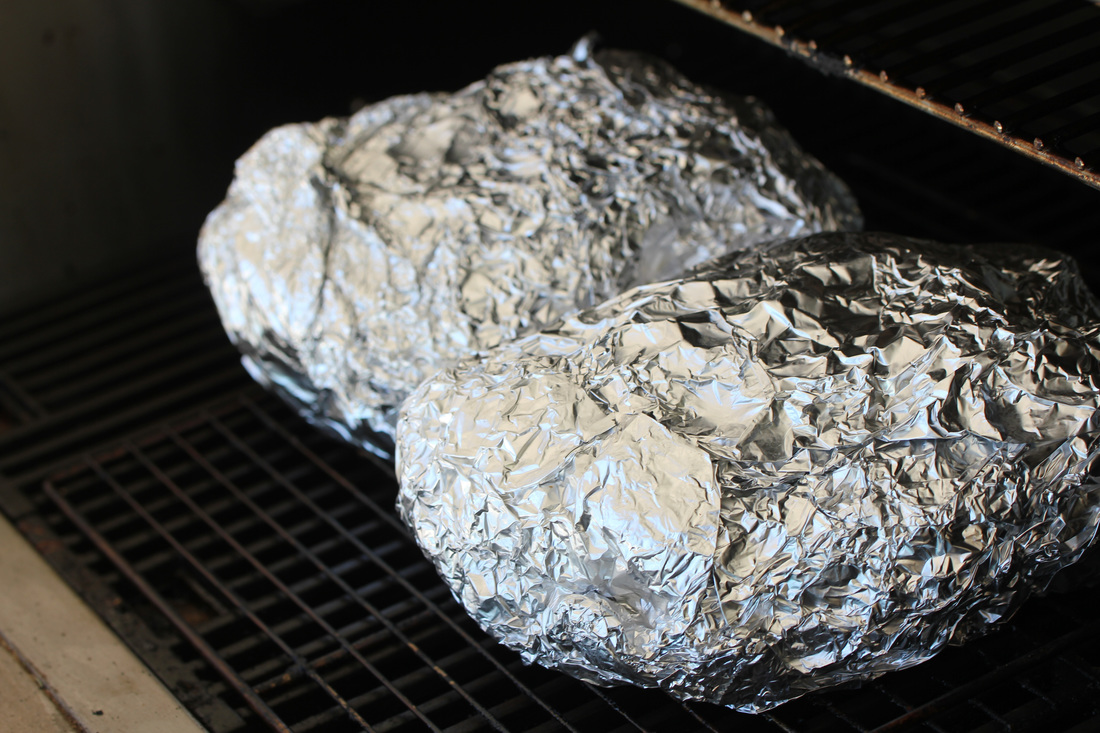
Place the rolls in an aluminum pan on a bed of butter. Think 8 tablespoons of butter per roll. Cover the pan with foil and place in smoker on indirect heat 400 degrees Fahrenheit. Cook covered for about 45 minutes. After 45 minutes, open the pan and turn the rolls. Cover again with foil and cook for another 30-45 minutes. In order to get some smoke into your rolls, uncover the pan and smoke the chicken rolls for another 20 minutes at the same temperature. I use a light wood like apple or pecan. 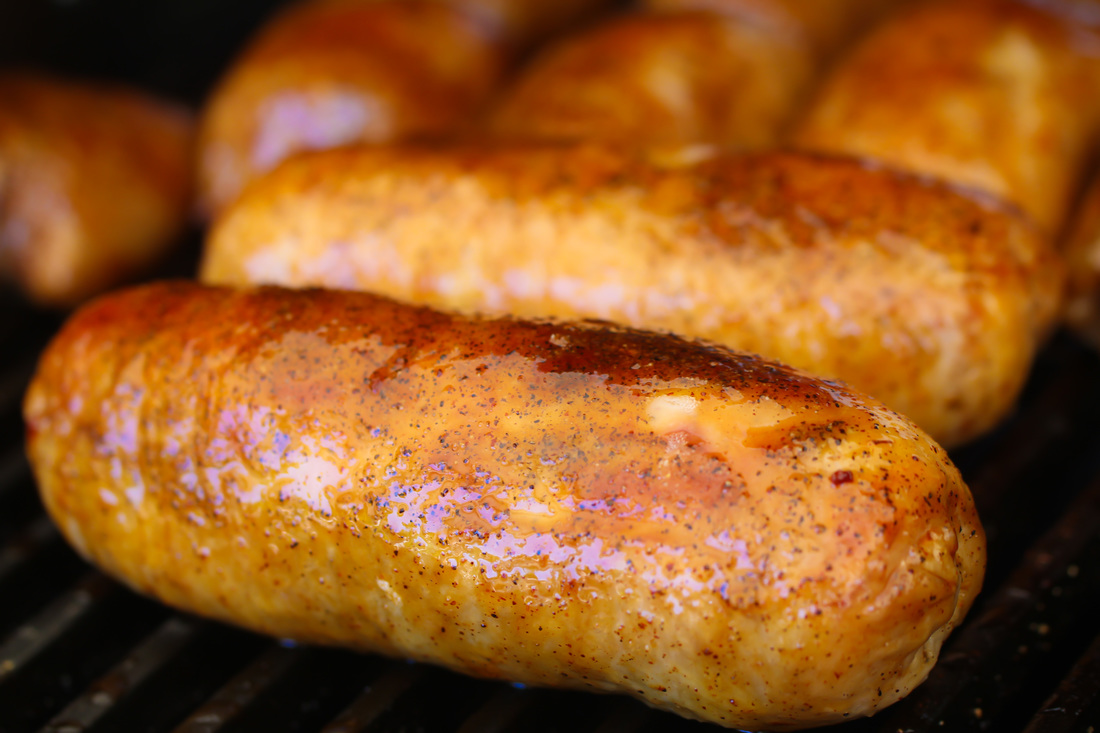 When the chicken rolls are getting to the right temperature - prepare your dipping sauce. I use 1/3 BBQ sauce, 1/3 Honey and 1/3 Apple Juice. Dip the rolls in dipping sauce. Put them back one final time on the smoker to caramelize the sauce. When they rolls have a nice orange shine, take them off the smoker, slice and serve!!  
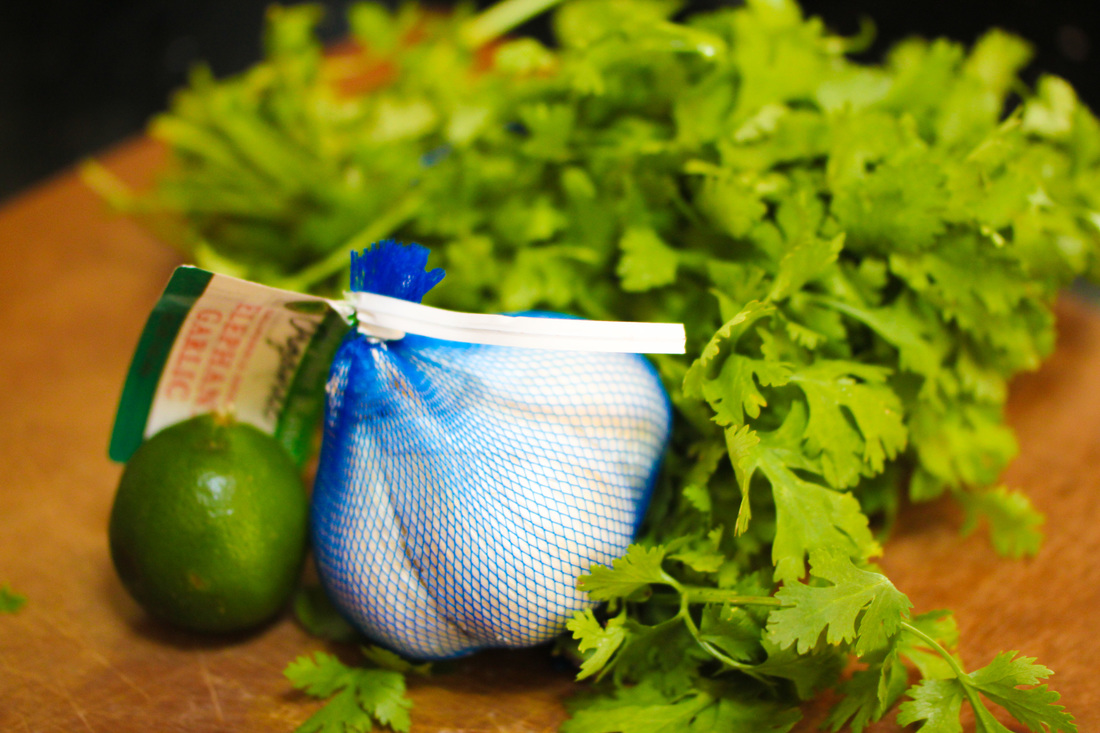
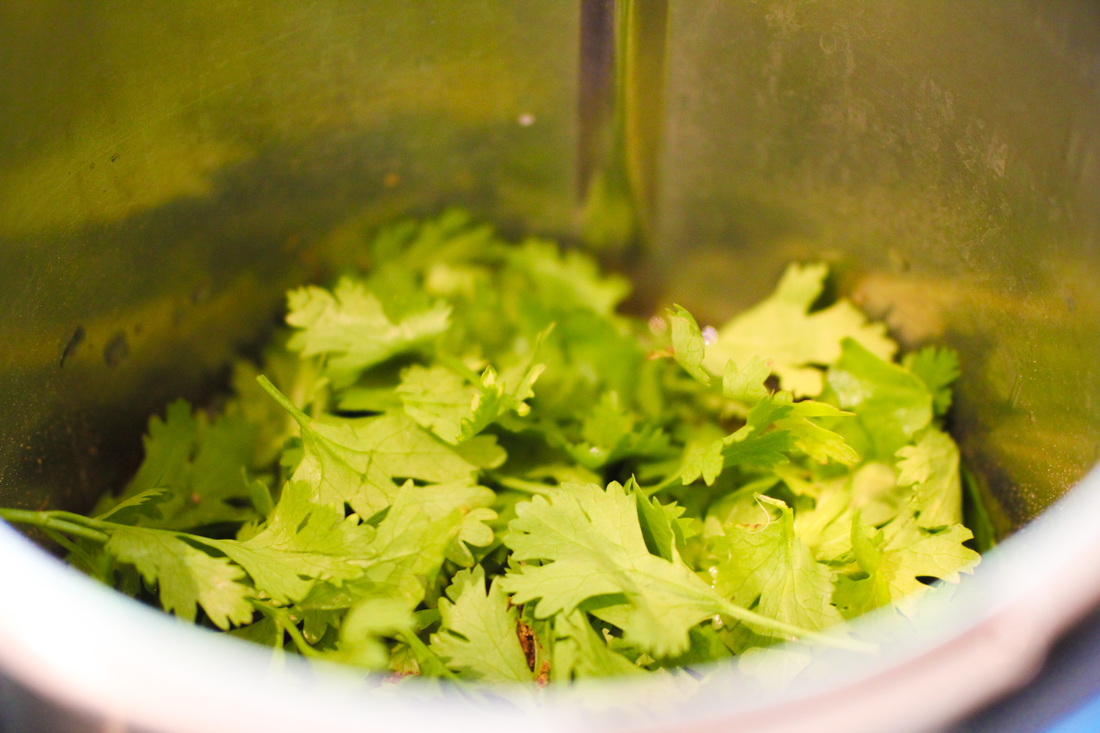
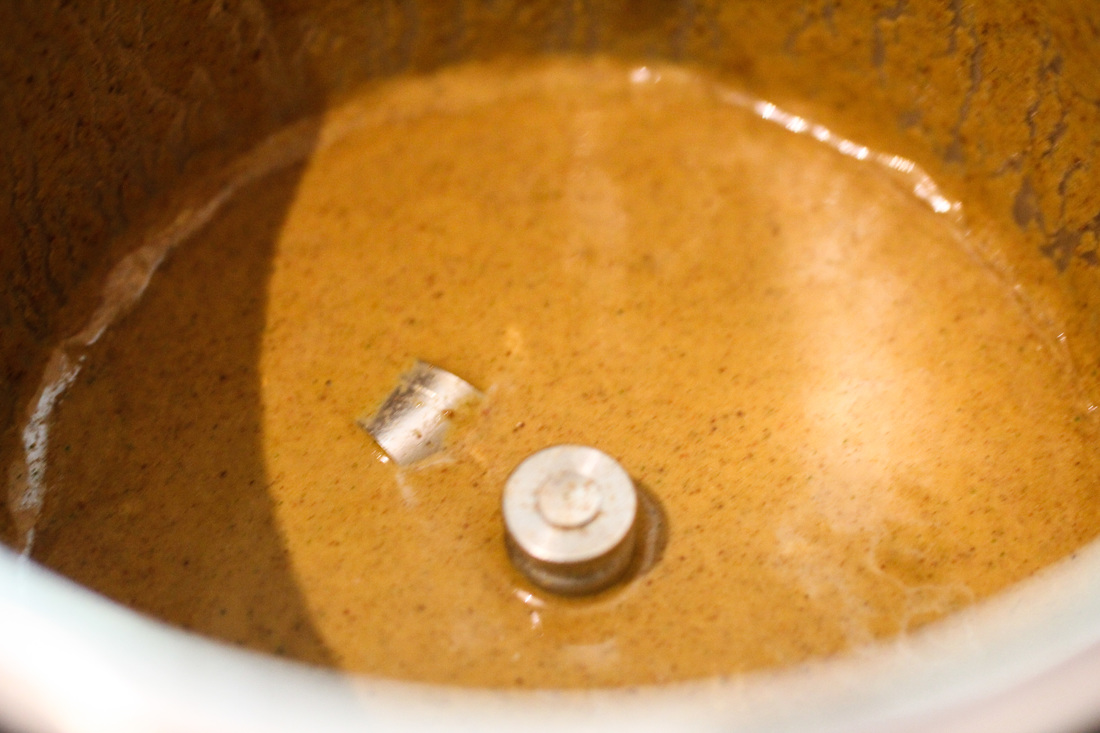
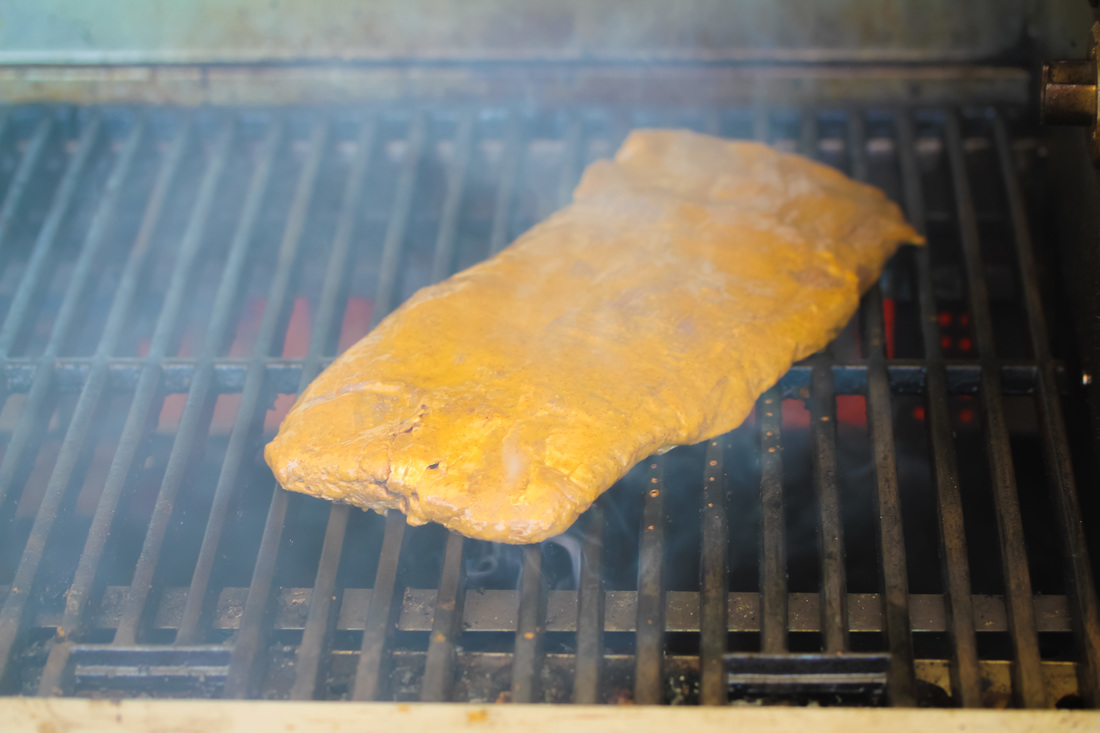
Carne Asada is one of my favorite things to eat - and the key to a great Carne Asada is the marinade. You can by a good marinade at any decent supermarket or Mexican store today - but it is more fun to make it yourself. And you can adjust the seasoning so that you will get it exactly the way you want it. So let us start with my recipe for the Carne Asada marinade. Wash the cilantro and remove the stems. Mix everything into a mixer, and puree on high. You want the marinade to be liquid without any chunks.
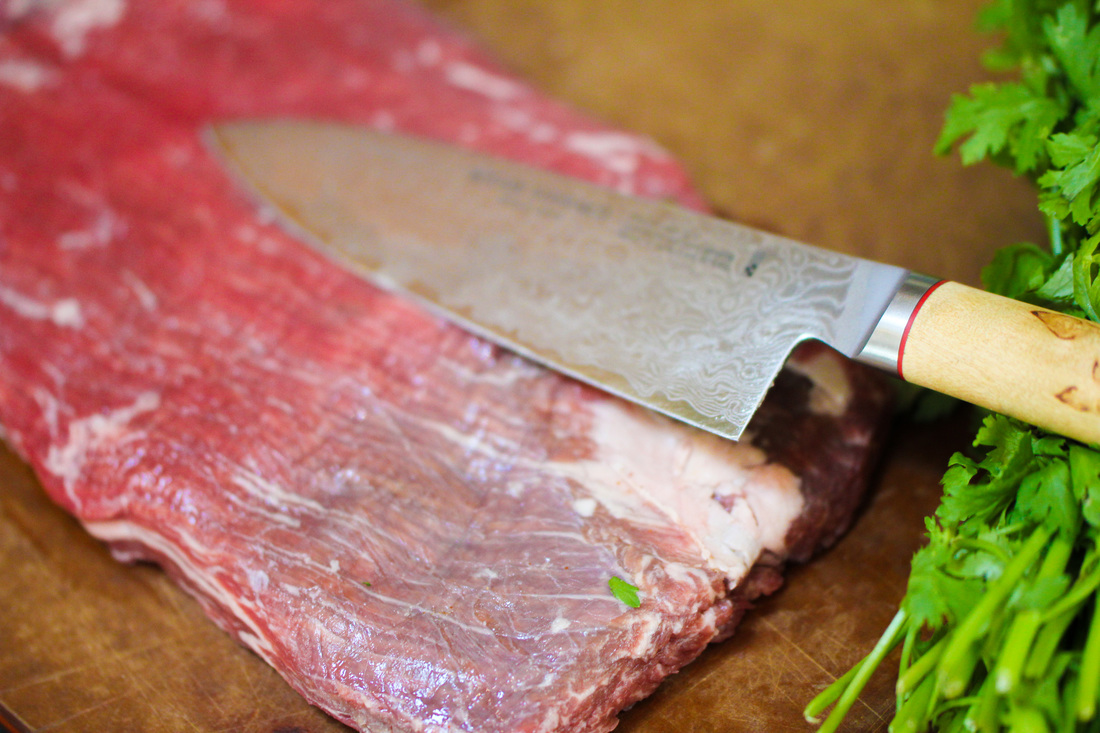
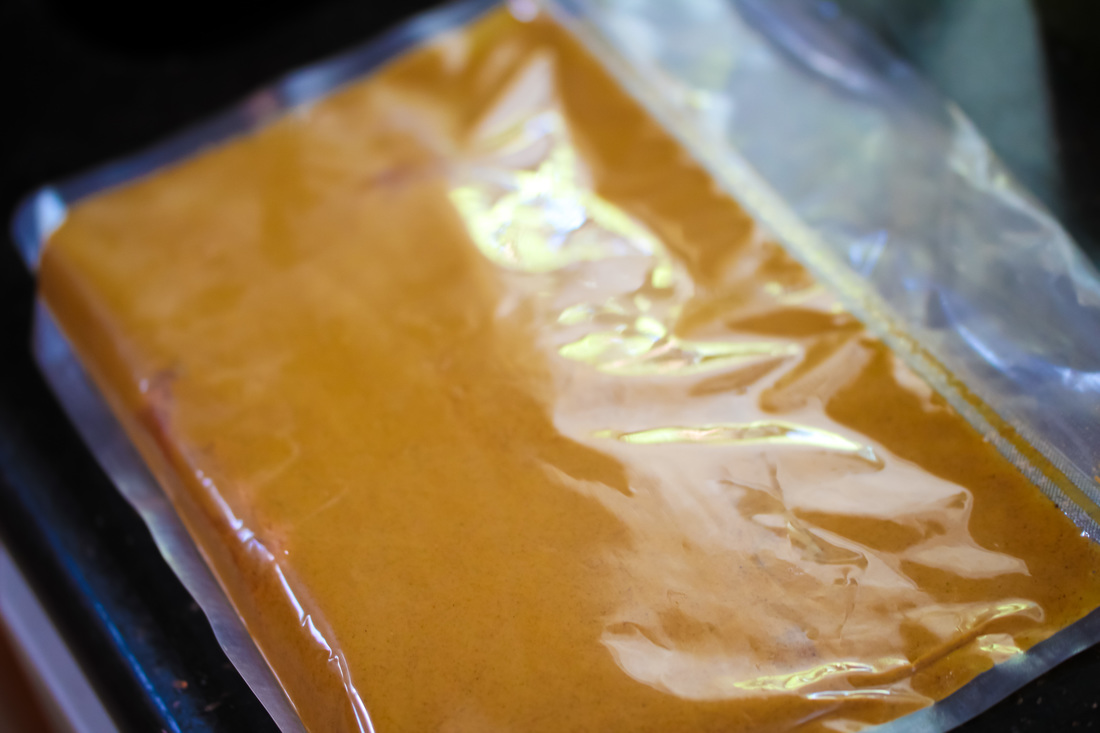
On its most basic level, Carne Asada is a marinated and grilled steak that is served sliced thin. You want a flavorful cut that doesn't need to be tender so if you can't get Flank Steak go with a Skirt steak or even brisket. My preference however, is the Flank. Trim some of the fat and then vacuum seal with the marinade. Make sure that the whole steak is covered in marinade. This recipe will easily marinade up to 6 lbs of meat. I like my Carne Asada with a lot of flavor so I let it sit in the marinade in the refrigerator for at least 24 hours.
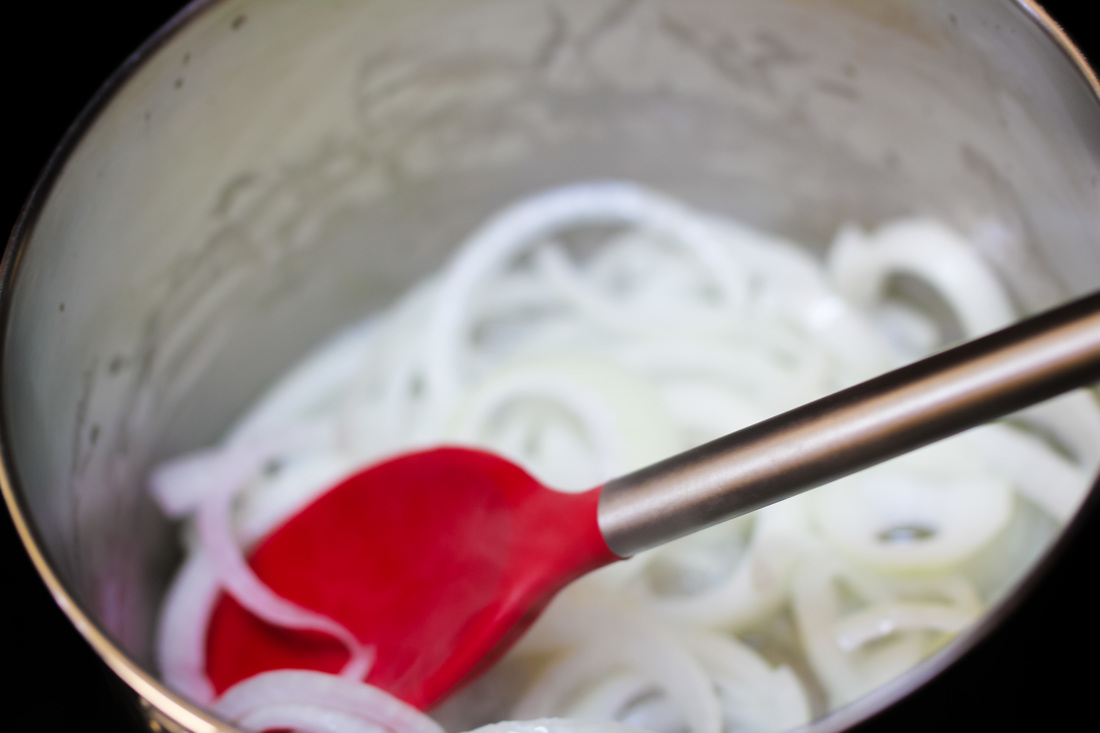
.The next step is to prepare the chimichurri sauce - and that is super-easy. Just throw all the ingredients into the mixer and mix on high. Some people prefer their chimichurri sauce with some texture, which is probably more authentic. I prefer mine smooth and silky so I just mix on high for a couple of minutes in the Vitamix or blender. Keep in refrigerator until ready to serve. To make the Mexican rice, start with chopping garlic and onions. Saute the rice together with the garlic and onions for a couple of minutes. Make sure that you don't burn or brown the rice. Cover rice with water and tomato puree and cook until ready.
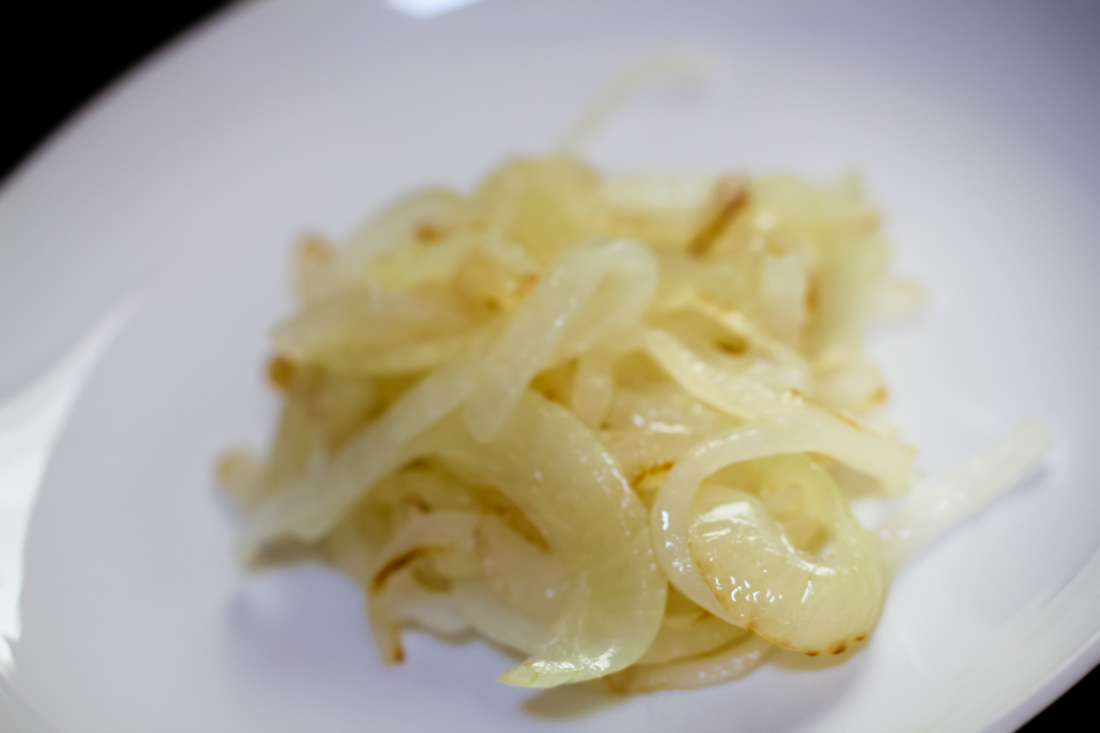
At the same time you are making the rice, lightly saute some onions in some oil. Don't brown it too much - just give it a slightly yellow color and soften up the onion slices.
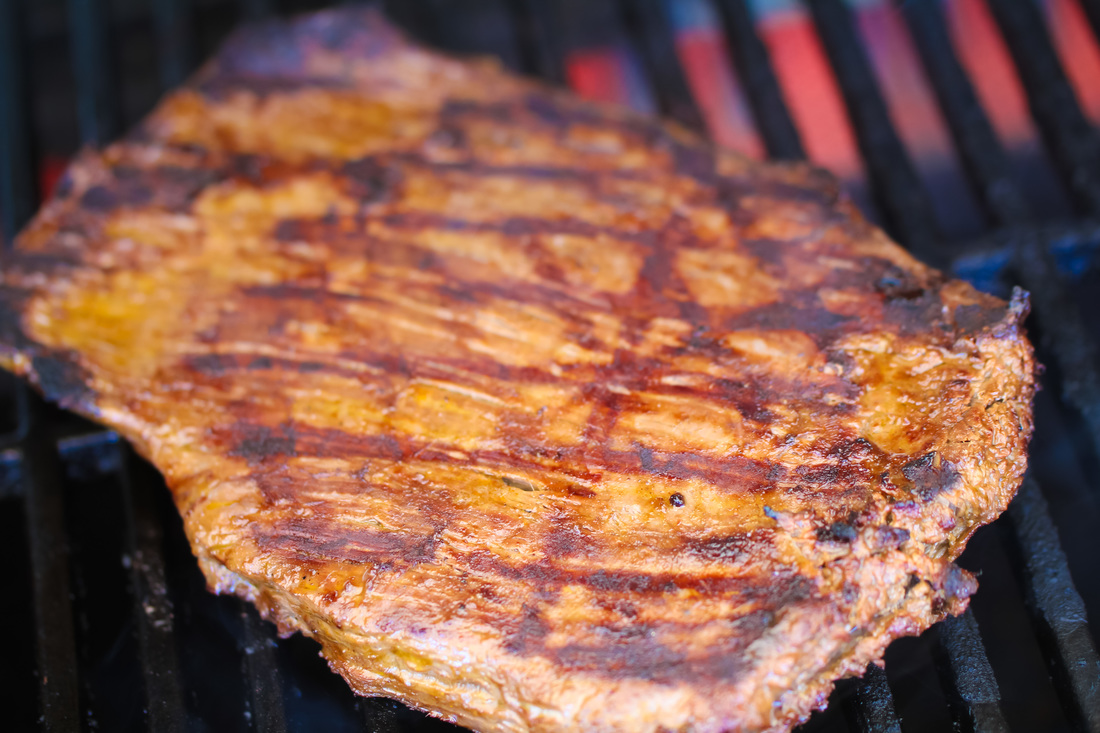
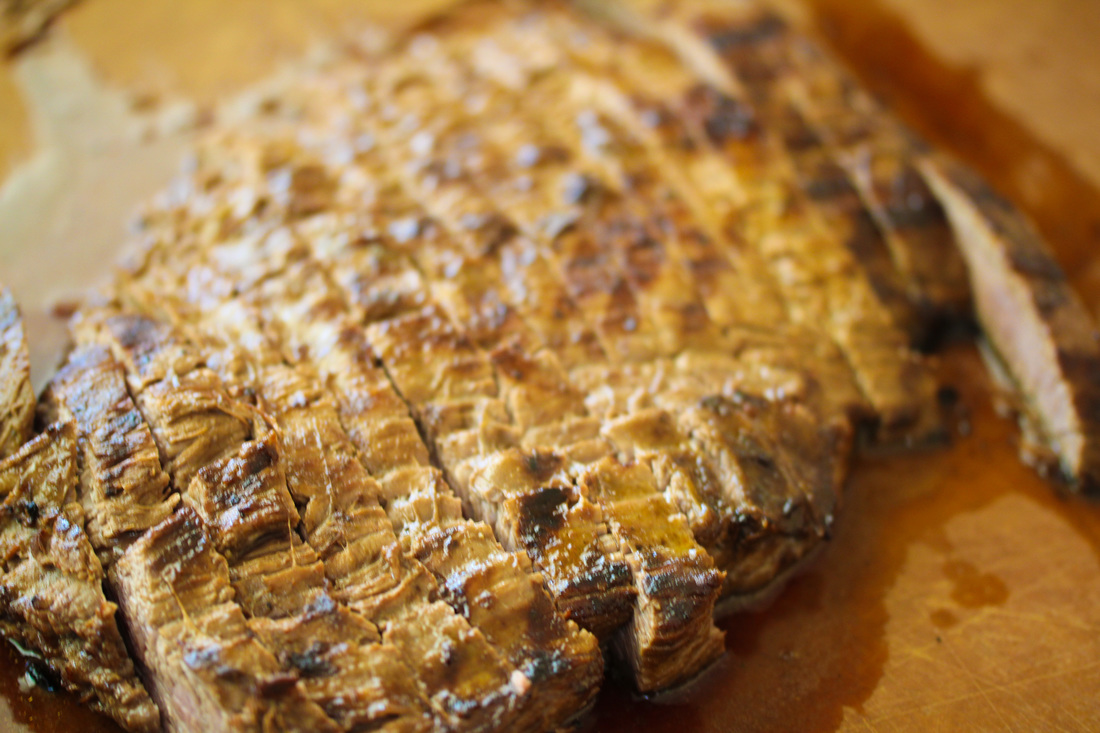
Place the steak on a hot grill - you can baste it if you want to with some of the left over marinade. Grill until you reached your desired level of doneness. I prefer mine medium, medium-rare. Remove the steak and slice long strips from the outer edges of the steak. Make sure that you cut against the grain. 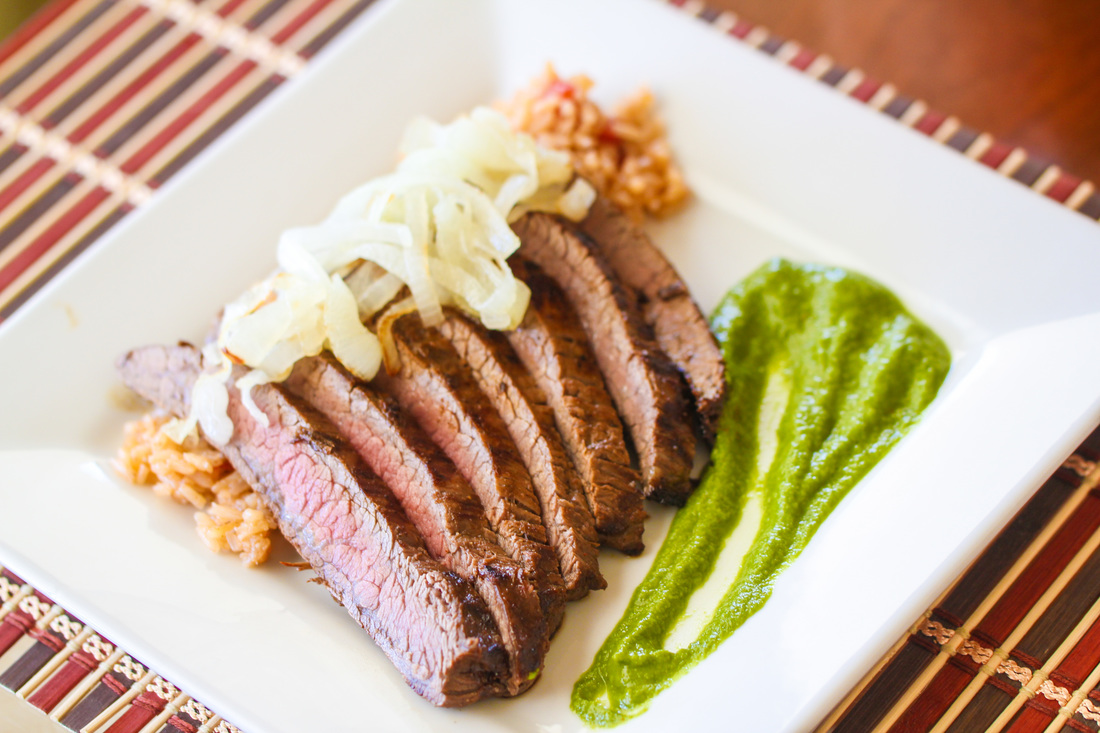 Make a bed of the Mexican rice, place the sliced Carne Asade on top and then top with some sautéed onions. Place a dollop of Chimichurri sauce on the side and serve while hot. You will love this recipe, especially when you pair it with a good Mexican beer. Buen provecho!!!
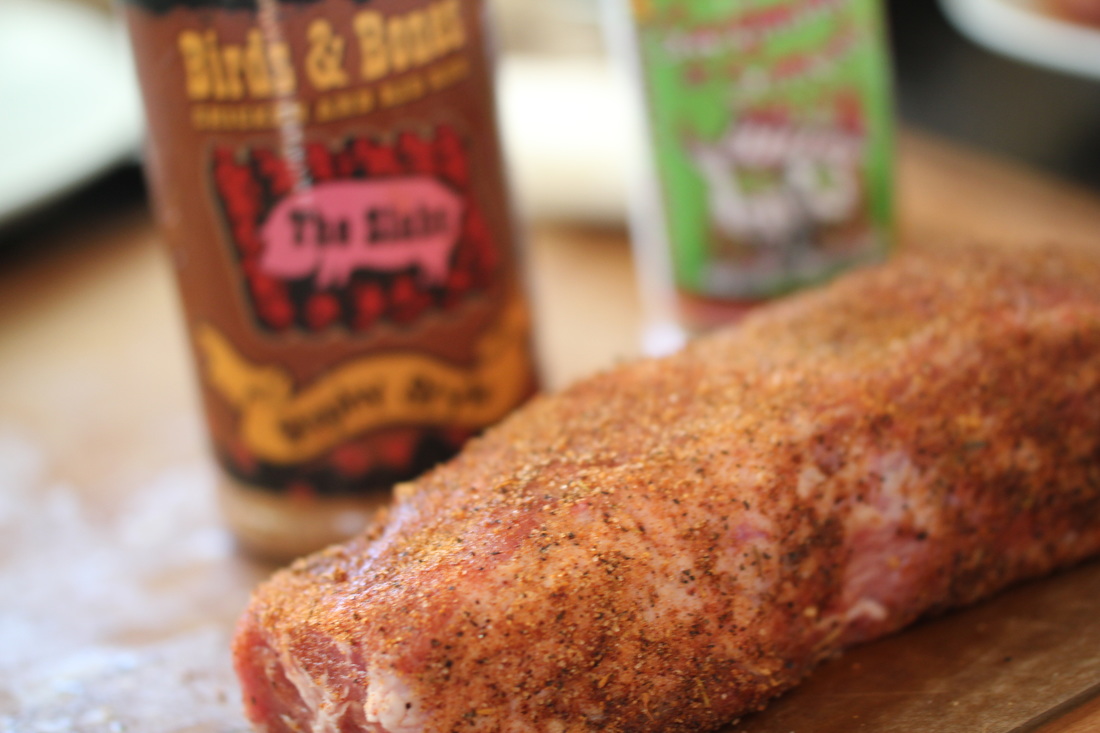
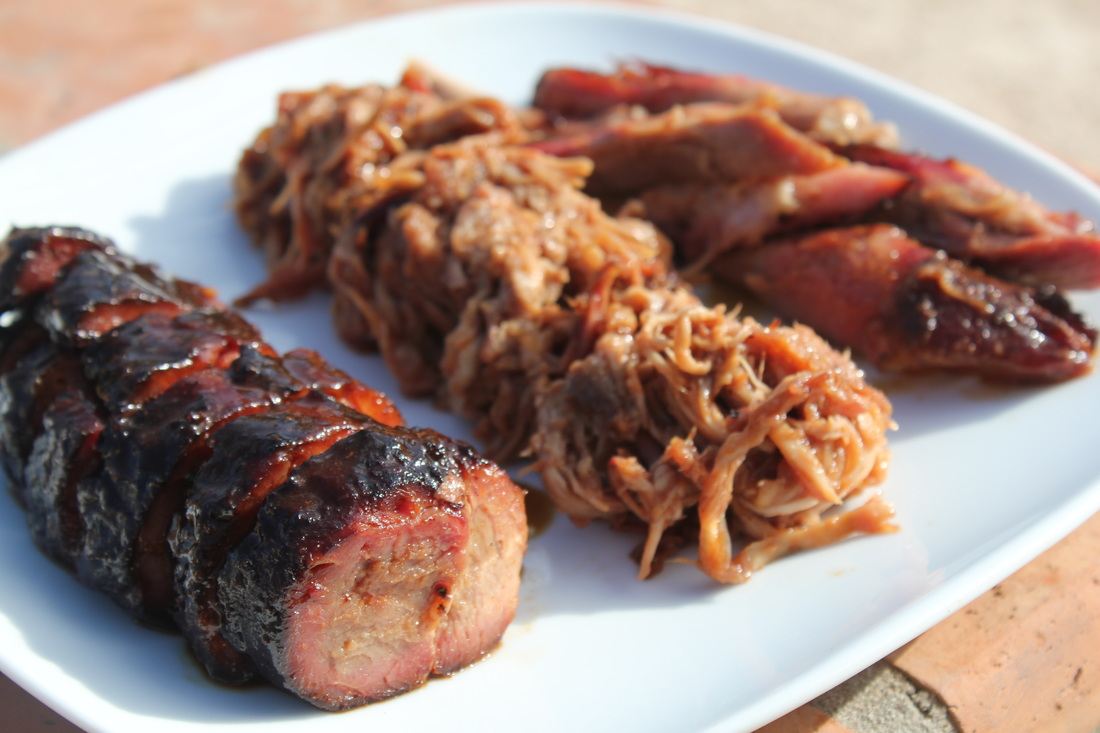 Smoked pork is a great BBQ item, not only because of the flavor but also the multitude of ways you can serve it. Sliced, pulled or shredded, on a bun or just by itself. There is also a multitude of ways to cook good smoked pork. Here is the way that I do it.
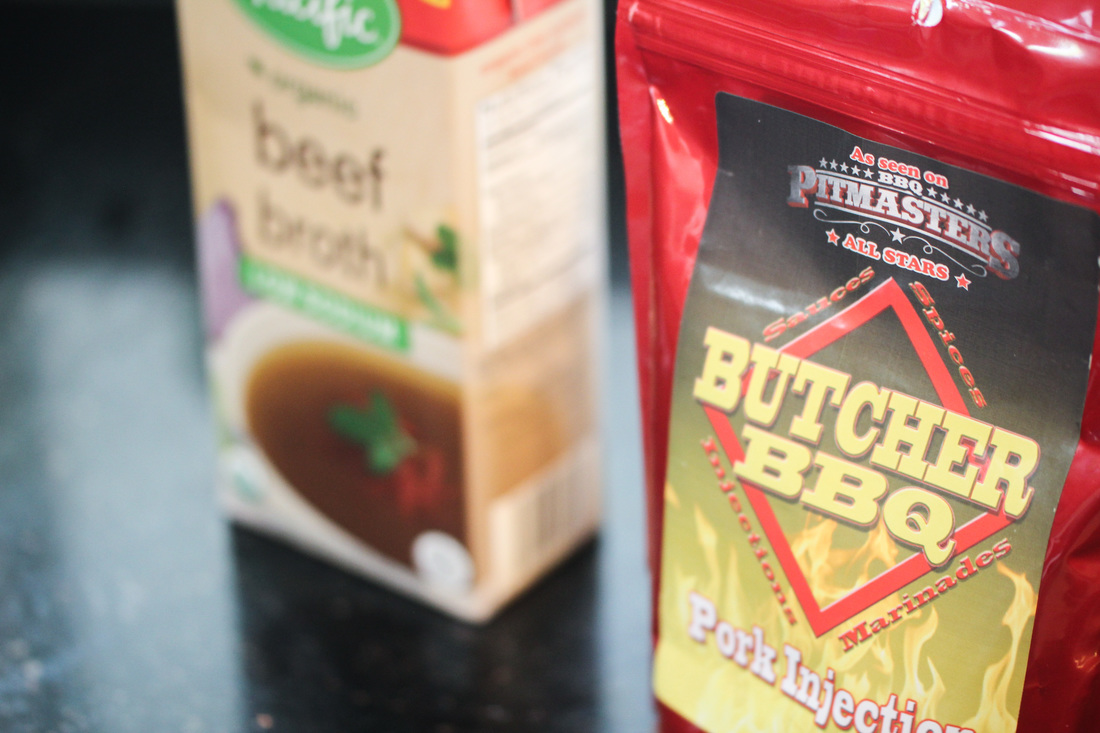
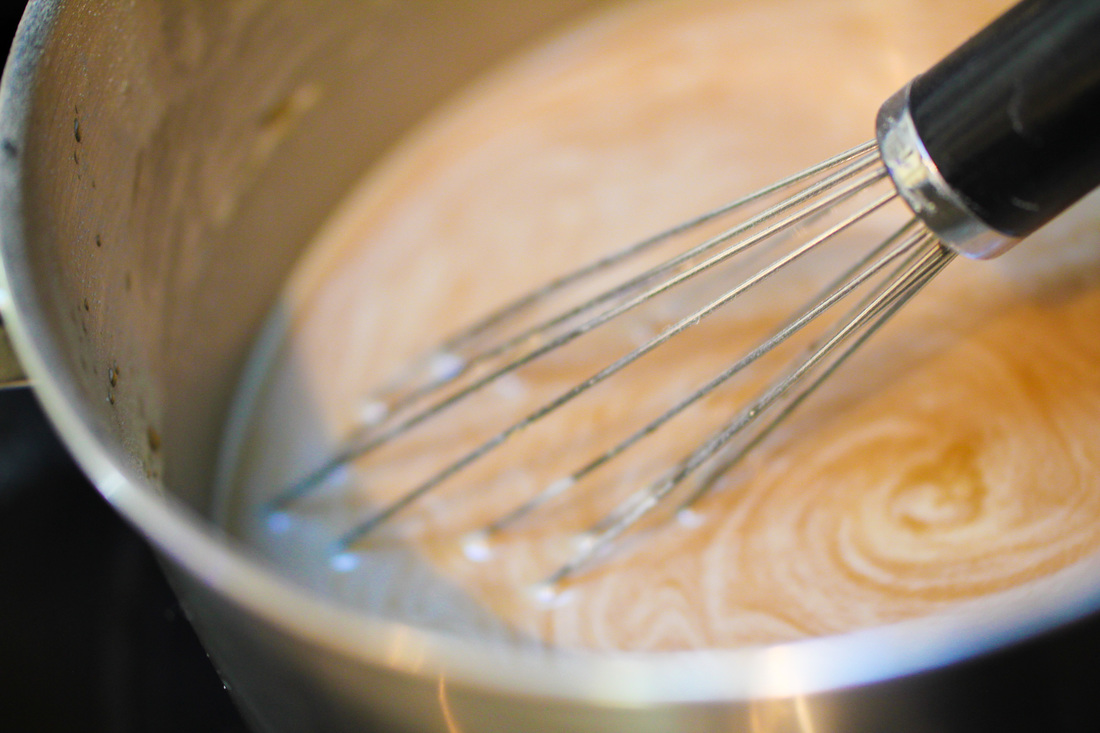
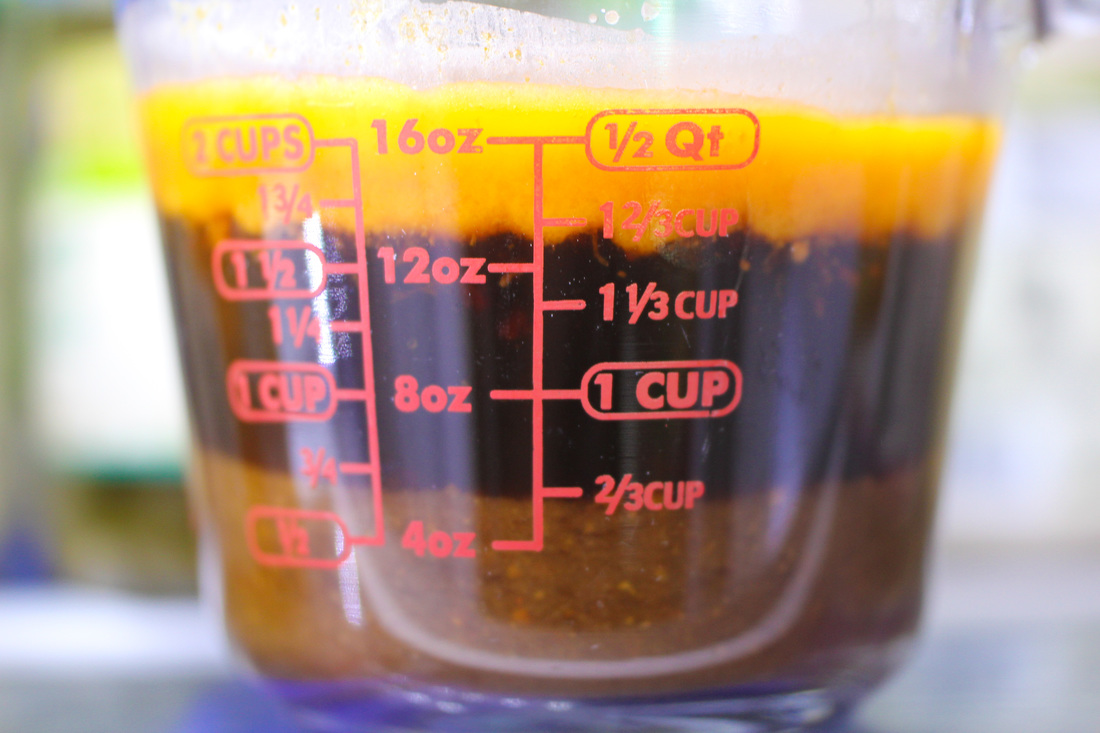
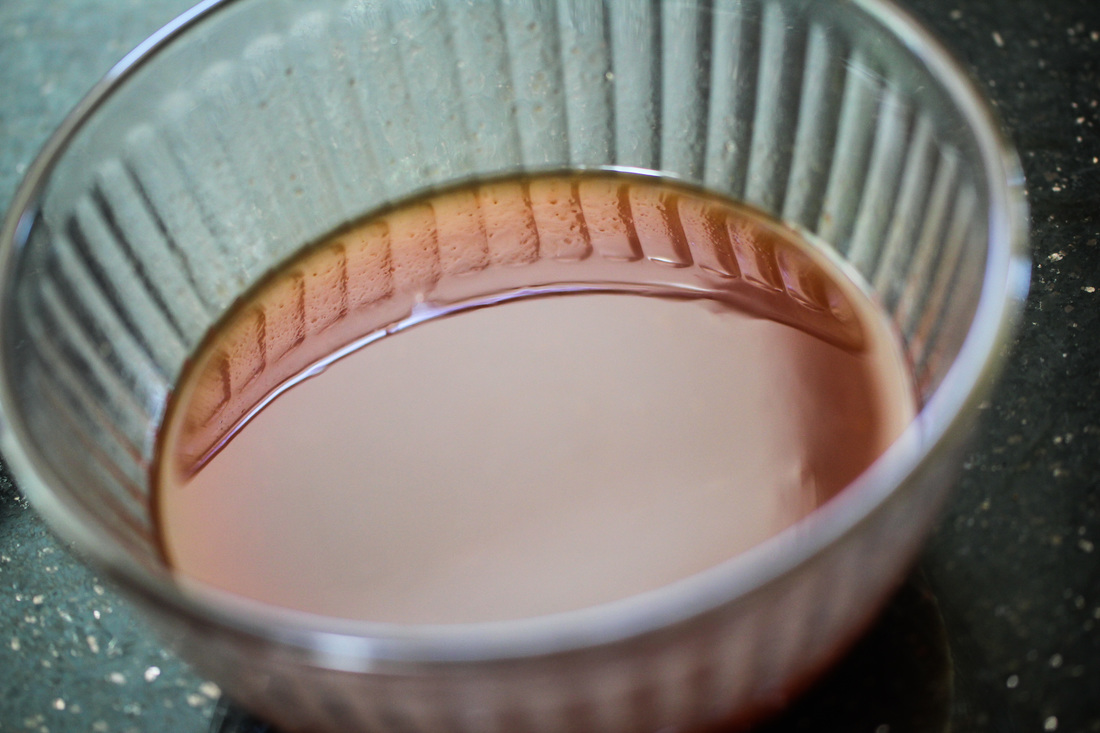
I like to marinade the pork shoulders or butts before I smoke them. The way to marinade I big cut like the shoulder is to inject it. The first step is to create the marinade. I use Butchers BBQ Pork Injection which I mix with some broth (beef or pork). I add some Worcestershire sauce, a little bit of garlic powder and some honey. I mix the ingredients together without heating up the marinade.
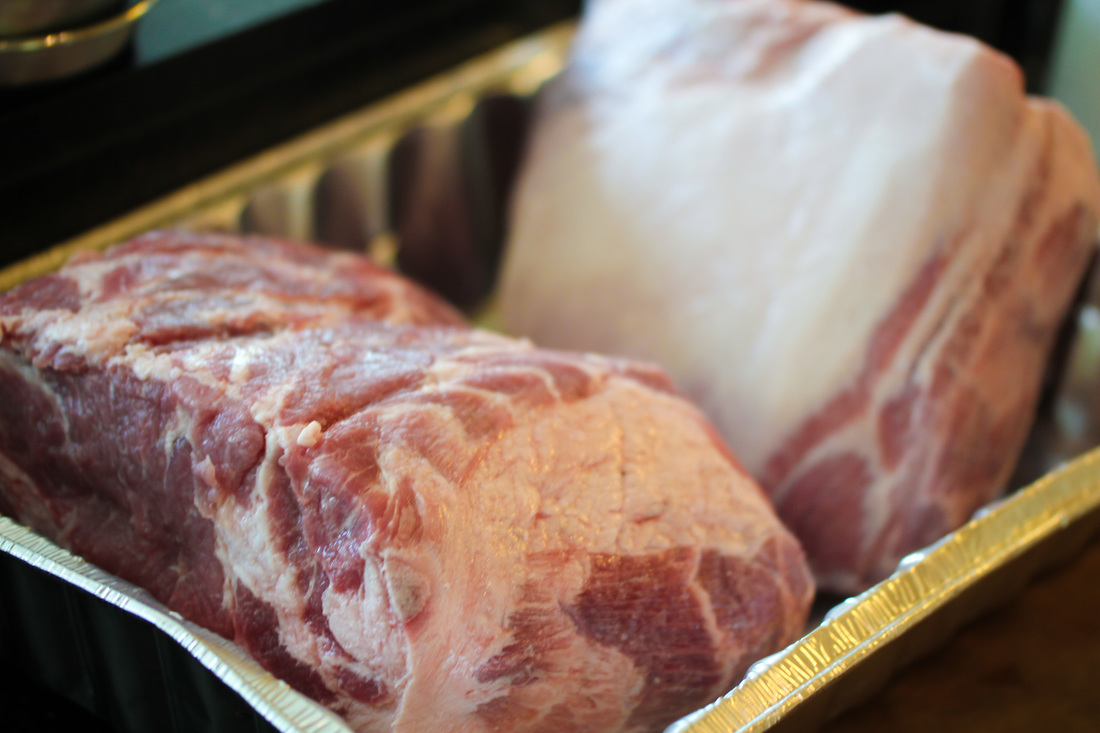
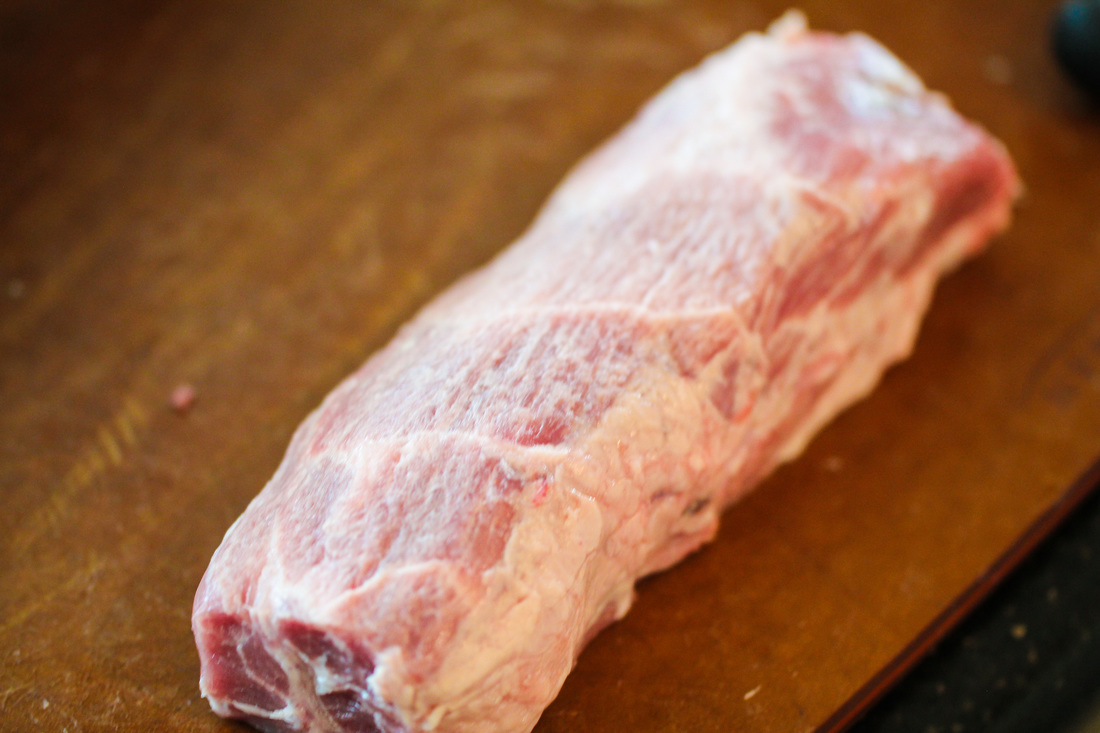
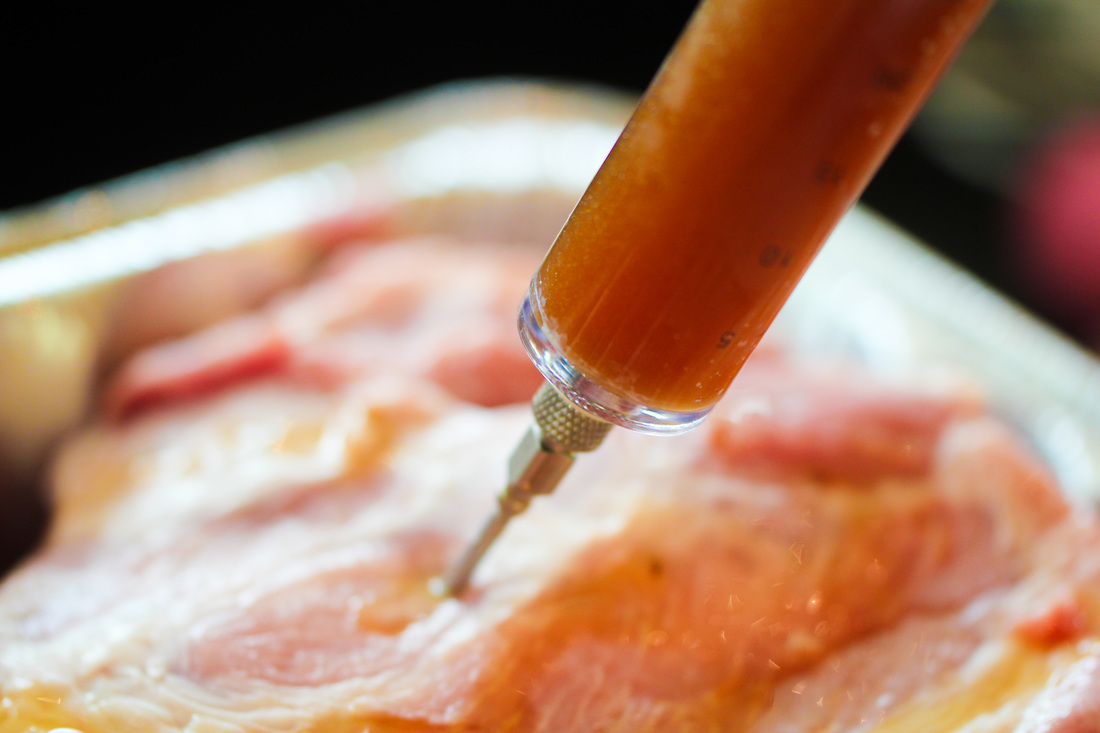
Before injecting the butt or shoulder, I like to trim some of the fat off the meat. You want to leave some on since it will add flavor but you can always trim off some of the fat cap. I also like to separate the Money Muscle. The Money muscle is perpendicular to the shoulder bone and it is the most succulent and tender part of the butt. You can either just remove some of the fat around the money muscle and cook it together with the butt or completely separate the muscle and cook it by itself. I prefer the latter. When the meat is trimmed, inject the butt with your marinade. Move throughout the butt and inject thoroughly. Wrap tightly in plastic wrap and refrigerate for at least 5 hours.
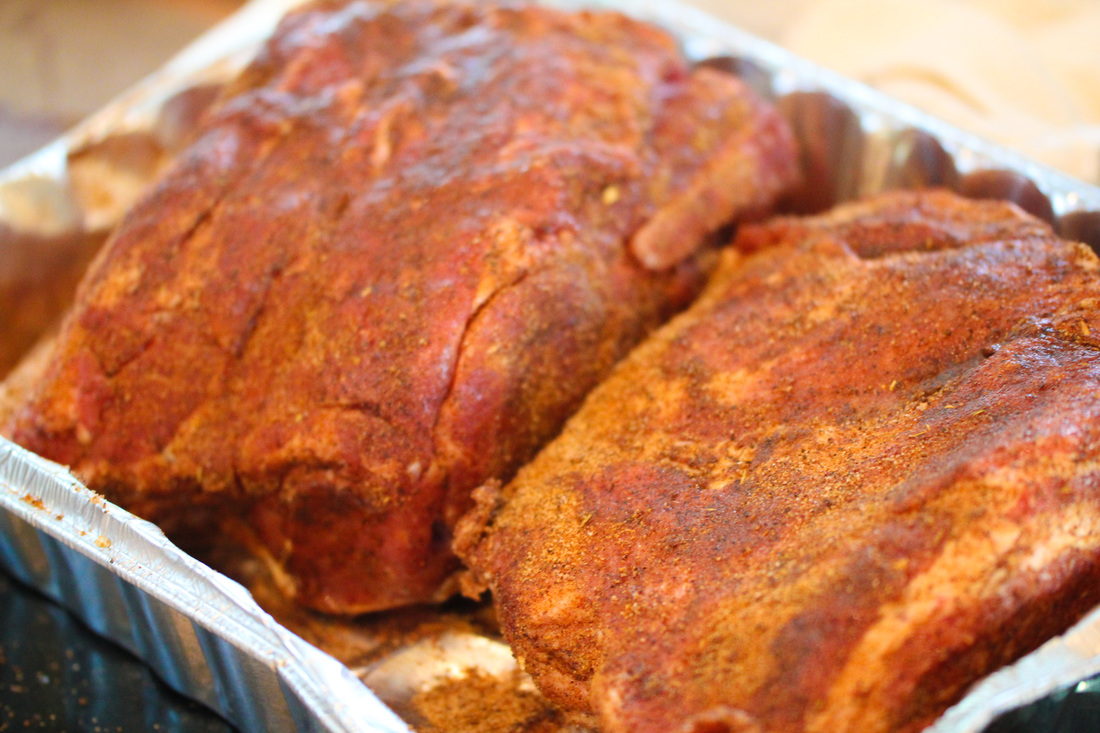
The next step is to give the outside of the pork its flavor, a great bark will make any pork stand out. Generously sprinkle your rub mix over each butt and let it sit for an hour - this will allow the rub to penetrate the meat and pull some of the water out. For this cook I used a mix of The Slabs and Swimmin in Smoke.
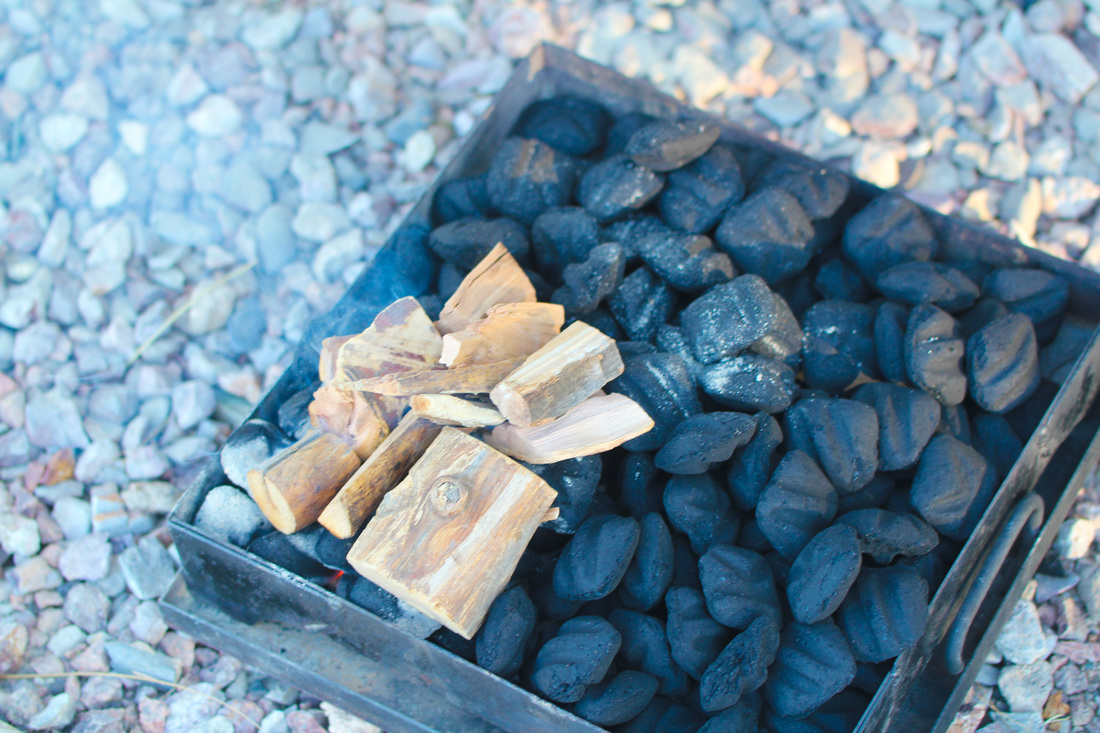
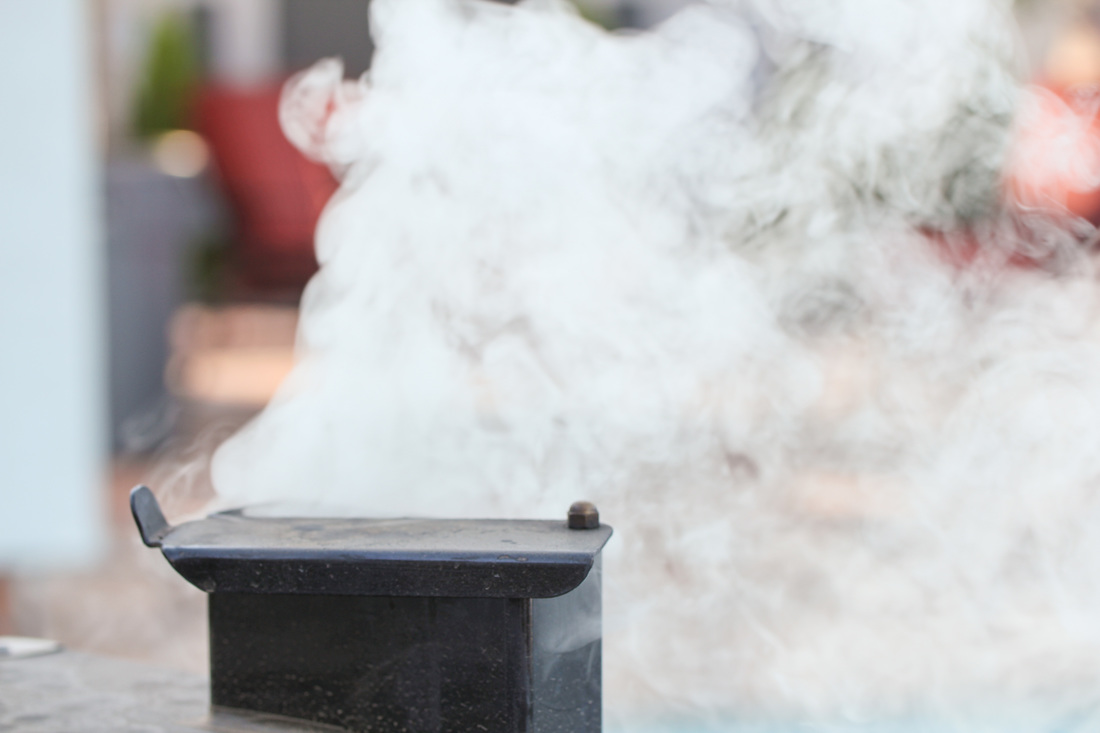
Light the smoker. I prefer to smoke pork at 235 degrees Fahrenheit. Make sure that you burn off the dirty smoke before you add the butts. The middle picture above has a thick gray smoke - this is dirty and could give the meat a bitter taste. You want a thin, blue smoke like the picture to the right. When it comes to pork I prefer apple, cherry or Maple. 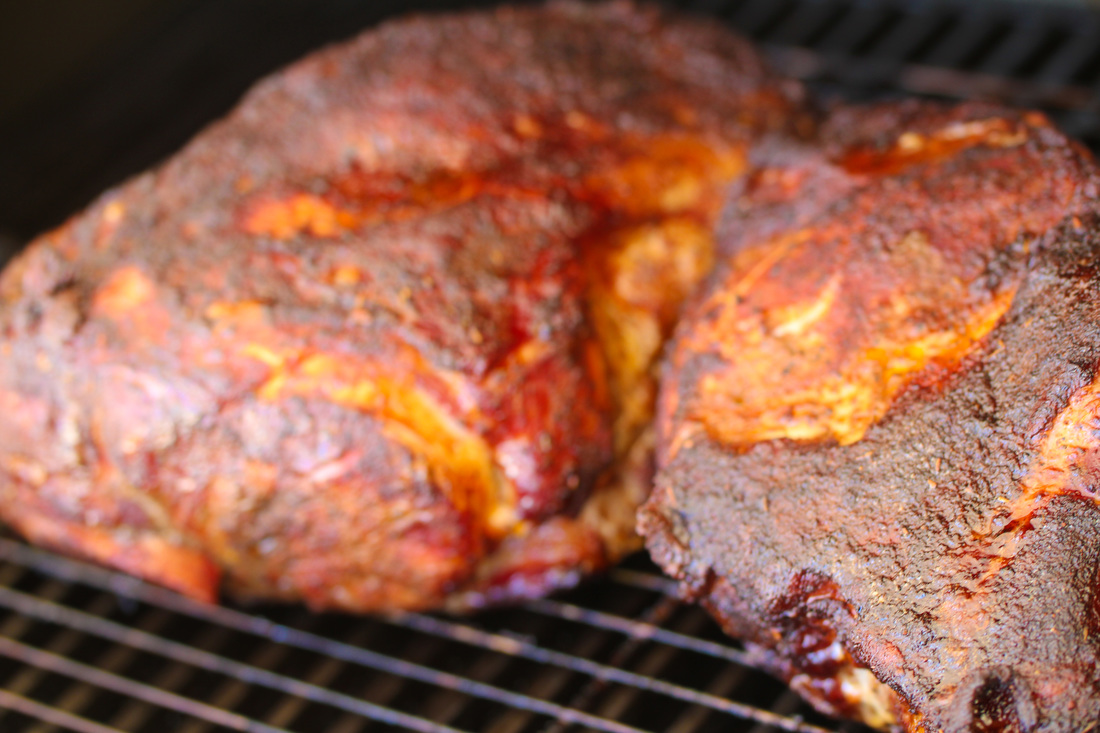 Place the butts on the smoker with the fatter side up. Also place an aluminium pan underneath the butts to collect all the drippings - more about these later. Smoke for about 5 hours or until the internal temperature reaches about 165 degrees Fahrenheit. Turn the meat over and smoke for another hours so. The length depends on the size of the butts. You want the butts to start forming a nice red crust.
When you have a nice bark - wrap the butts tightly in aluminum foil Keep smoking until the internal temperature reaches about 200 degrees Fahrenheit. While you wait for the butts to reach that temperature, collect all the drippings and pur into a tall container. Put the container in the fridge - the temperature will make the fat rise and get stiff. After an hour or so you can spoon out all the coagulated fat and you are left with liquid gold!! The juice from butts will be used later to add flavor to the sliced money muscle and the pulled and shredded pork.
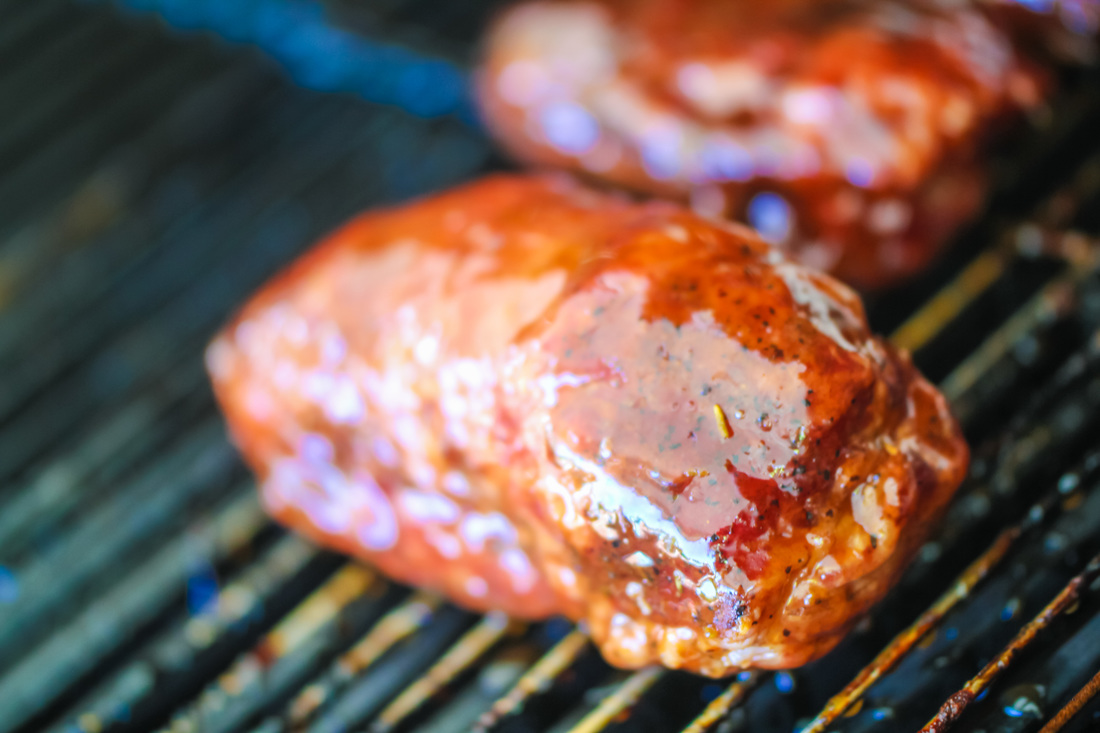
If you have separated the money muscle, it needs much shorter cooking time. Normally I would put the money muscle in the smoker when I have about three hours left of the butts. I keep them unwrapped for about 2 hours or until they reach 165 degrees. I wrap them - just like you would do with the butts. And when they reach 200 degrees I pull them. One thing I like to do with the money muscle, is to give the outside a nice sweet glaze for a slightly different flavor profile than the rest of the pork. In this case I used some BBQ sauce, Agave honey, apple juice and marrionberry marmalade (seedless). I give the money muscle a finishing touch with the glaze and let it caramelize for about 30-45 minutes in the smoker.
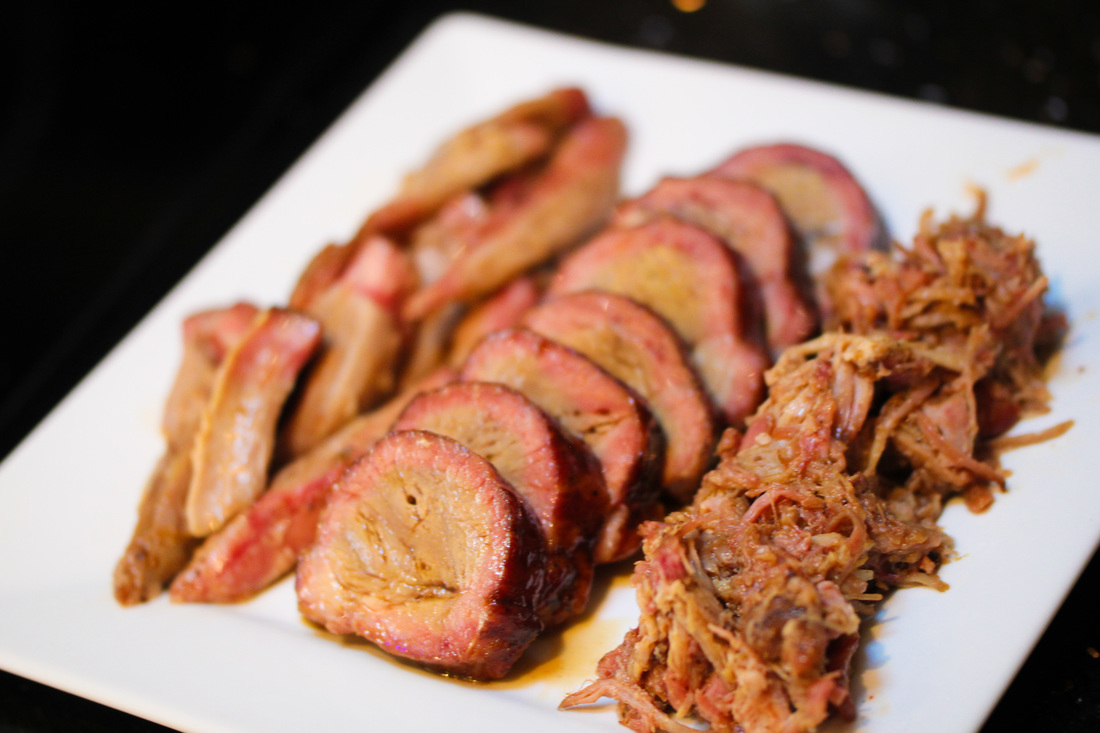
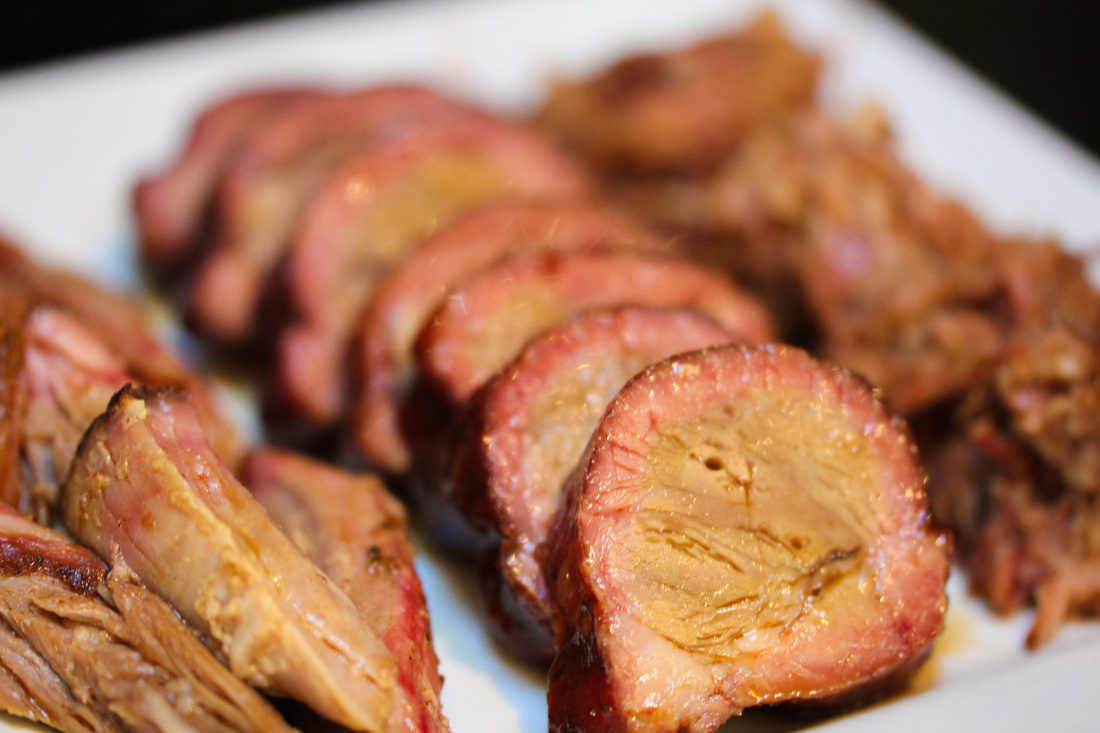
The last step is to let the meat for a while. Then it is time to serve.
Use food handling gloves to pull the meat apart into nice chunks. Use a fork to shred some of the pork that is falling apart, and slice the money muscle into 3/4 inches thick slices. Dip the money muscle and pork chunks into the reserved drippings and pour back some of the dripping liquid into the shredded pork. Serve hot!! |
Cooking at home
In this section you will find recipes and food experiments that I have tried at home. Some successfully. Archives
January 2018
Categories
All
|
Cooking at home |


 RSS Feed
Web Hosting by FatCow