 Ingredients: Skinless Chicken breast Whole chickens Your favorite chicken BBQ rub Butter - tons of butter RM Transglutaminase - I use Moo Gloo Dipping sauce - 1/3 BBQ Sauce 1/3 Honey 1/3 Apple juice Real men don't eat sushi - I remember this slogan from an old Chevy commercial back in my native Sweden. I happen to love sushi - but if you want to make something more meaty - well, maybe you should try Smoked Chicken Rolls. Moist and flavorful rolls of chicken wrapped in chicken skin. Too conduct this little neat trick you will need Meat Glue - Transglutaminase. Transglutaminase is an enzyme that catalyzes the formation of an isopeptide bond between a free amine group (e.g., protein- or peptide-bound lysine) and the acyl group at the end of the side chain of protein- or peptide-bound glutamine. In plain English - you can glue different cuts of meat together without any strange flavors.
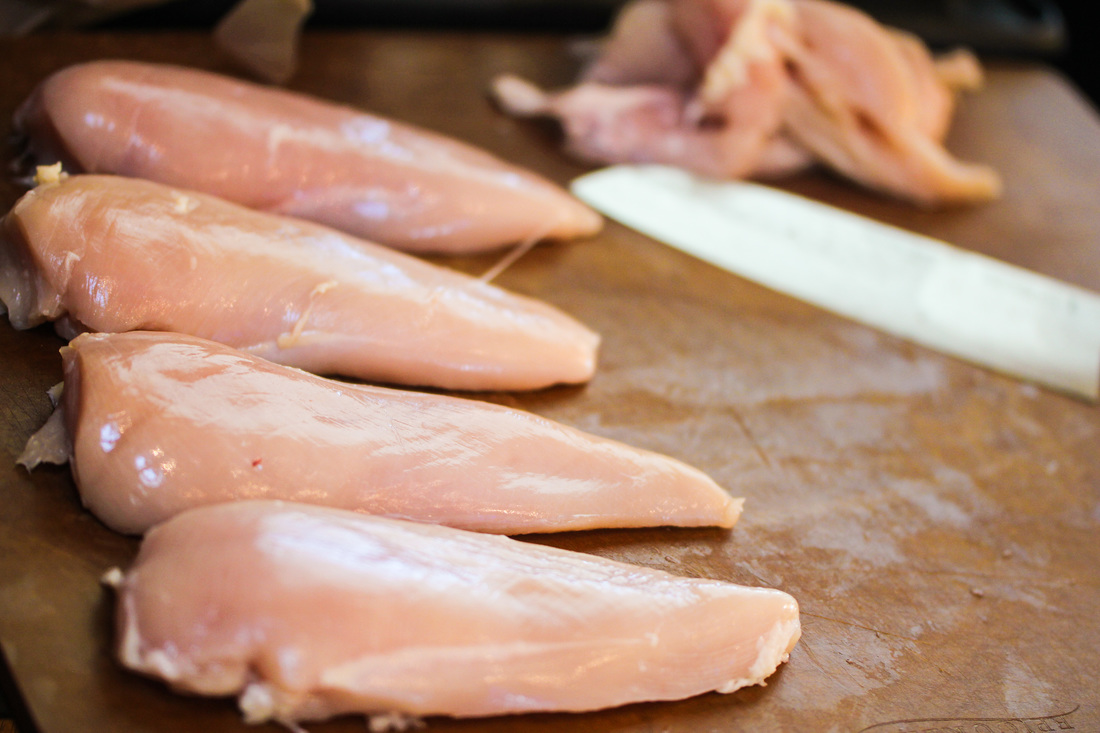
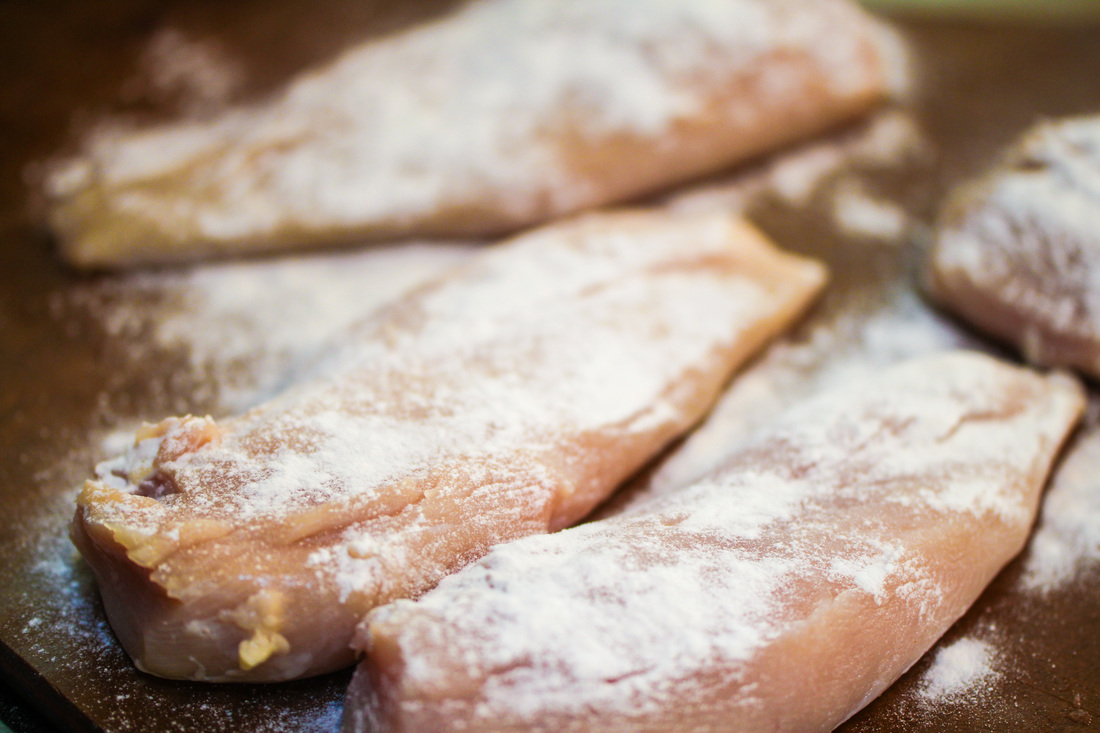
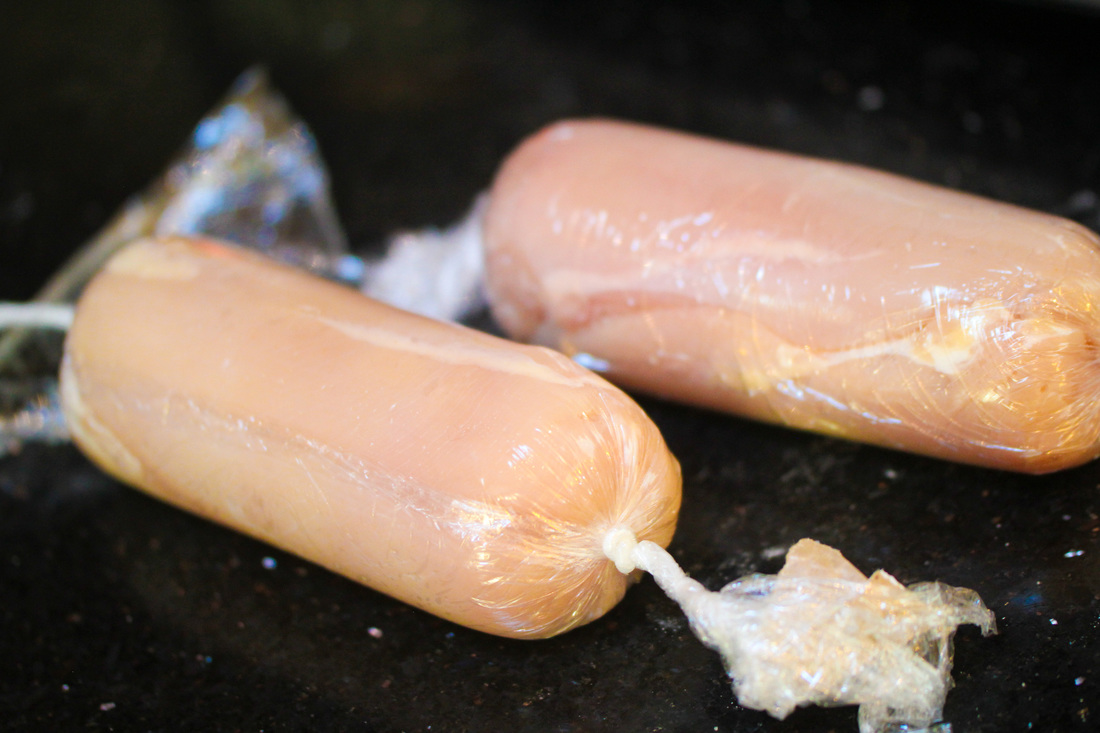
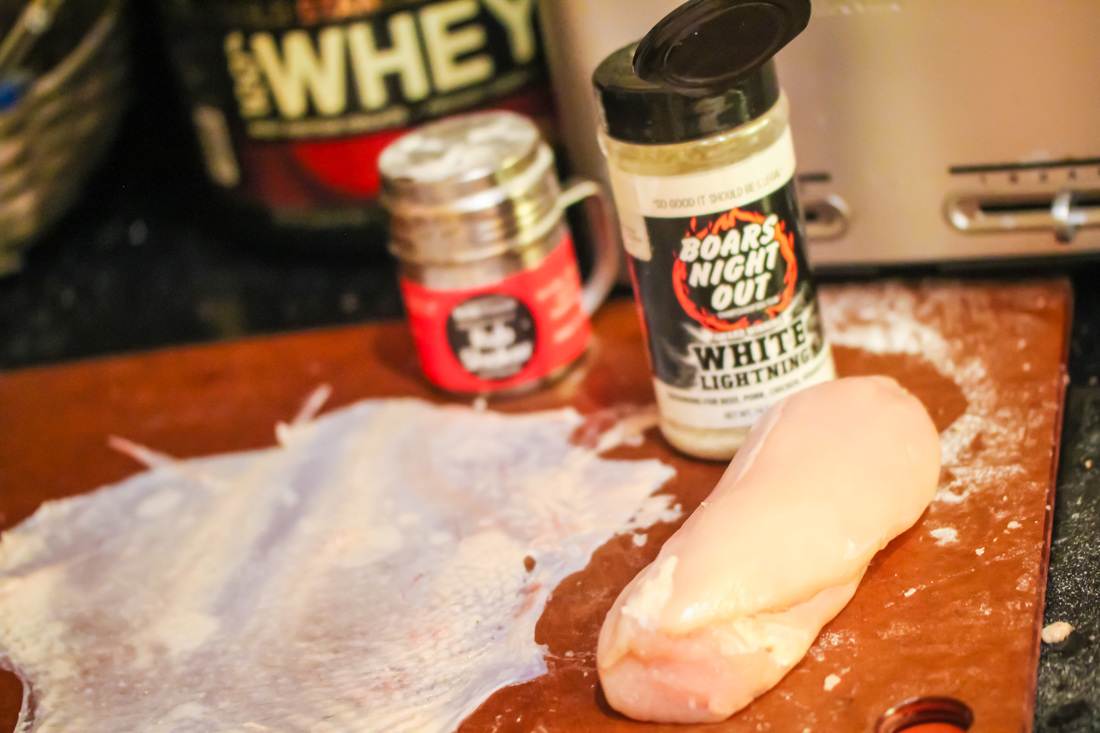
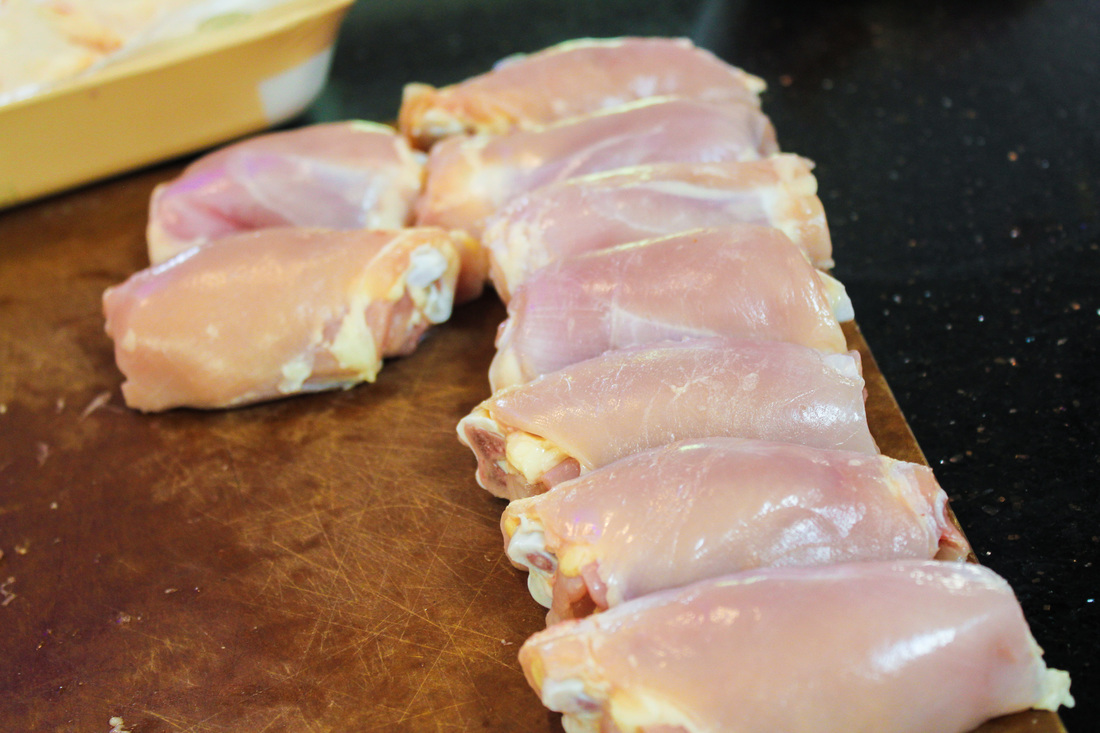
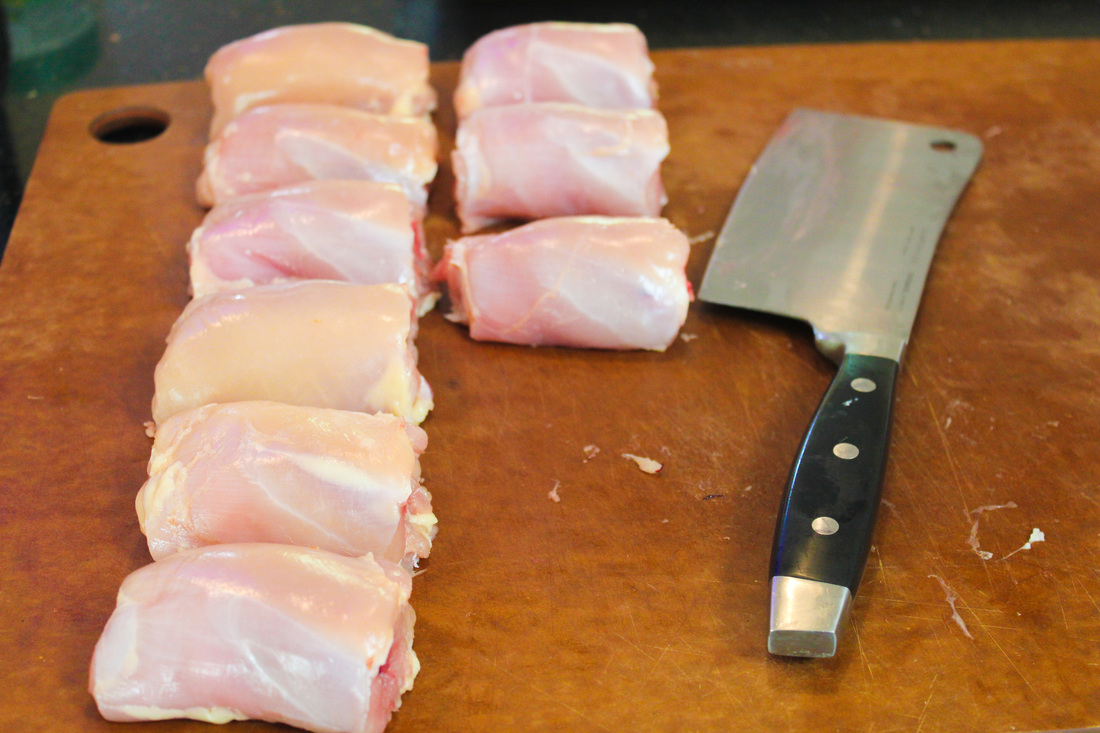
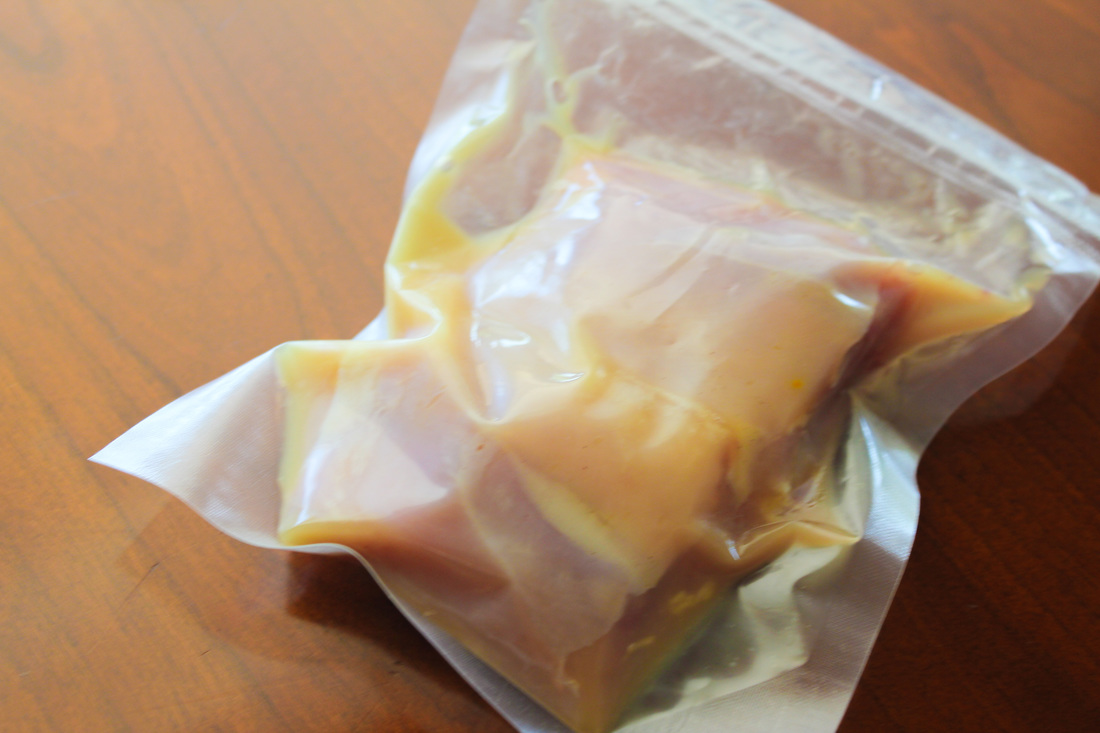
Start with trimming the chicken breast so that they are similar in size. Sprinkle richly on the sides you will connect with each other with Meat Glue. Place the chicken breast opposite each other - so the thin end in one breast connects with the wider end on the other breast. Roll them up so they get a nice log shape in some plastic wrap and keep in refrigerator for at least 8 hours. That is enough time for the meat glue to connect the tissues.
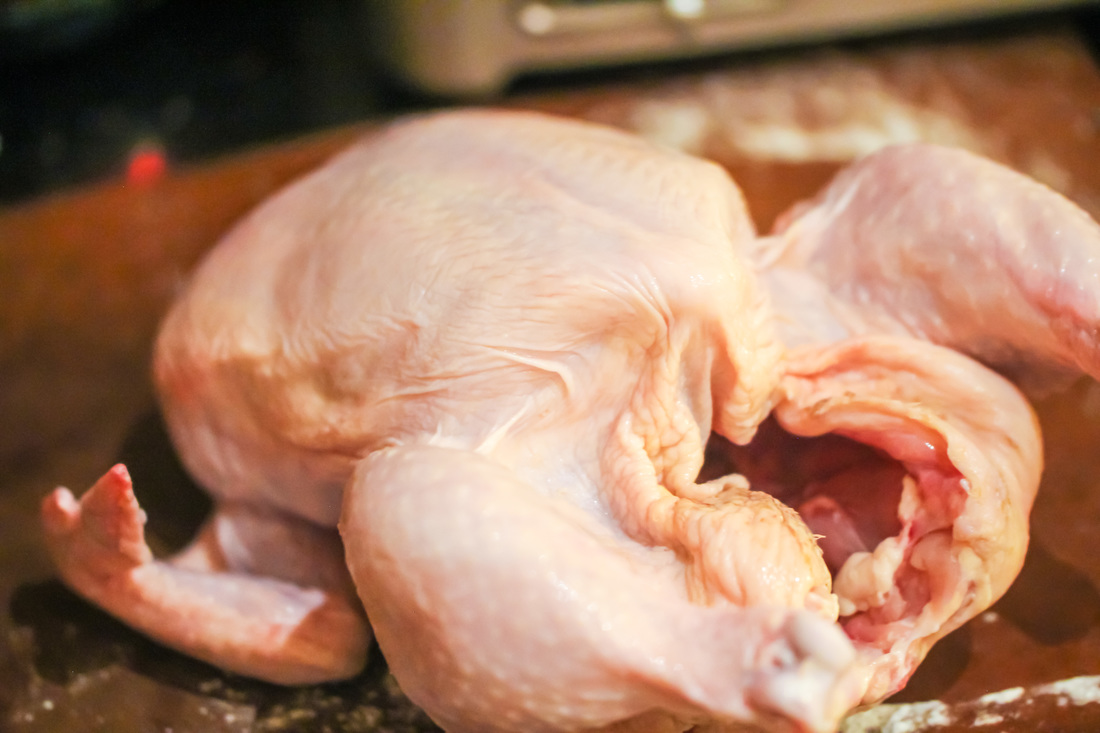
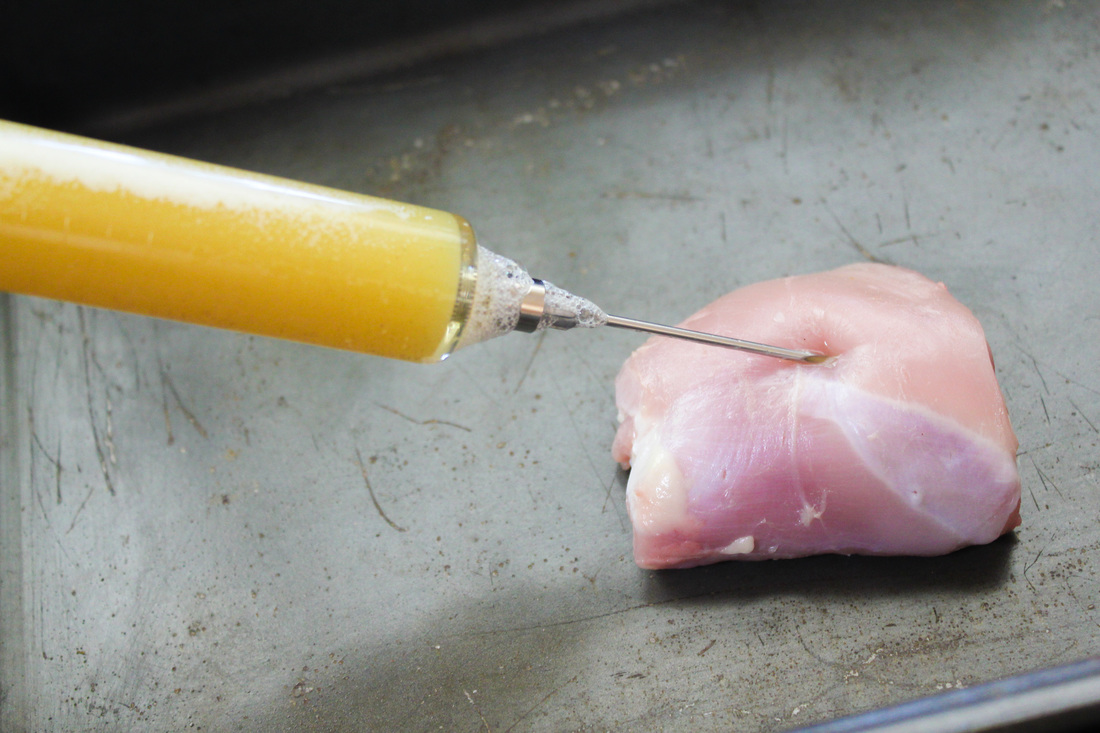
Carefully tear the skin of the whole chicken and trim the skin so it fits nicely around the chicken breast roll. Sprinkle your favorite chicken rub on the chicken roll and then sprinkle the backside of the skin with more meat glue. Wrap the skin around the chicken roll and put back in refrigerator for another 8 hours or so. When done, inject breast with some brine and sprinkle outside of skin. You are now ready to start cooking.
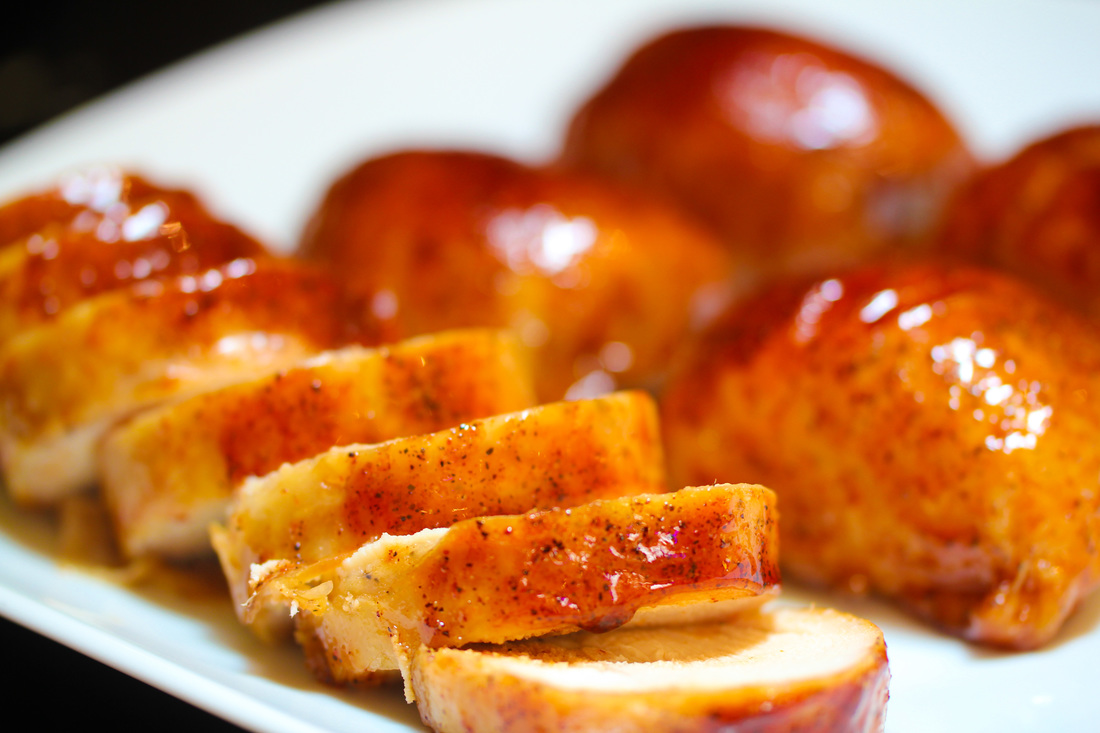
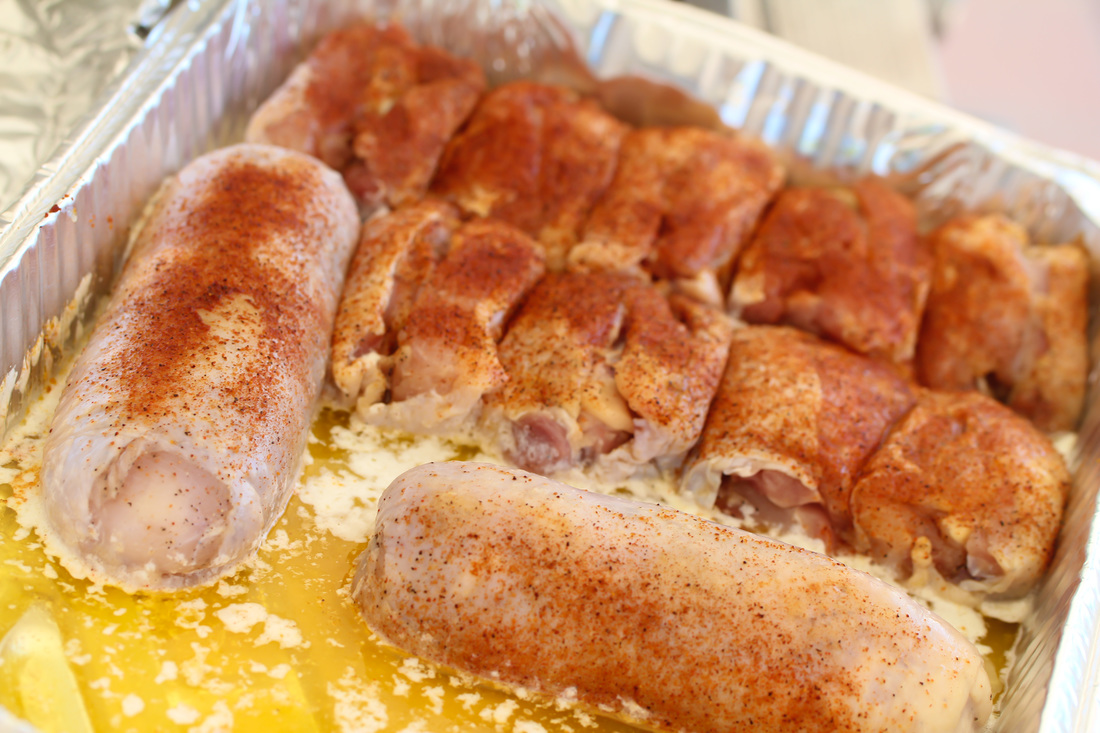
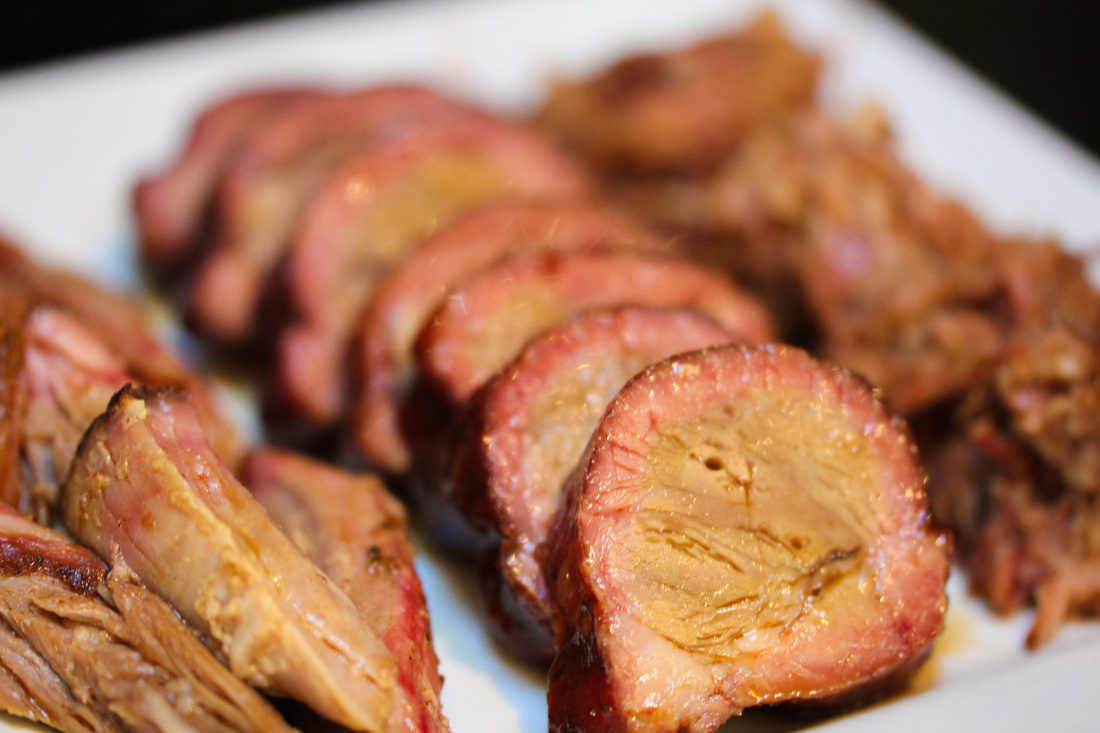
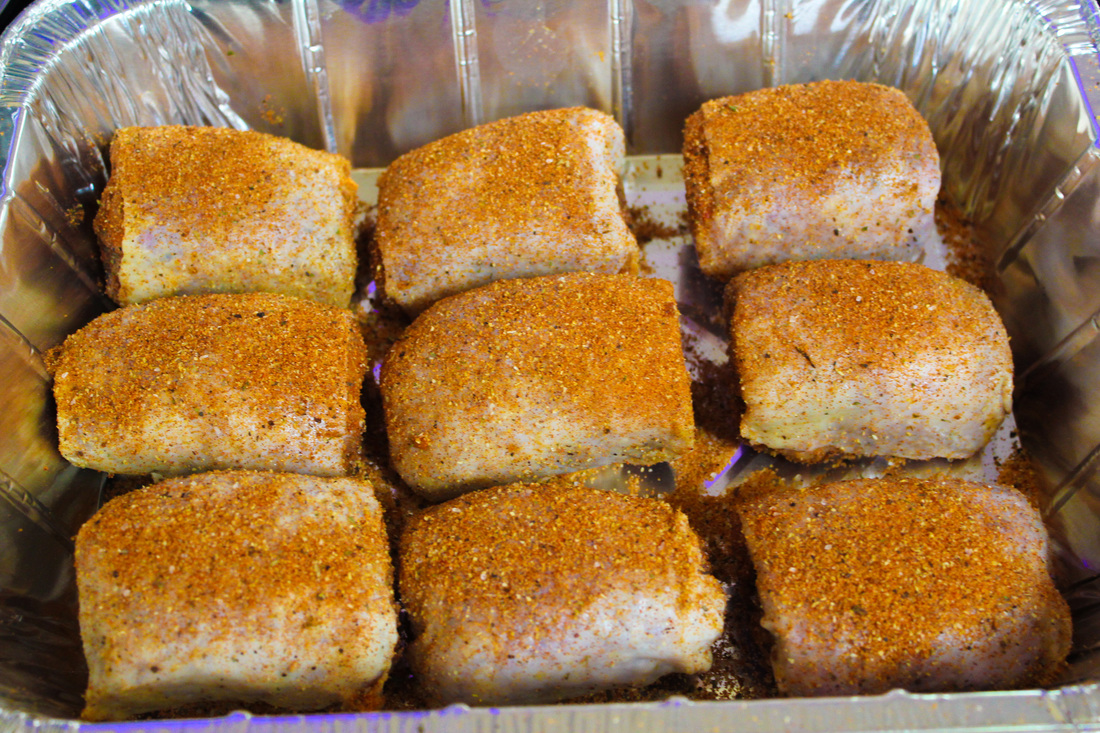
Place the rolls in an aluminum pan on a bed of butter. Think 8 tablespoons of butter per roll. Cover the pan with foil and place in smoker on indirect heat 400 degrees Fahrenheit. Cook covered for about 45 minutes. After 45 minutes, open the pan and turn the rolls. Cover again with foil and cook for another 30-45 minutes. In order to get some smoke into your rolls, uncover the pan and smoke the chicken rolls for another 20 minutes at the same temperature. I use a light wood like apple or pecan. 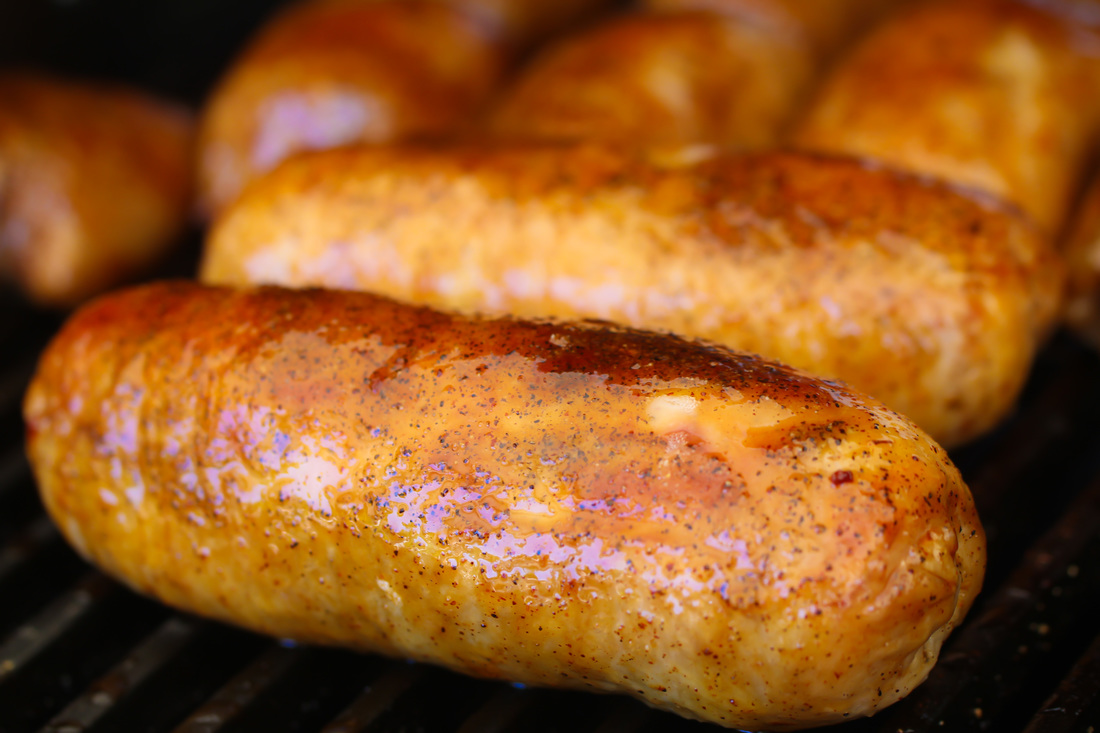 When the chicken rolls are getting to the right temperature - prepare your dipping sauce. I use 1/3 BBQ sauce, 1/3 Honey and 1/3 Apple Juice. Dip the rolls in dipping sauce. Put them back one final time on the smoker to caramelize the sauce. When they rolls have a nice orange shine, take them off the smoker, slice and serve!! 
0 Comments
 Smoked pork is a great BBQ item, not only because of the flavor but also the multitude of ways you can serve it. Sliced, pulled or shredded, on a bun or just by itself. There is also a multitude of ways to cook good smoked pork. Here is the way that I do it.
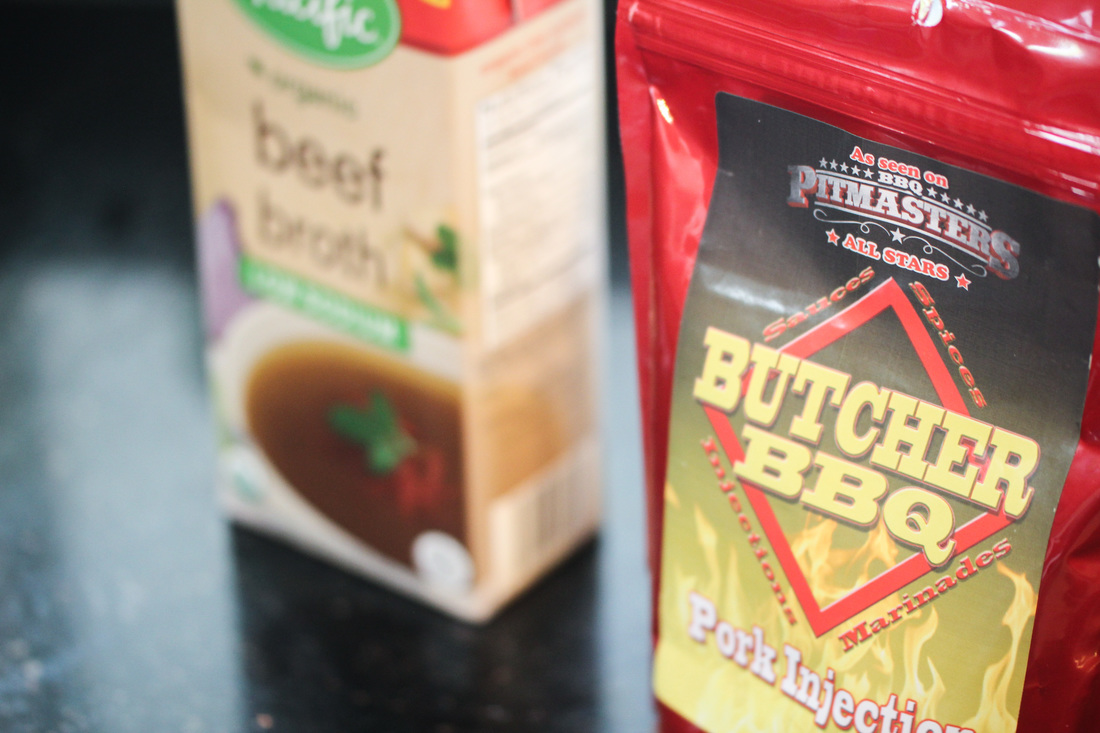
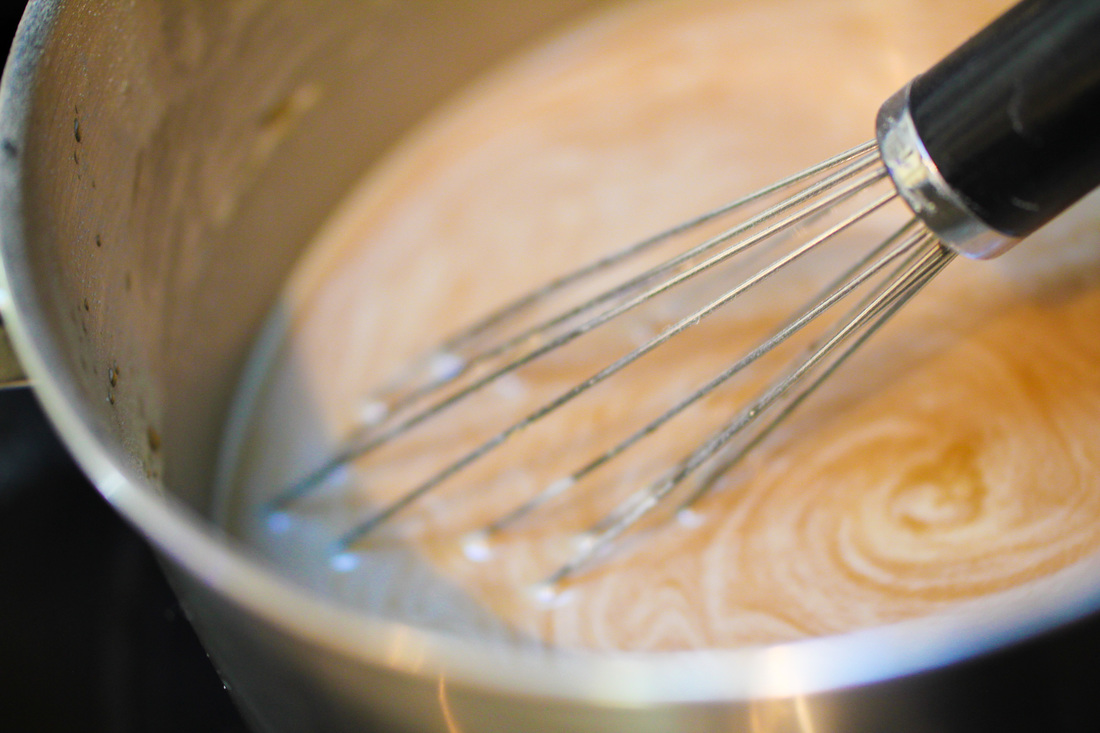
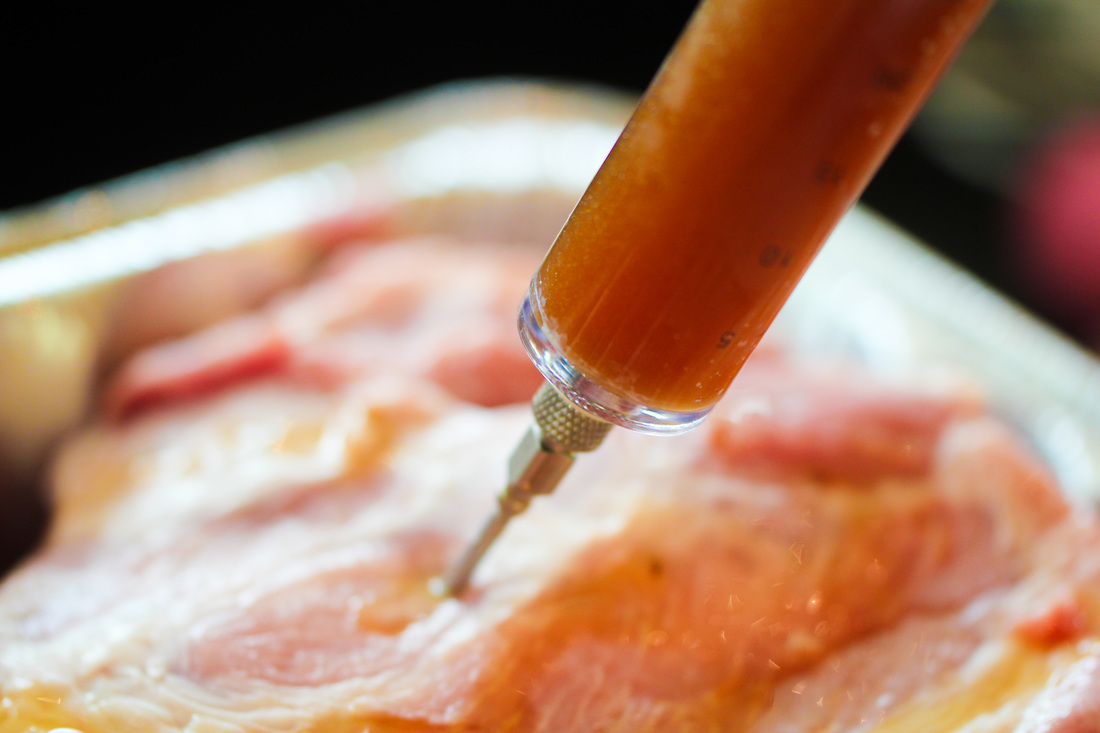
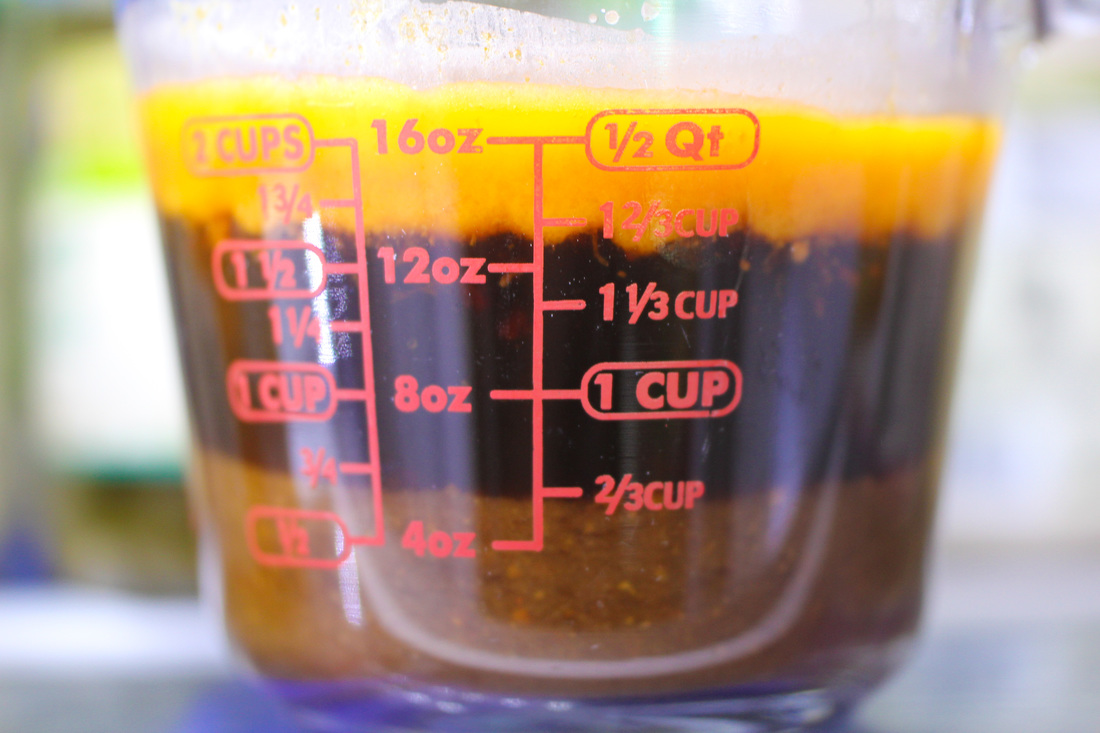
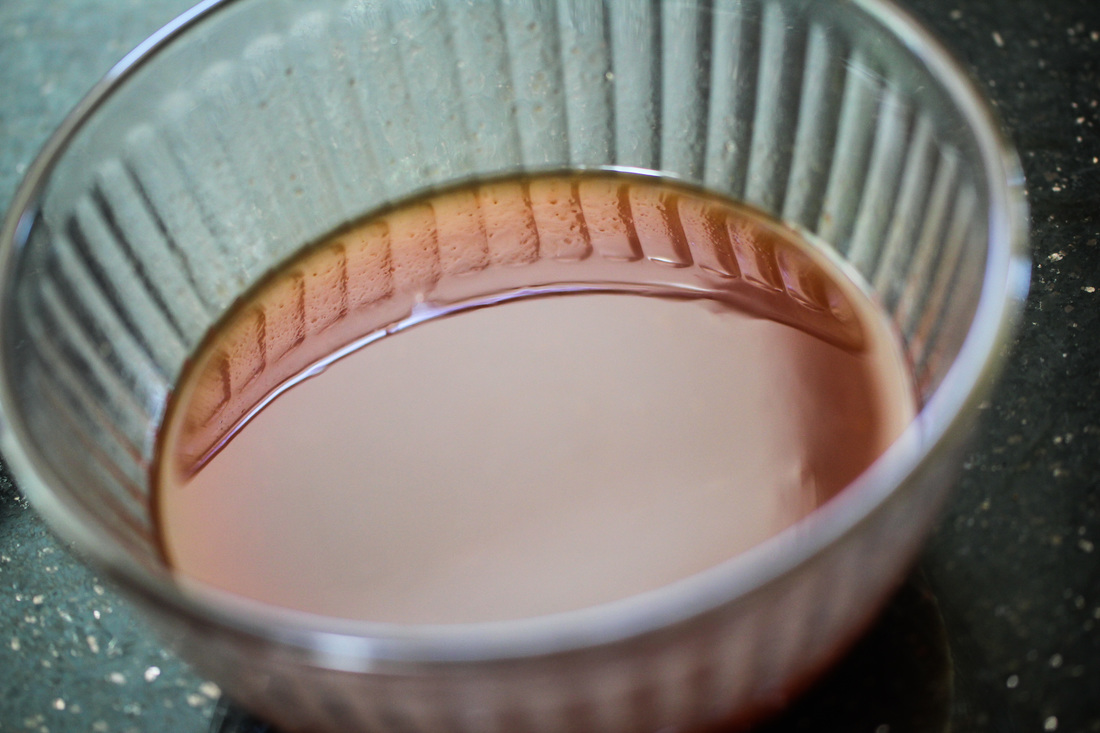
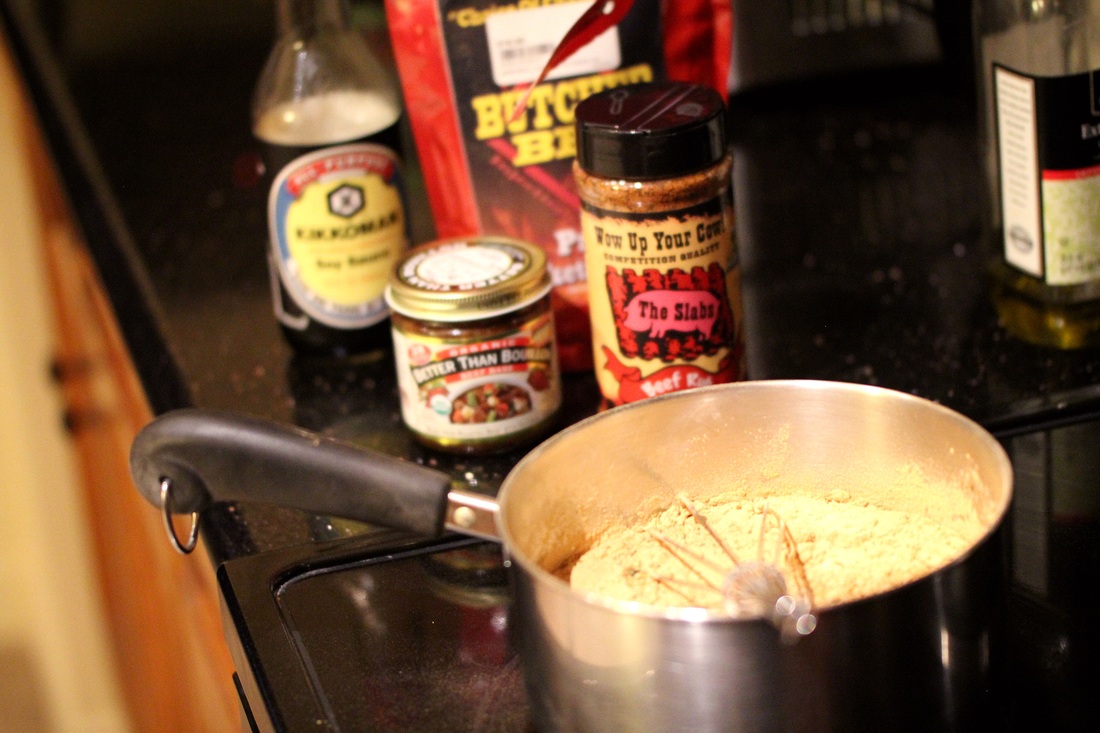
I like to marinade the pork shoulders or butts before I smoke them. The way to marinade I big cut like the shoulder is to inject it. The first step is to create the marinade. I use Butchers BBQ Pork Injection which I mix with some broth (beef or pork). I add some Worcestershire sauce, a little bit of garlic powder and some honey. I mix the ingredients together without heating up the marinade.
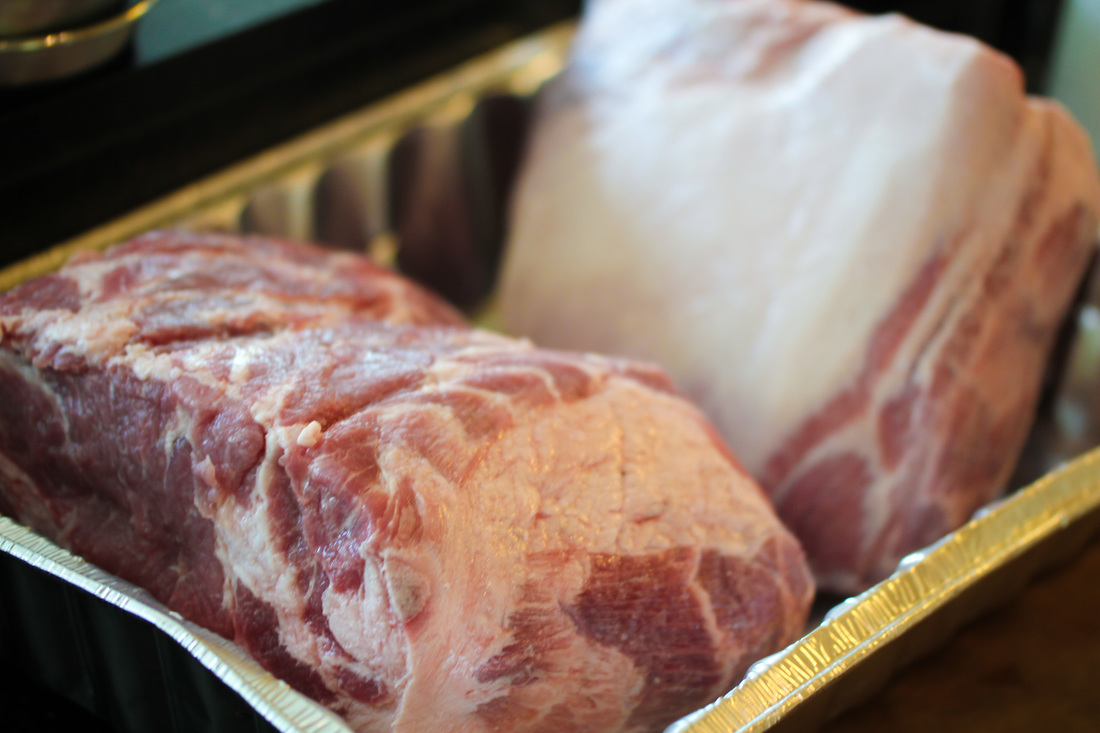
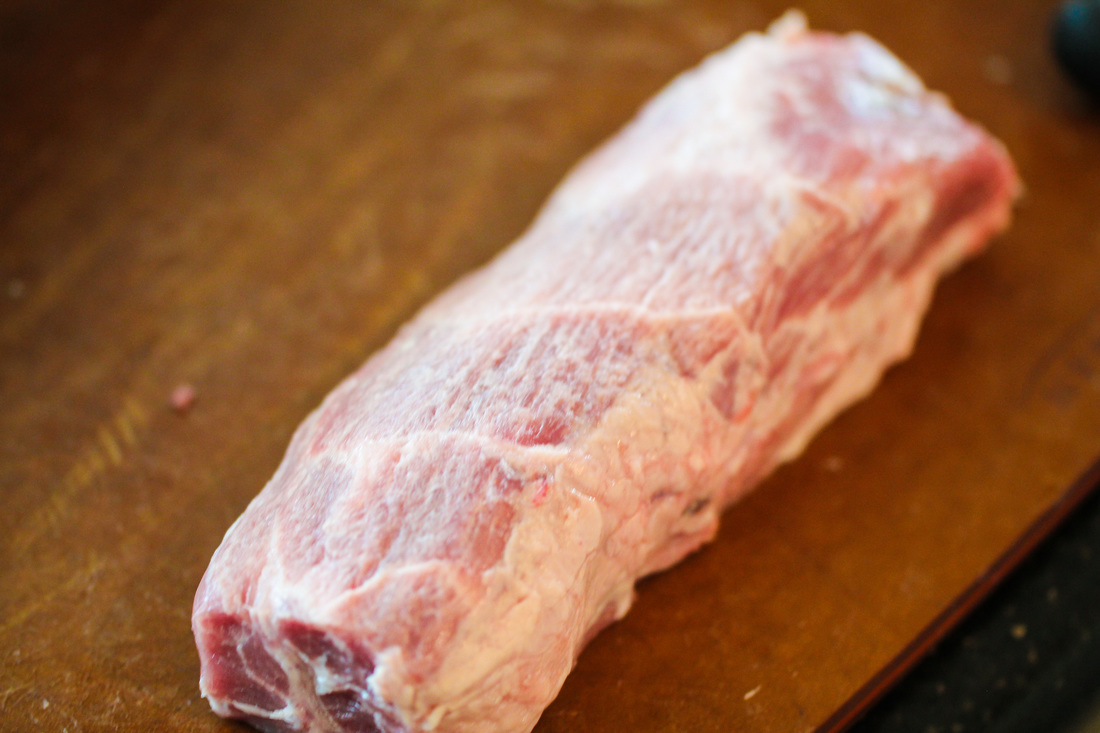
Before injecting the butt or shoulder, I like to trim some of the fat off the meat. You want to leave some on since it will add flavor but you can always trim off some of the fat cap. I also like to separate the Money Muscle. The Money muscle is perpendicular to the shoulder bone and it is the most succulent and tender part of the butt. You can either just remove some of the fat around the money muscle and cook it together with the butt or completely separate the muscle and cook it by itself. I prefer the latter. When the meat is trimmed, inject the butt with your marinade. Move throughout the butt and inject thoroughly. Wrap tightly in plastic wrap and refrigerate for at least 5 hours.
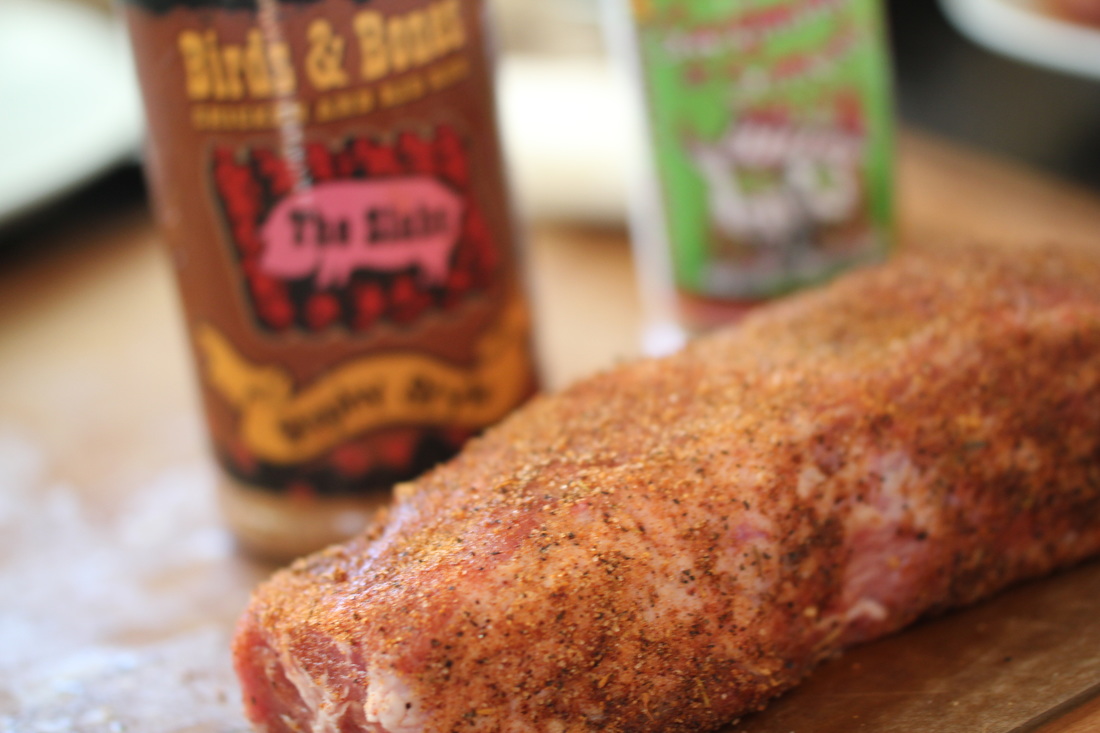
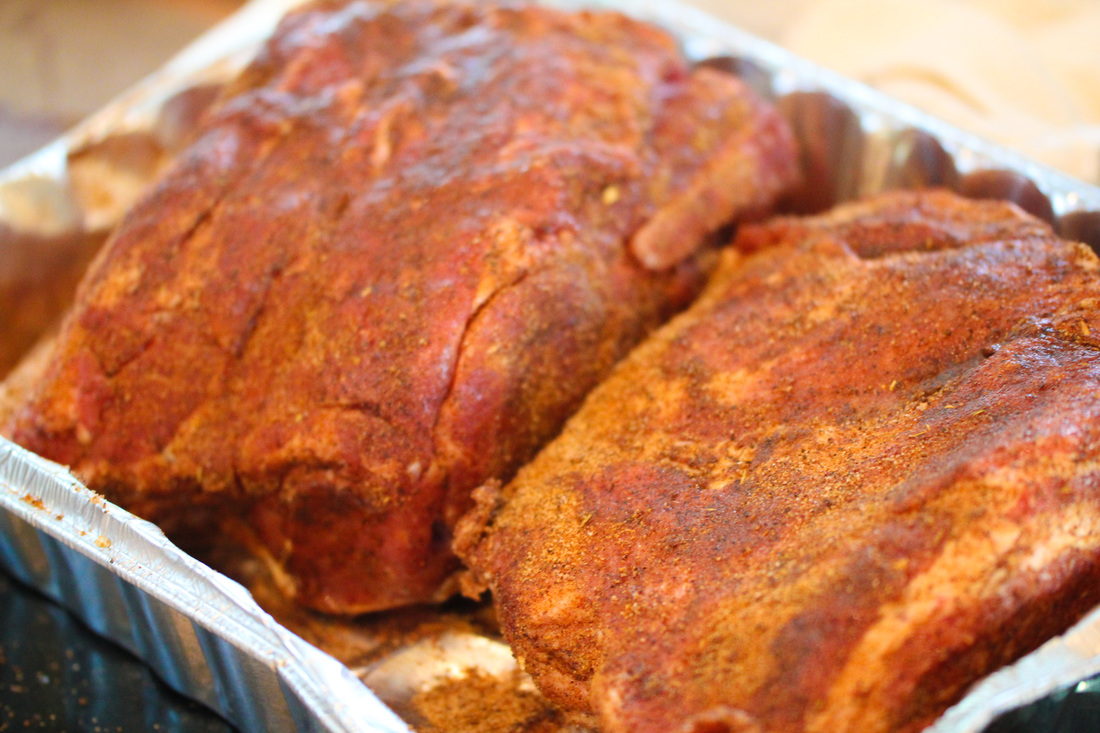
The next step is to give the outside of the pork its flavor, a great bark will make any pork stand out. Generously sprinkle your rub mix over each butt and let it sit for an hour - this will allow the rub to penetrate the meat and pull some of the water out. For this cook I used a mix of The Slabs and Swimmin in Smoke.
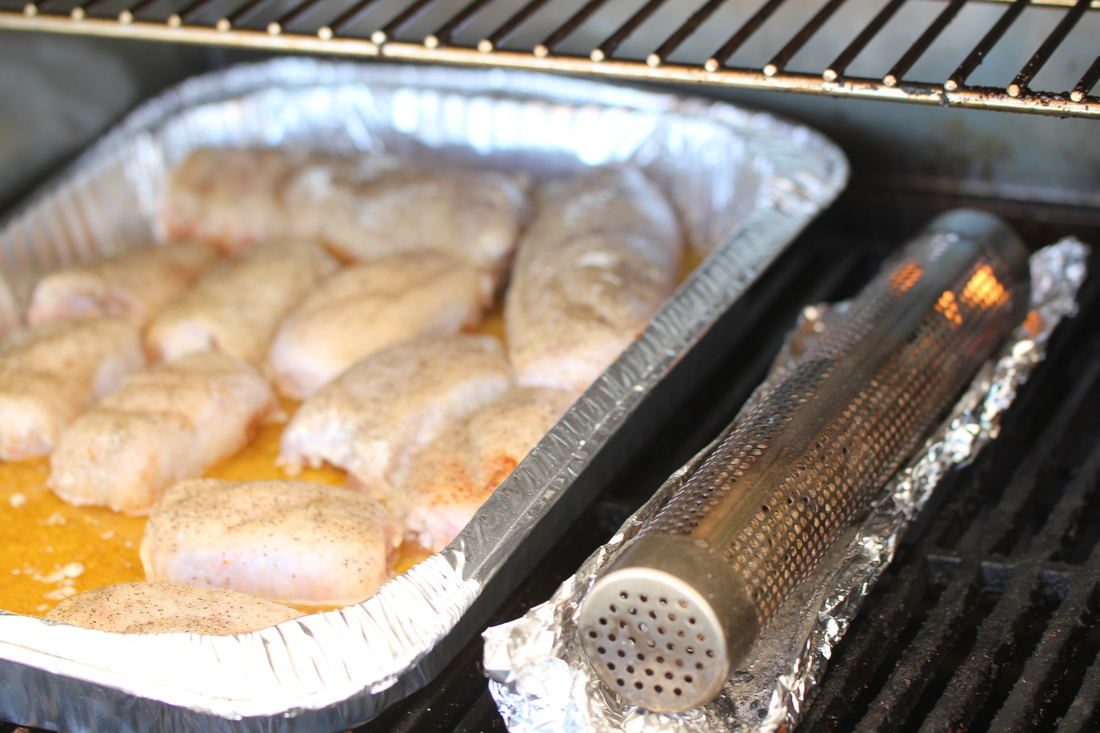
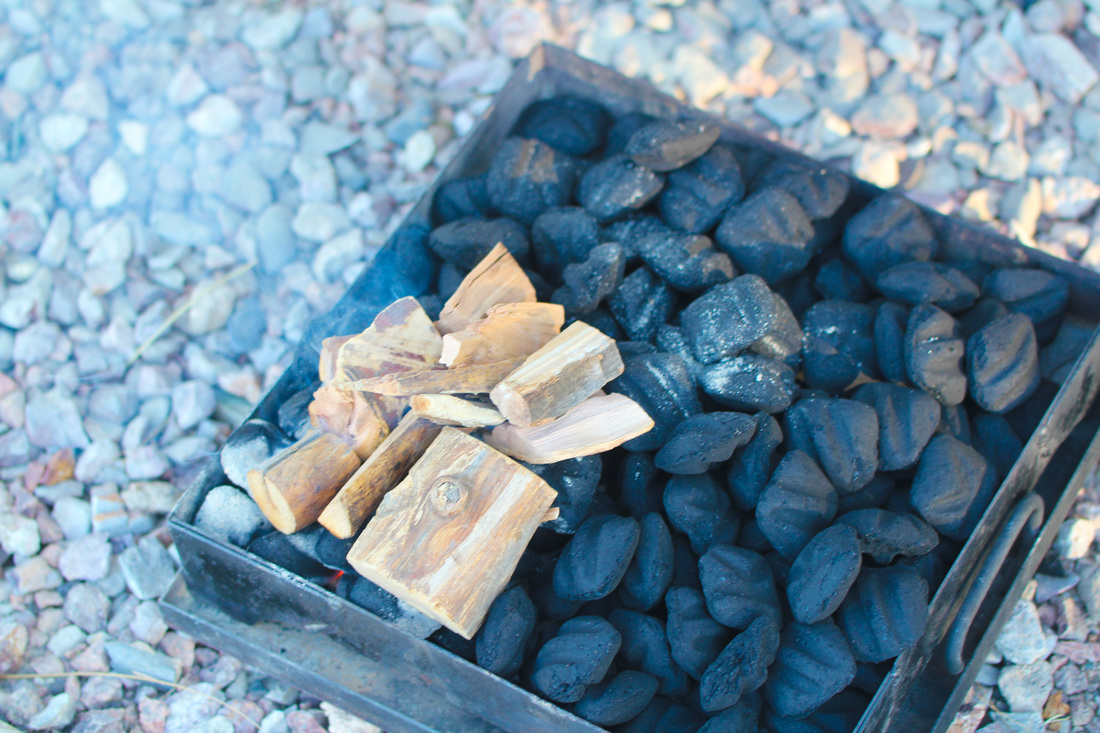
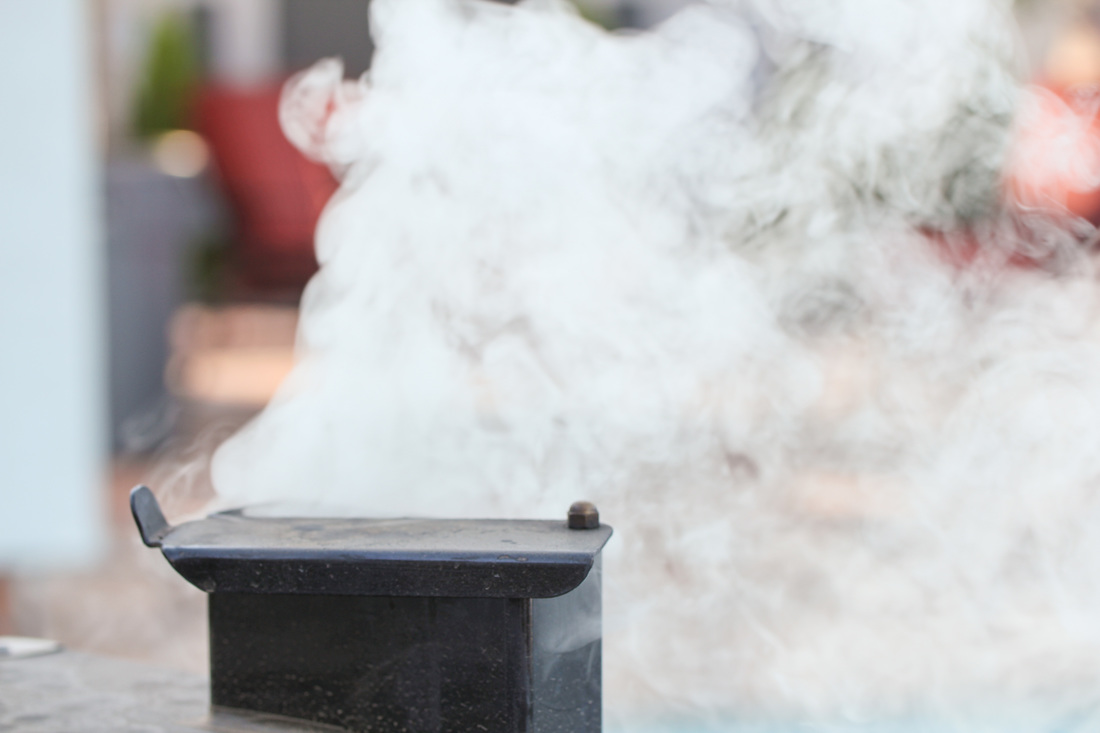
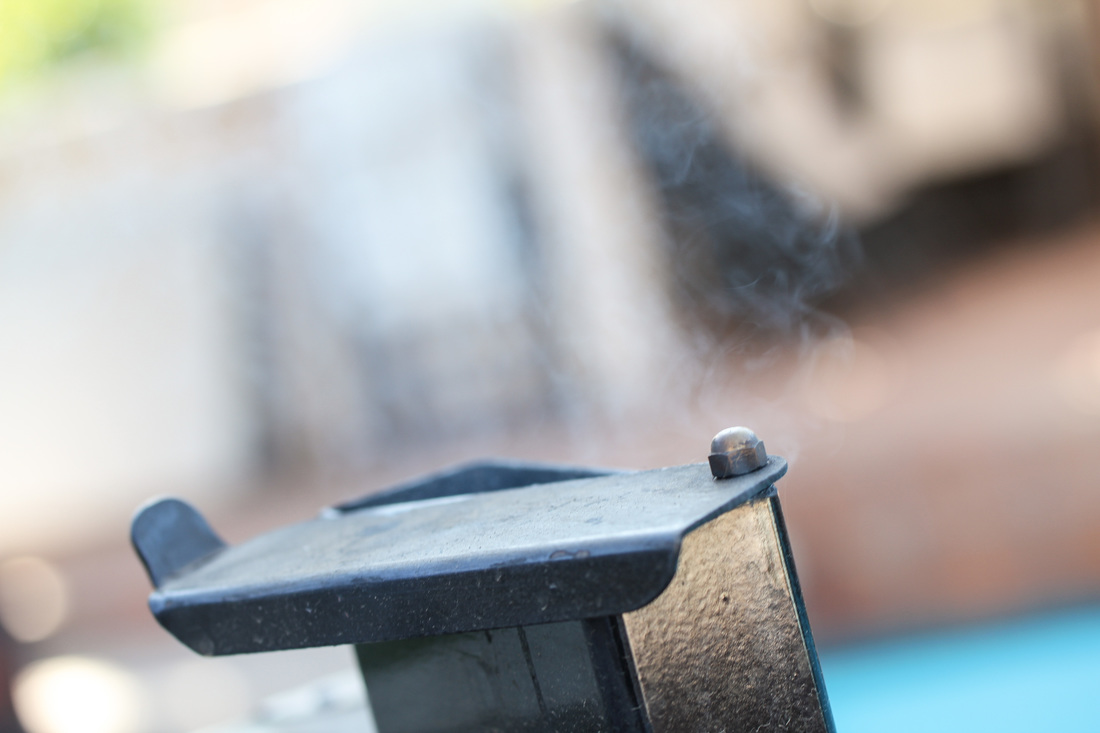
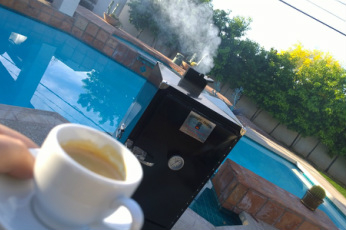
Light the smoker. I prefer to smoke pork at 235 degrees Fahrenheit. Make sure that you burn off the dirty smoke before you add the butts. The middle picture above has a thick gray smoke - this is dirty and could give the meat a bitter taste. You want a thin, blue smoke like the picture to the right. When it comes to pork I prefer apple, cherry or Maple. 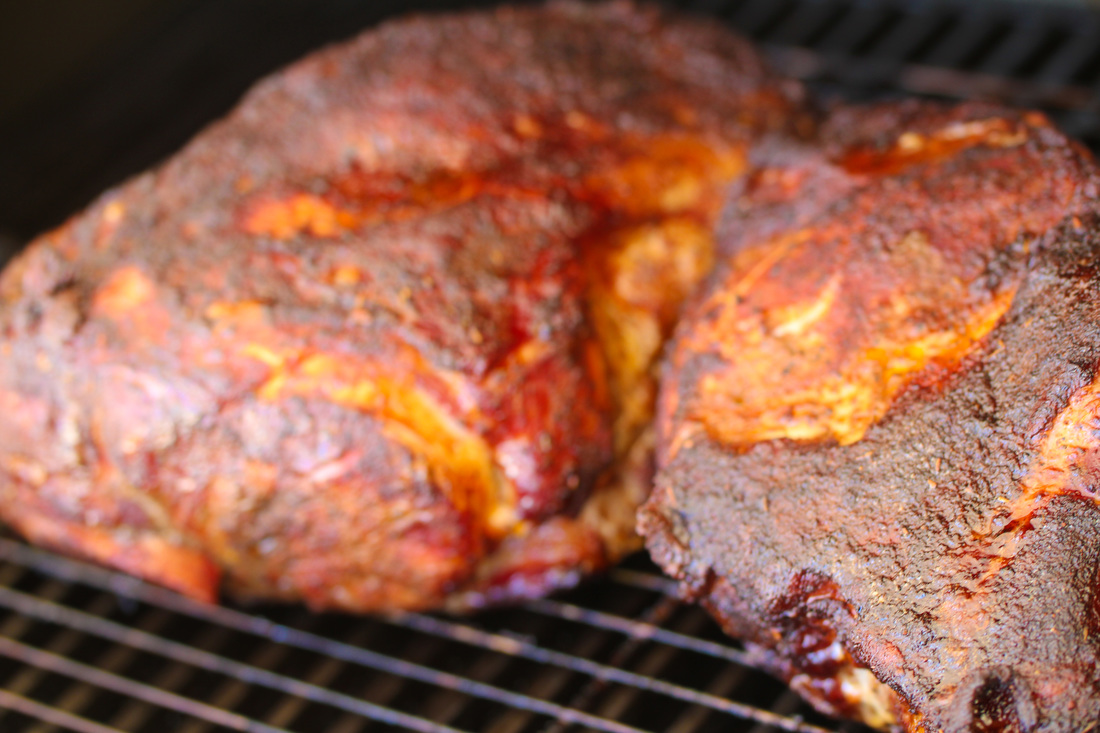 Place the butts on the smoker with the fatter side up. Also place an aluminium pan underneath the butts to collect all the drippings - more about these later. Smoke for about 5 hours or until the internal temperature reaches about 165 degrees Fahrenheit. Turn the meat over and smoke for another hours so. The length depends on the size of the butts. You want the butts to start forming a nice red crust.
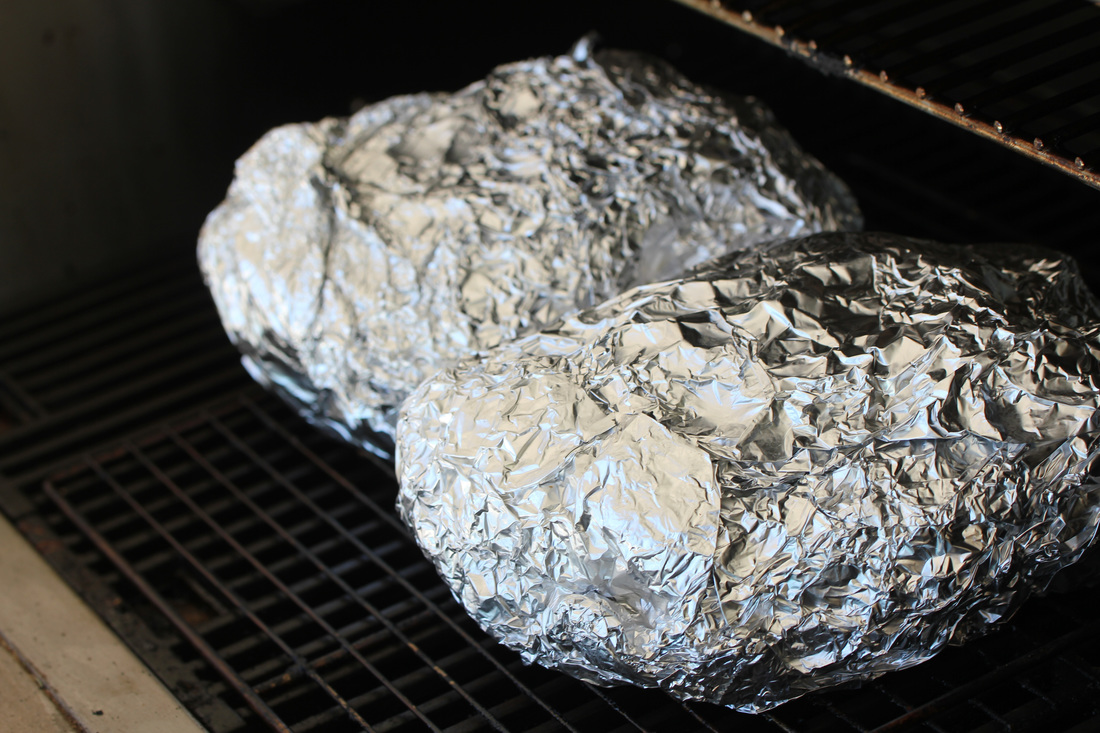
When you have a nice bark - wrap the butts tightly in aluminum foil Keep smoking until the internal temperature reaches about 200 degrees Fahrenheit. While you wait for the butts to reach that temperature, collect all the drippings and pur into a tall container. Put the container in the fridge - the temperature will make the fat rise and get stiff. After an hour or so you can spoon out all the coagulated fat and you are left with liquid gold!! The juice from butts will be used later to add flavor to the sliced money muscle and the pulled and shredded pork.
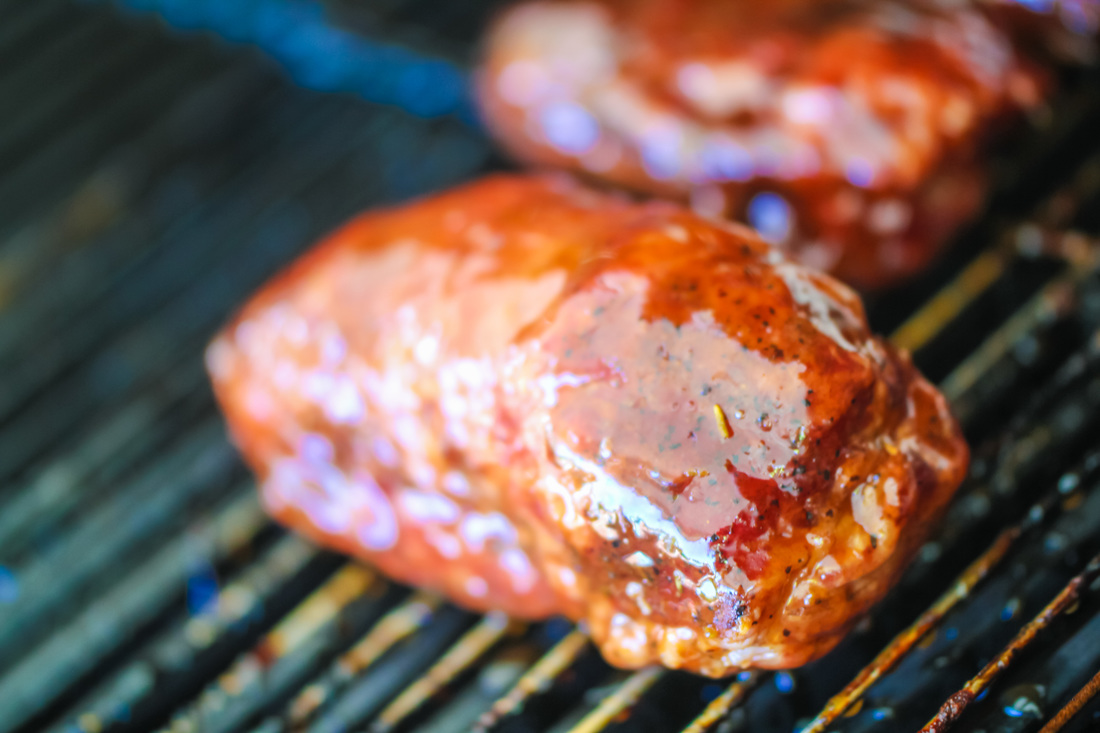
If you have separated the money muscle, it needs much shorter cooking time. Normally I would put the money muscle in the smoker when I have about three hours left of the butts. I keep them unwrapped for about 2 hours or until they reach 165 degrees. I wrap them - just like you would do with the butts. And when they reach 200 degrees I pull them. One thing I like to do with the money muscle, is to give the outside a nice sweet glaze for a slightly different flavor profile than the rest of the pork. In this case I used some BBQ sauce, Agave honey, apple juice and marrionberry marmalade (seedless). I give the money muscle a finishing touch with the glaze and let it caramelize for about 30-45 minutes in the smoker.
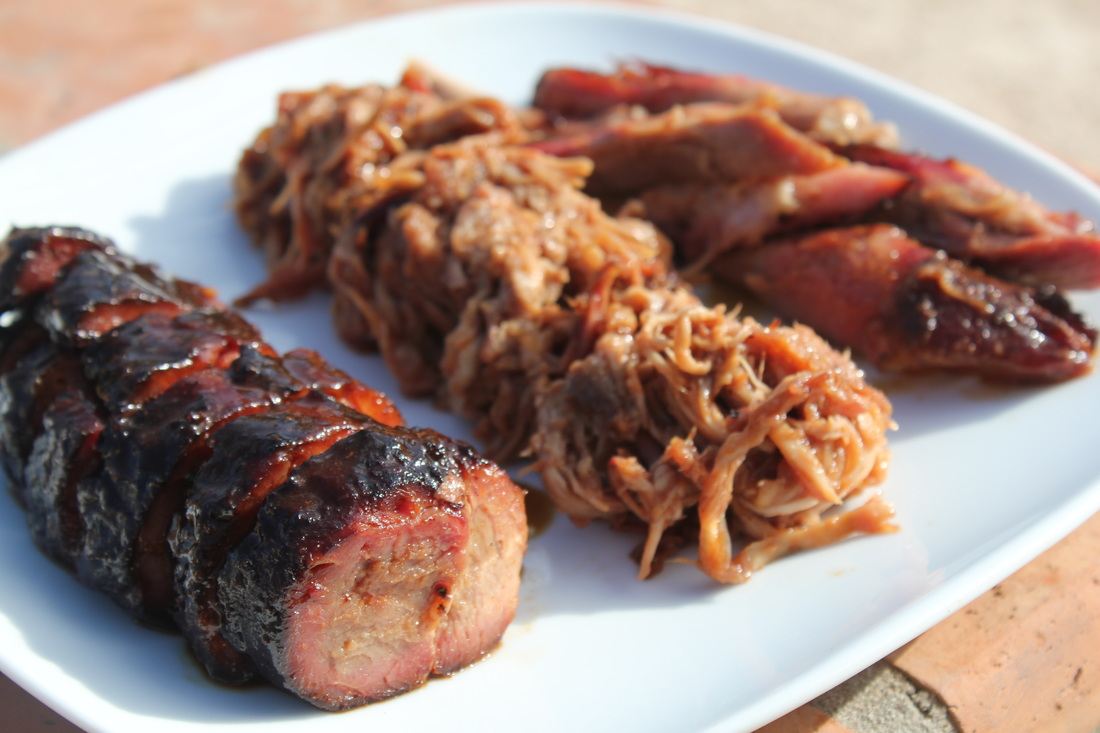
The last step is to let the meat for a while. Then it is time to serve.
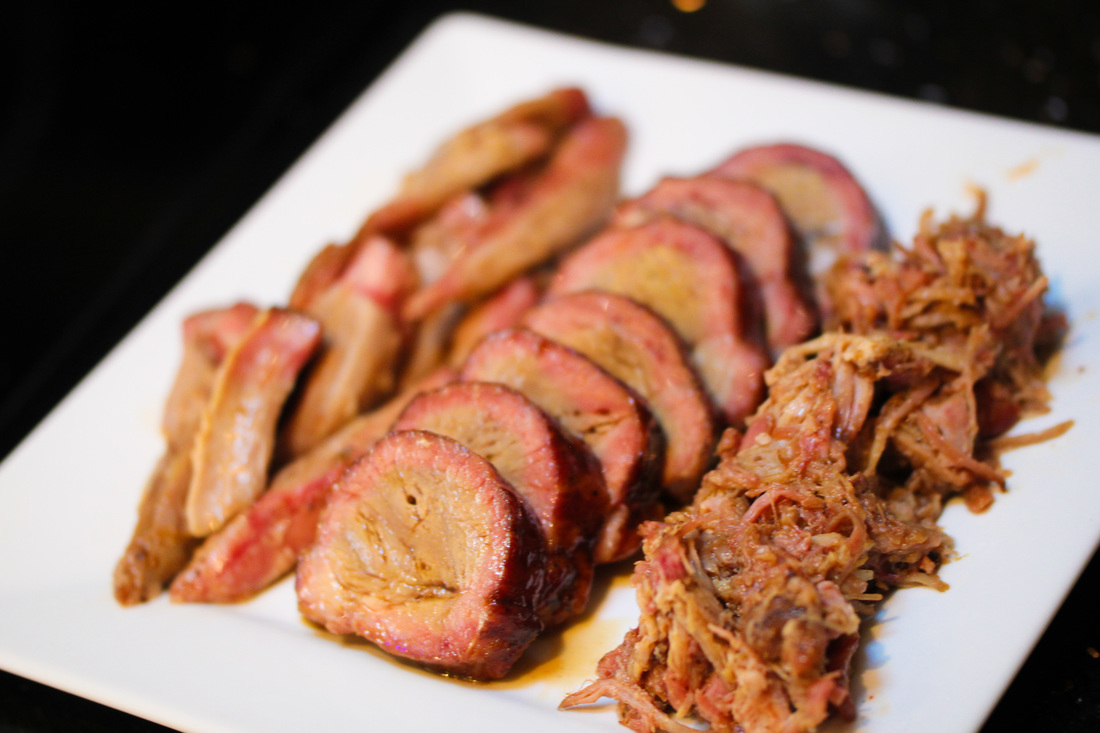
Use food handling gloves to pull the meat apart into nice chunks. Use a fork to shred some of the pork that is falling apart, and slice the money muscle into 3/4 inches thick slices. Dip the money muscle and pork chunks into the reserved drippings and pour back some of the dripping liquid into the shredded pork. Serve hot!! 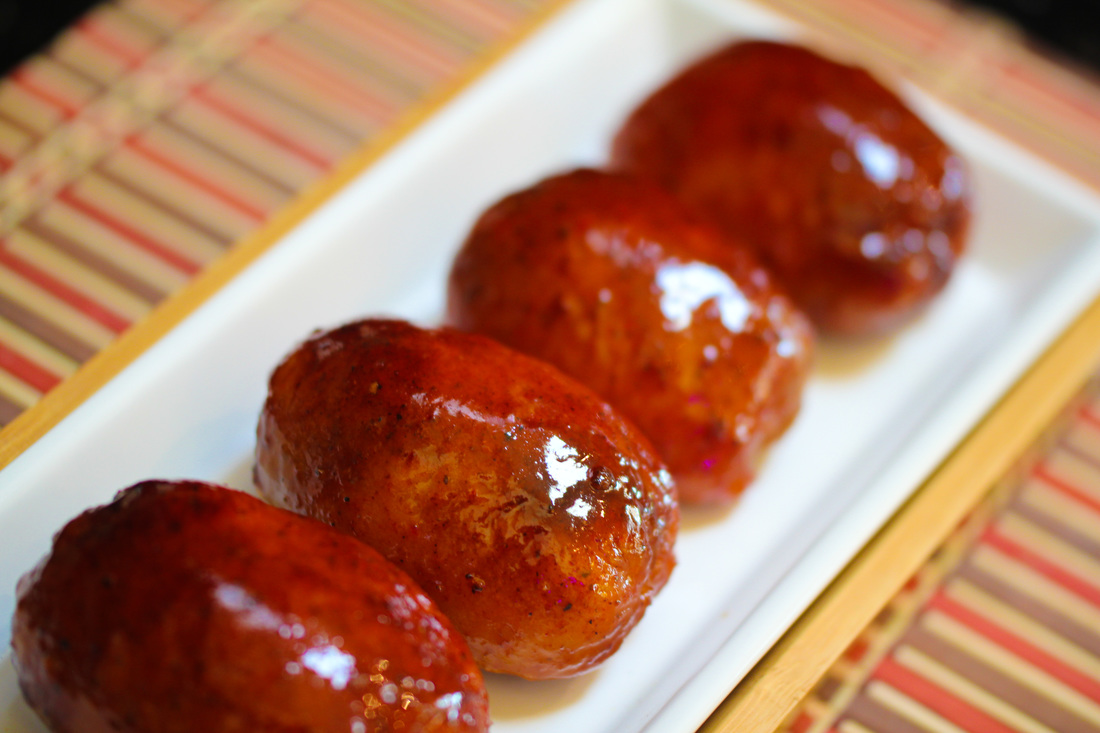 Smoking chicken thighs is a messy and tiring process, but when you get it right, there are few things that beats the flavor of succulent and moist chicken with a little heat and a lotta sweet. I prefer to remove the bones - you can enjoy the entire thigh that way - but you can skip that step if you want to save yourself some time.
The first thing you have to do is to trim the chicken - you want uniform looking pieces with about the same size. They will cook more evenly and will also look better when you serve. Start with cutting the skin off each thigh. Be careful not to tear the skin. After you cut off the skin, cut the thighs in uniform pieces, turn the thigh over and then cut away muscle along the back of the thigh bone. This is where you can decide if you want to remove the thigh bone or not.
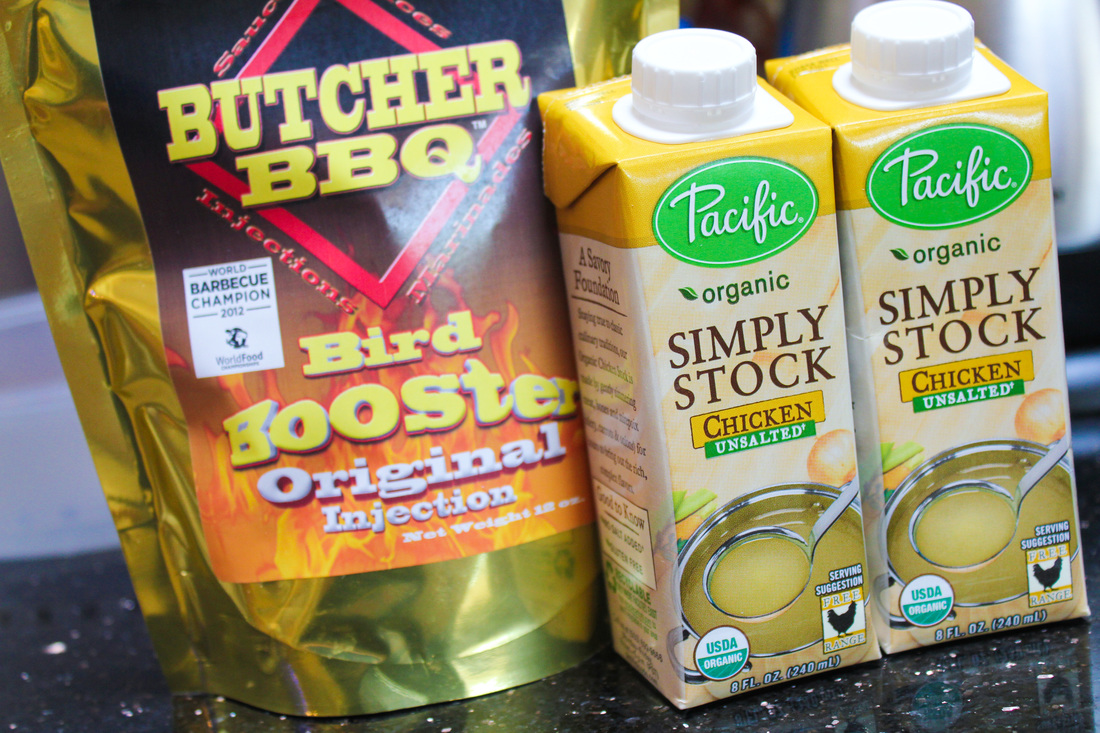
I like to either brine or inject my thighs. You can either use a very simple brine with water, salt and sugar or you can mix your own and try to get some flavor into the chicken thighs. When I inject I use chicken broth and Butcher BBQ Bird Booster and when I make a brine, I normally use water, salt, sugar and some of the Bird Booster. Let the chicken thighs rest in the brine for a couple of hours while you trim the skin.
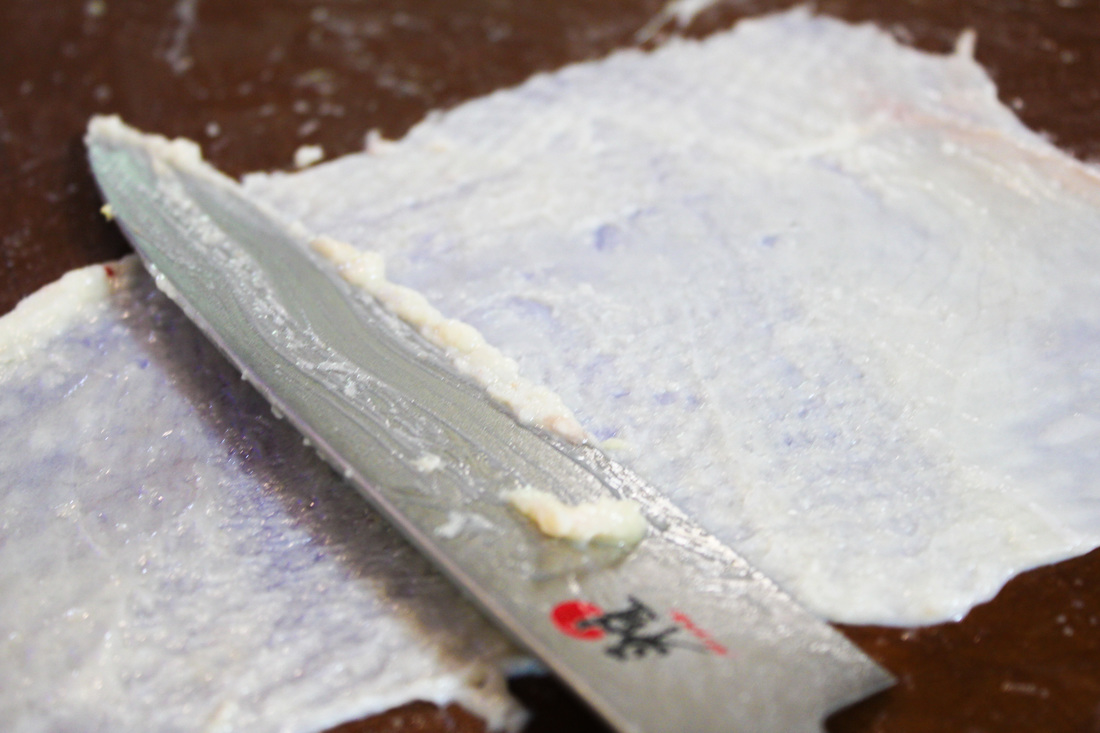
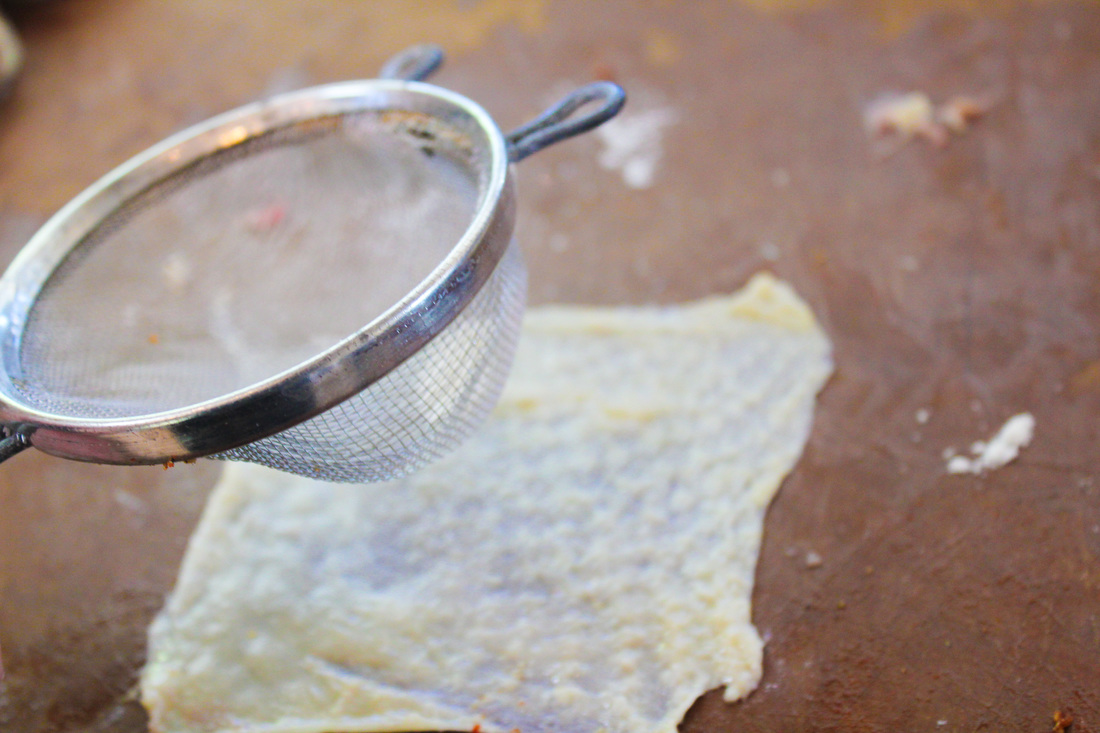
Scrape excess fat off the skin. I usually put the skin in the fridge or freezer for a while to make the fat more solid. Then I use a boning knife to cut the fat off first. After I gotten the thick layer of fat removed, I scrape off the rest with my chefs knife. Be careful so you don't tear the skin. You want the skin to be translucent. You want the skin to slightly smaller than the thigh but it should wrap around the skin fully covering the front and most of the back. Season the chicken slightly with your base rub. I like something with a little bit of heat under the skin and for the back of the thigh.
It is now time to reattach the skin to the thigh. I prefer to use meat glue because it will create a stronger bond with the thigh and the skin. Sprinkle about a teaspoon of meat glue inside the piece of skin and sprinkle some on the thigh as well. You don't have to worry about the thigh taking on a weird flavor. Meat glue is flavorless when you cook with it. Wrap the skin around the thigh and the wrap in plastic wrap to make sure that the glue binds effectively. Put in refrigerator for at least 4 hours. Put your second rub on top of the skin - I prefer a cherry rub since it will give the thigh a very nice color.
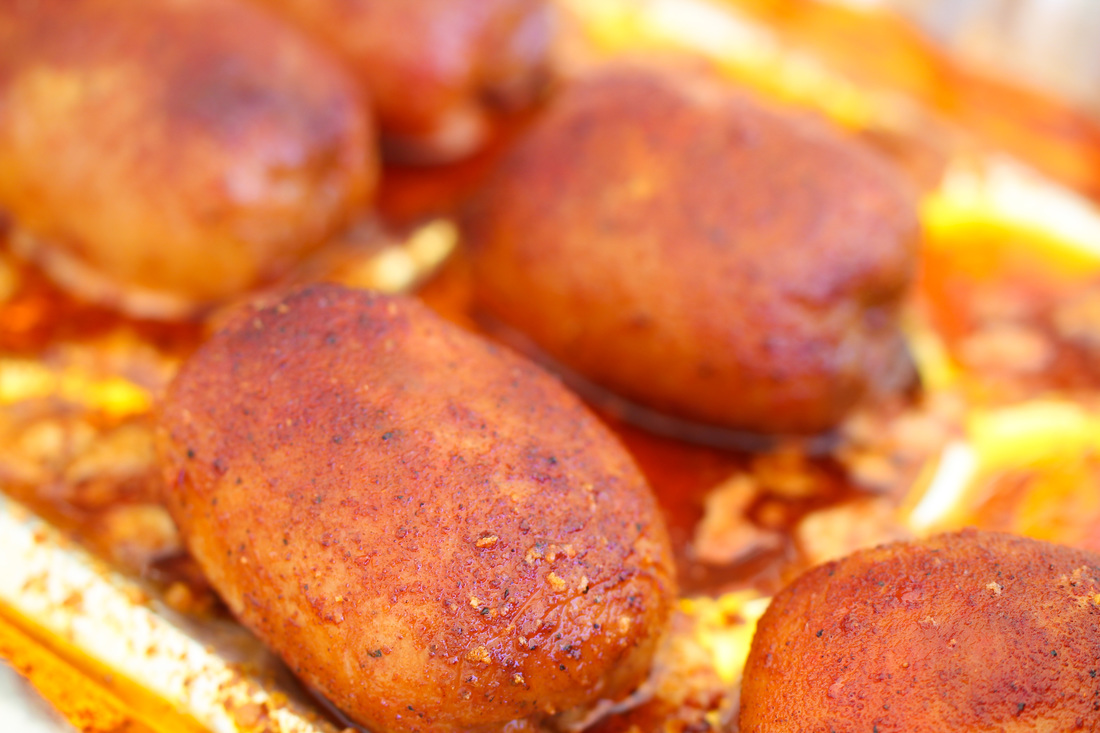
Make sure that the smoker has reach about 250 degrees Fahrenheit. For chicken thighs I use apple or cherry wood chunks for smoke. Make sure that the dirty smoke has worn off and that your smoker has a clean, thin, blue smoke coming out of the chimney. Place the chicken thighs in a pan on top of slices of butter, I use about two tablespoons of butter per thigh. Smoke until you get the thighs up to 160 degrees. Baste frequently with butter. While the thighs are smoking, mix your glaze. I use one third of BBQ sauce, one third of Agave honey and one third apple juice. Sometimes I put in a couple of other things to add flavor - like a fruit jelly or seedless marmalade. When the thighs reaches 160 degree - dip them in the glaze and return to the smoker. Smoke until they reach 165 and the glaze gets a little bit caramelized. Take them off the smoker and then let them sit under some foil and rest. Let them rest for about 10 minutes. 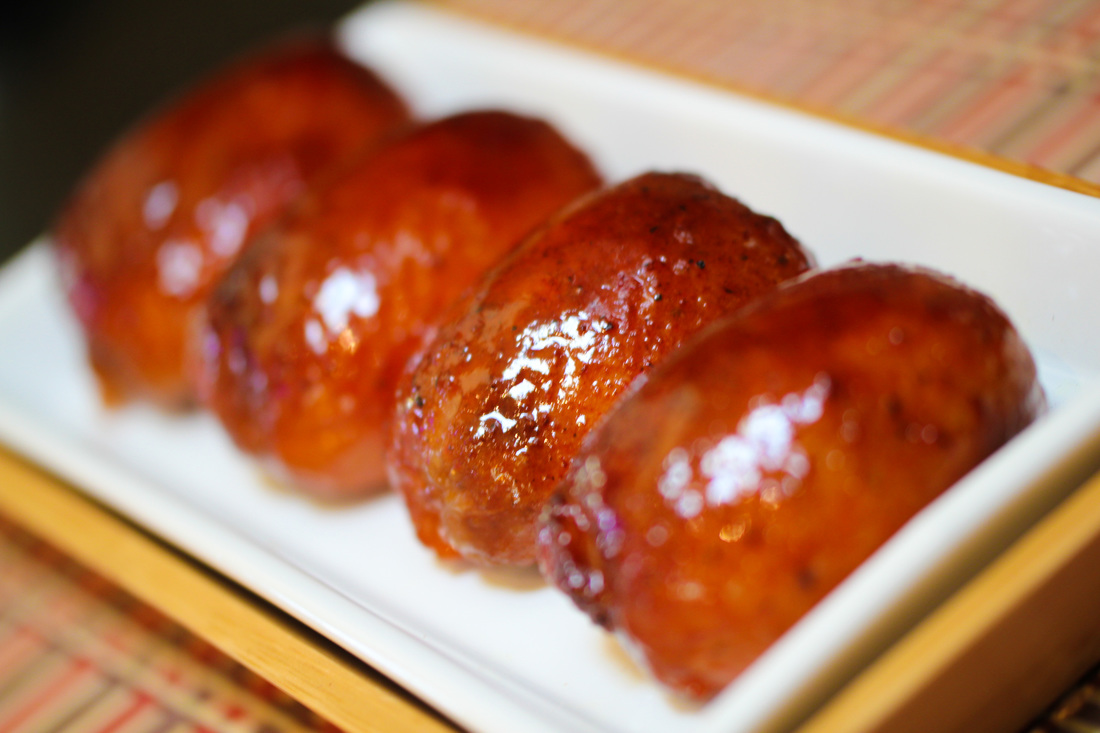 After the thighs are done resting - you should have some extremely moist chicken thighs with a wonderful bite-thru skin. A little smoke, a little heat and a lotta sweet - just like a chicken thigh should taste!!
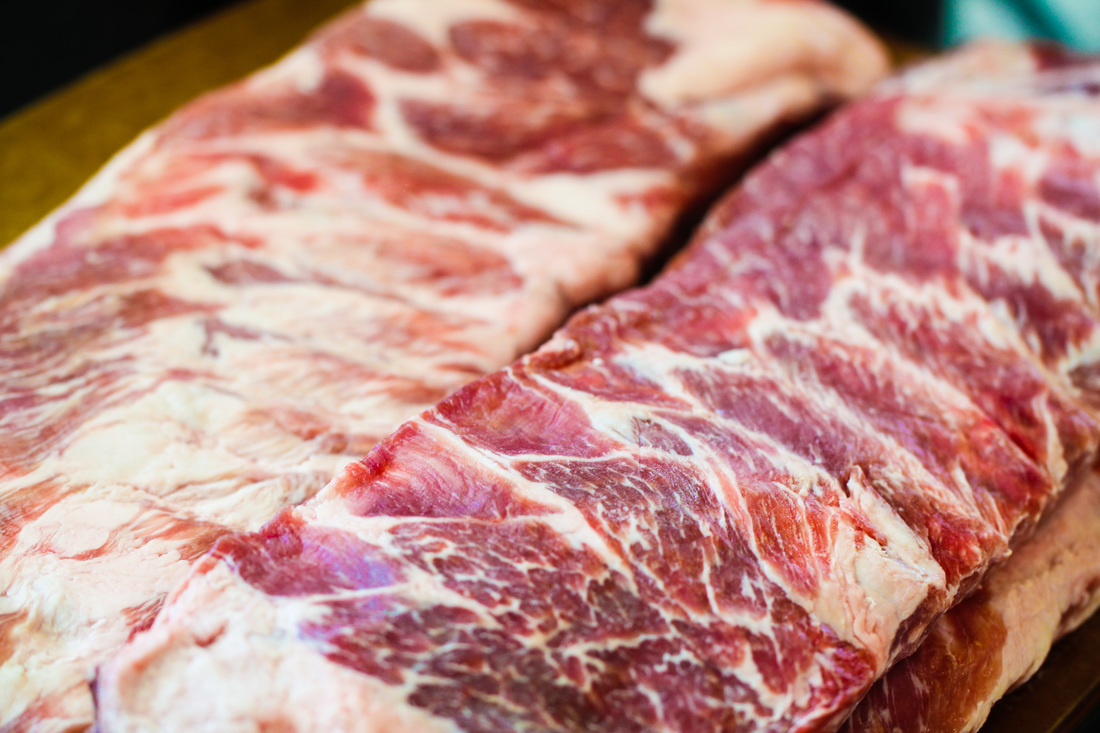
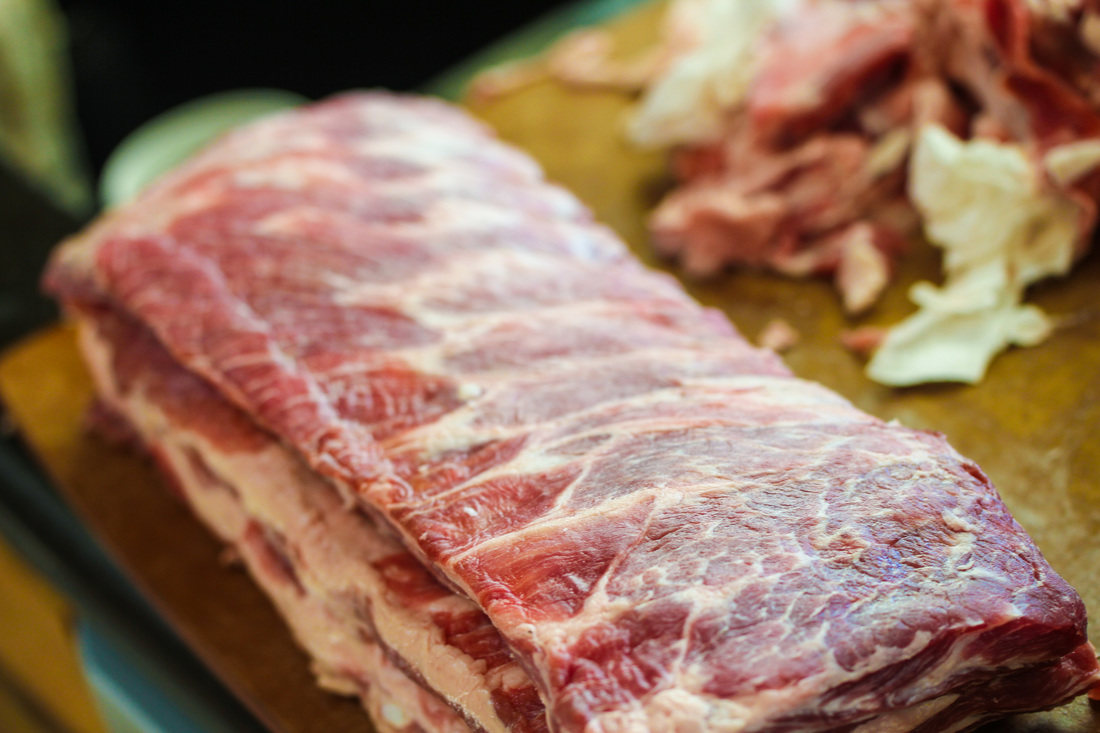
 I prefer spare ribs and the best way is cooking them St Louis cut-style. It highlights the prime part of the rib bone and it has more taste. Start with large, meaty ribs. Make sure that the ribs have no shiners (ribs where the butcher has cut away too much meat so that the bones shines through).
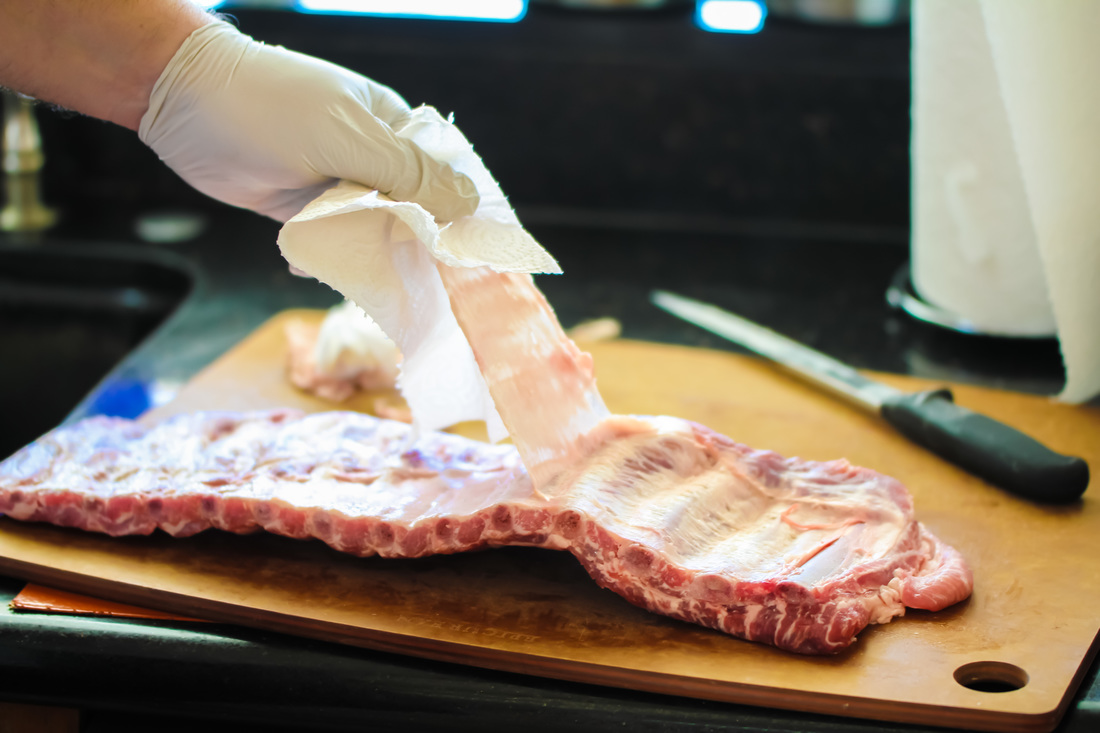
To trim ribs St Louis style, cut the rib between the rib bones and where the sternum and cartilage portion begins. Cut along the ribs, you are looking for a uniform, square slab of ribs. Remove the flap of meat on the back of the ribs. With a paper towel, peel the membrane off of the ribs. One of the most common mistakes people still do is leave the membrane on, which makes the rib tough.
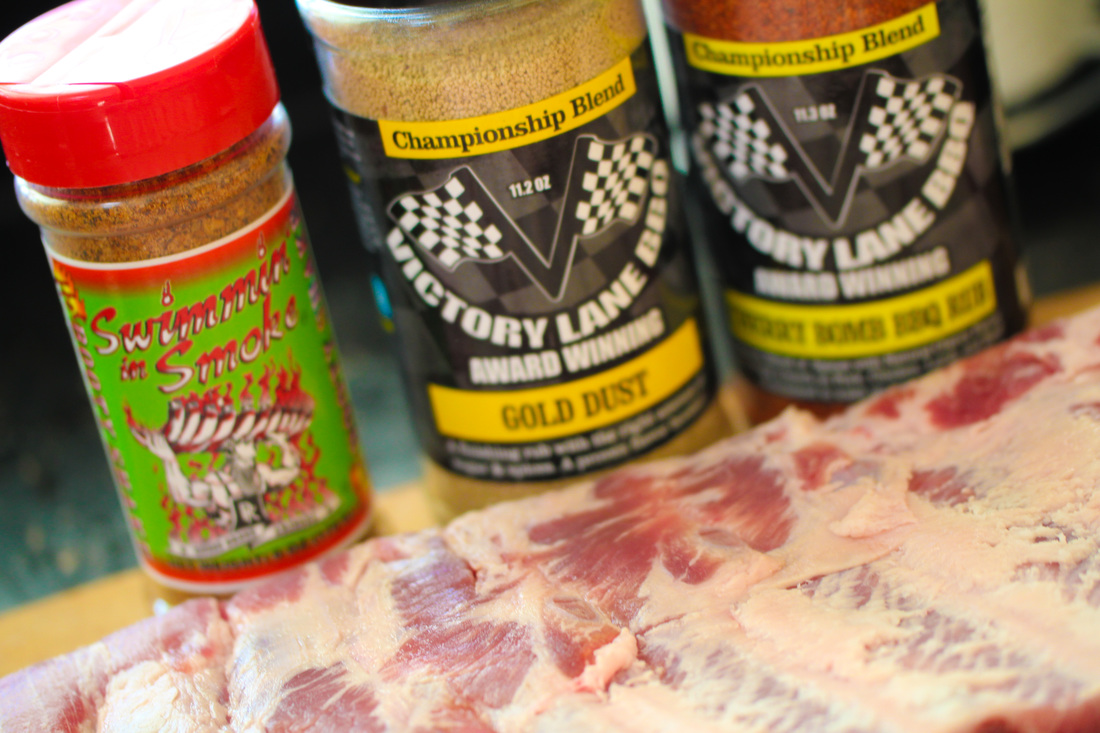
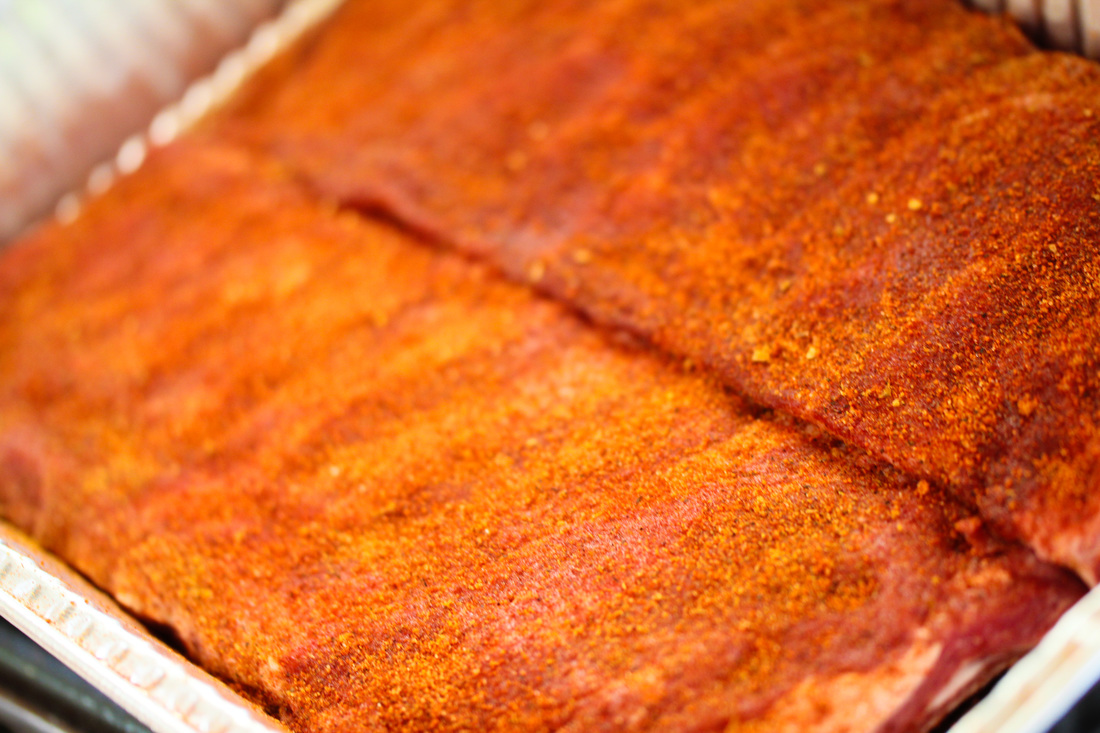
The next step is to rub the ribs. I prefer using three rubs. The first rub will work as a good foundational rub and give great flavor. In this example I use Swimming in Smoke Booty Shake Hot - it gives the rub a great bite after the cook. The second rub I choose for coloring the rib. In this case I used Victory Lane Cherry Bomb BBQ rub. Cherry gives ribs and chicken a wonderful color. And don't worry, the ribs wont taste of cherry, most of the flavor disappears during the cook. The third rub is optimal - I like to use a finishing rub at the end of the cook. In this example, I used Victory Lane Gold Dust - very high sugar content - so it adds a great sweet flavor at the end. The third rub is optimal, we will produce enough sweetness in the end by using a glaze. After the rub is applied, lightly press the spices into the meat. Let the rub sit on the rub for 30-40 minutes, not longer. It will allow the salt to penetrate the meat and pull some of the water out (the rib will be seating). But don't let it sit too long.
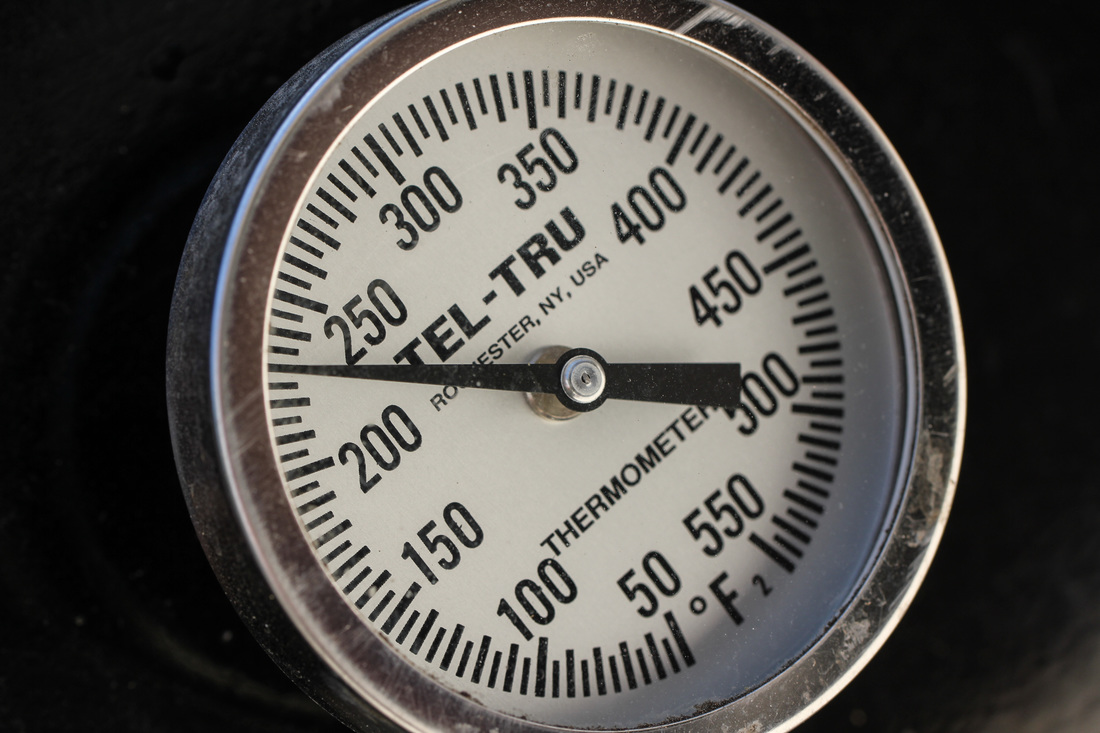
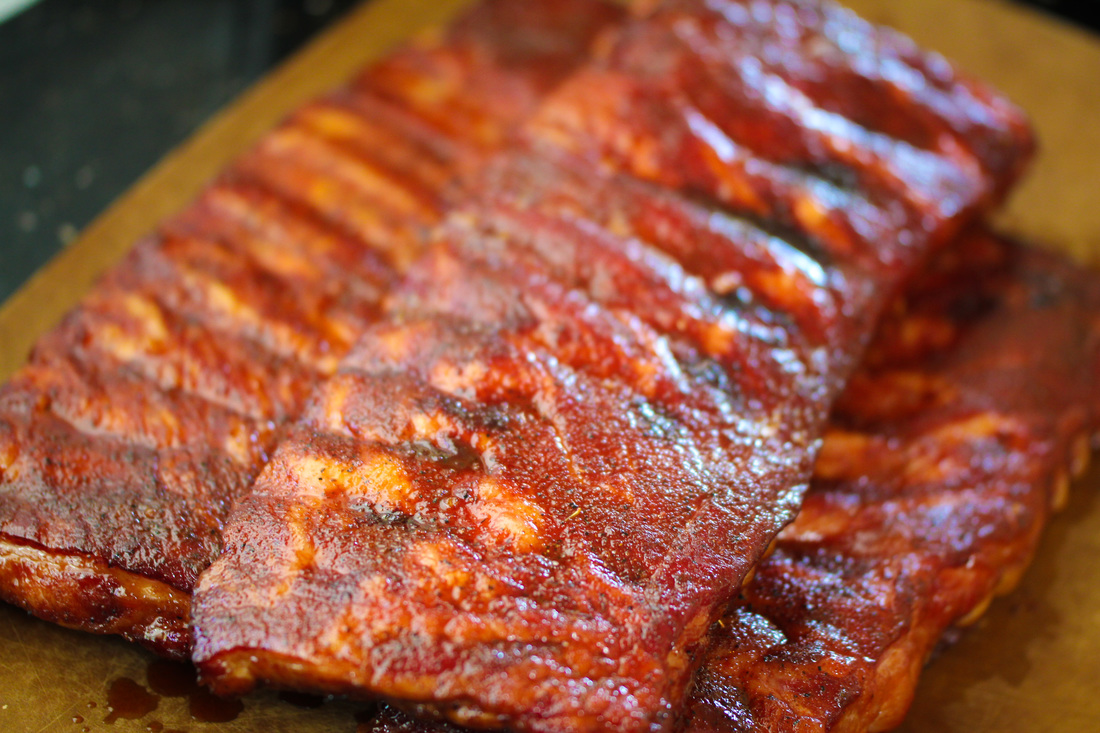
While the ribs are resting, prepare the smoker. I like to cook the ribs at 235 degrees F. I also recommend fruit chunks like apple and cherry. It will give the ribs a light smoke flavor. Let the dirty smoke burn out and when you have a clear blue, very thin smoke coming out of the smoker, you are ready to start cooking. I smoke the ribs for about 2 hours without opening the lid. After two hours I look at them, What I am looking for is color - I want them to have a nice red/orange color. Don't add more wood chunks - after about two hours the ribs will not take on more smoke flavor, so adding wood chunks is not beneficial at that stage.
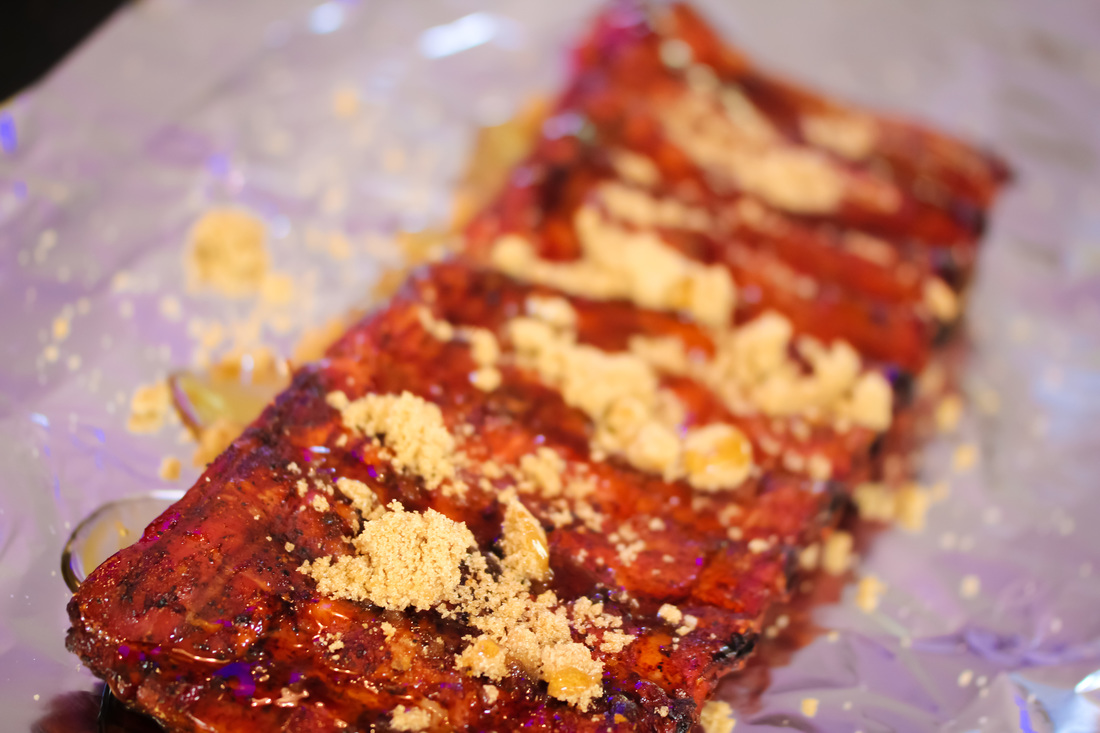
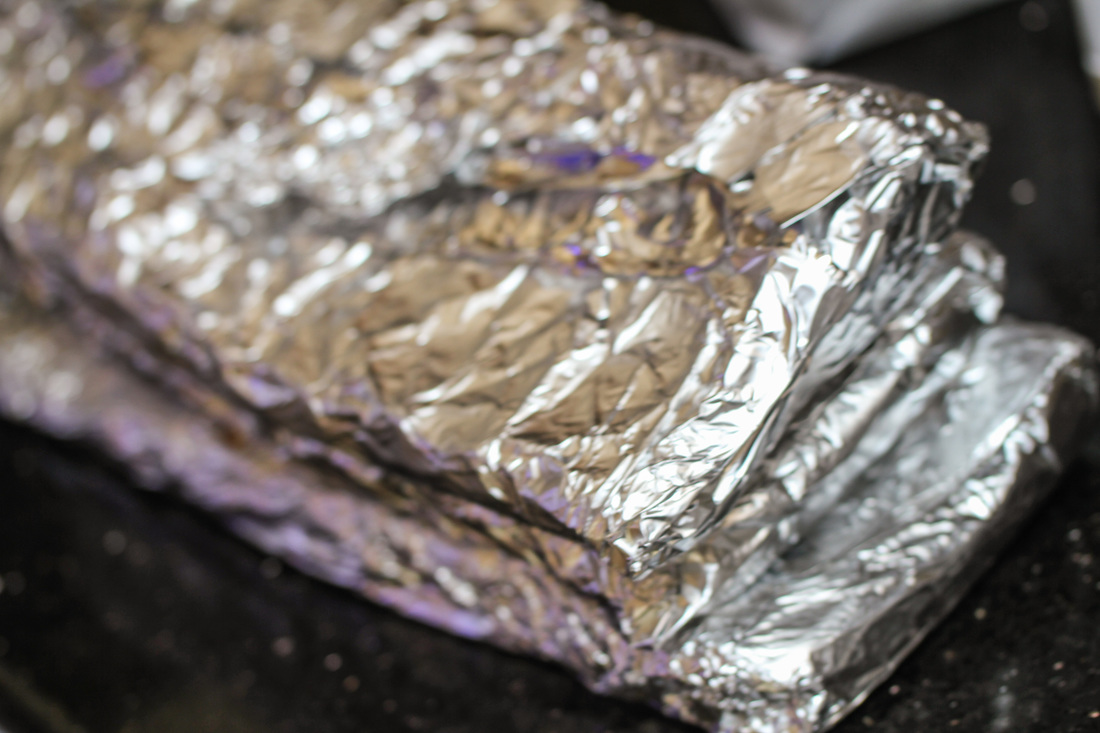
When the ribs have a nice color, it is time to wrap the ribs. It is important to conduct this step pretty fast so the ribs don't lose too much temperature. Remove the ribs from the smoker. Use two large heavy-duty pieces of aluminium foil for each rib. Across the length of the foil, sprinkle brown sugar (about 1/2 cup) and agave nectar (you can use honey of you like that better). Place ribs meat down and then sprinkle brown sugar and agave nectar on the back of the ribs. Wrap the ribs very tightly with the foil, you want to make sure that there are no air pockets. These will cause the ribs to steam and not cook. Return the ribs to the smoker for another 1 1/2 hours or so.
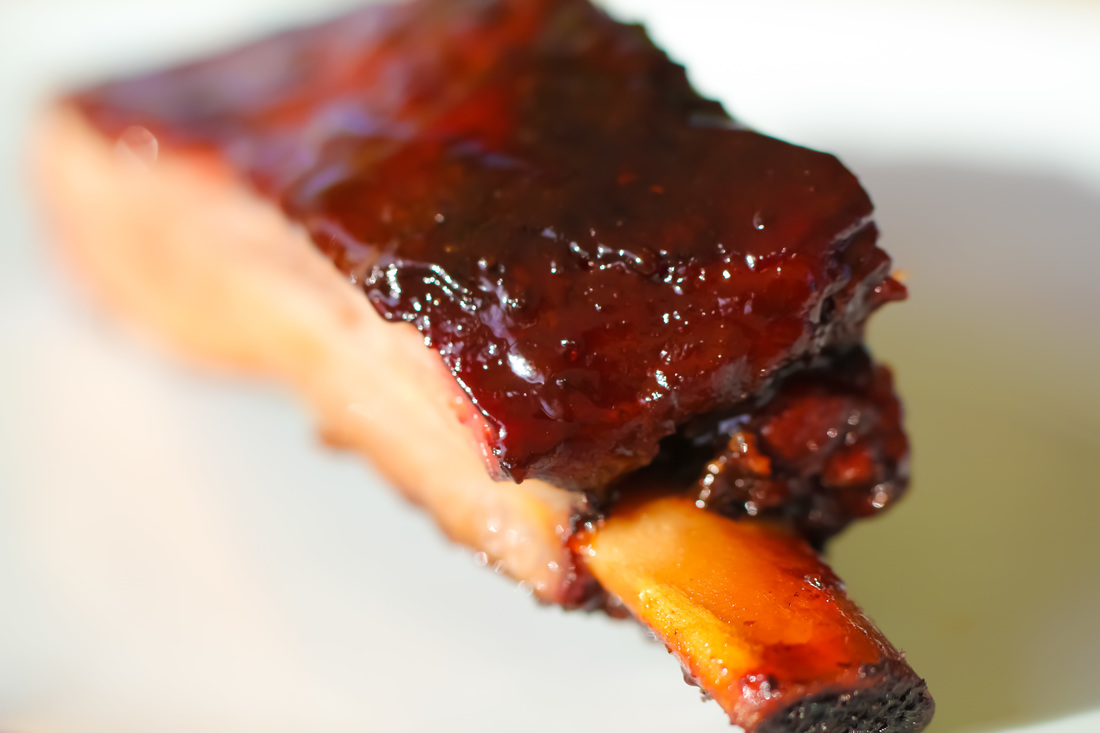
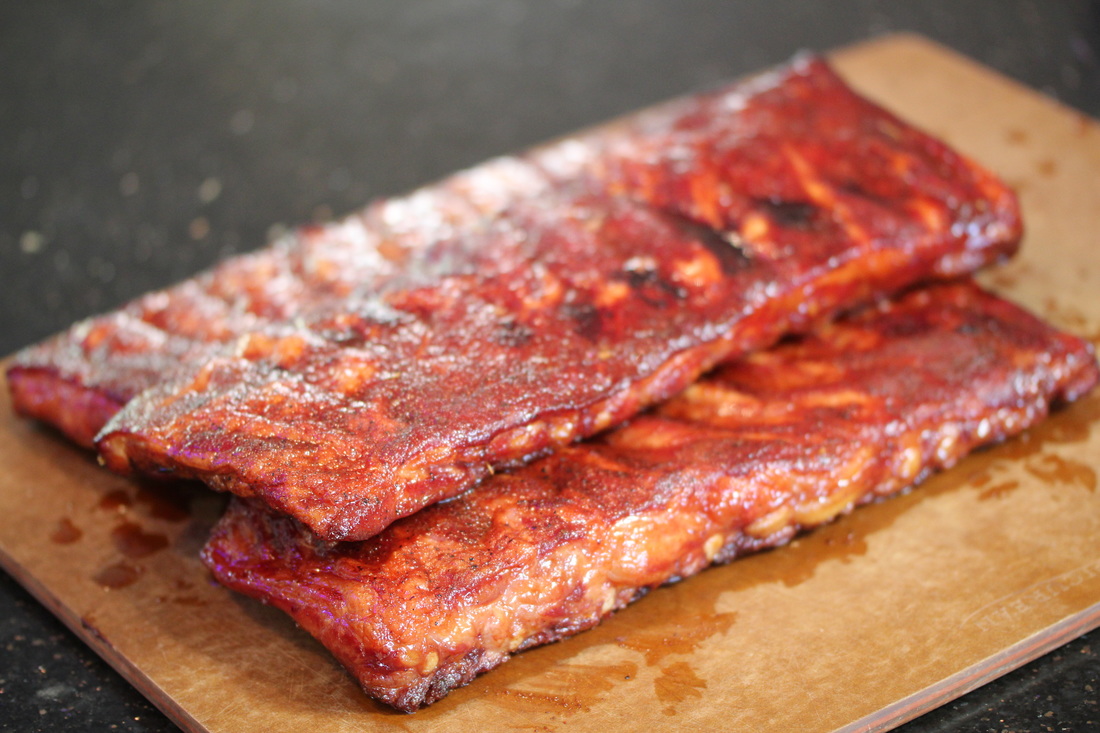
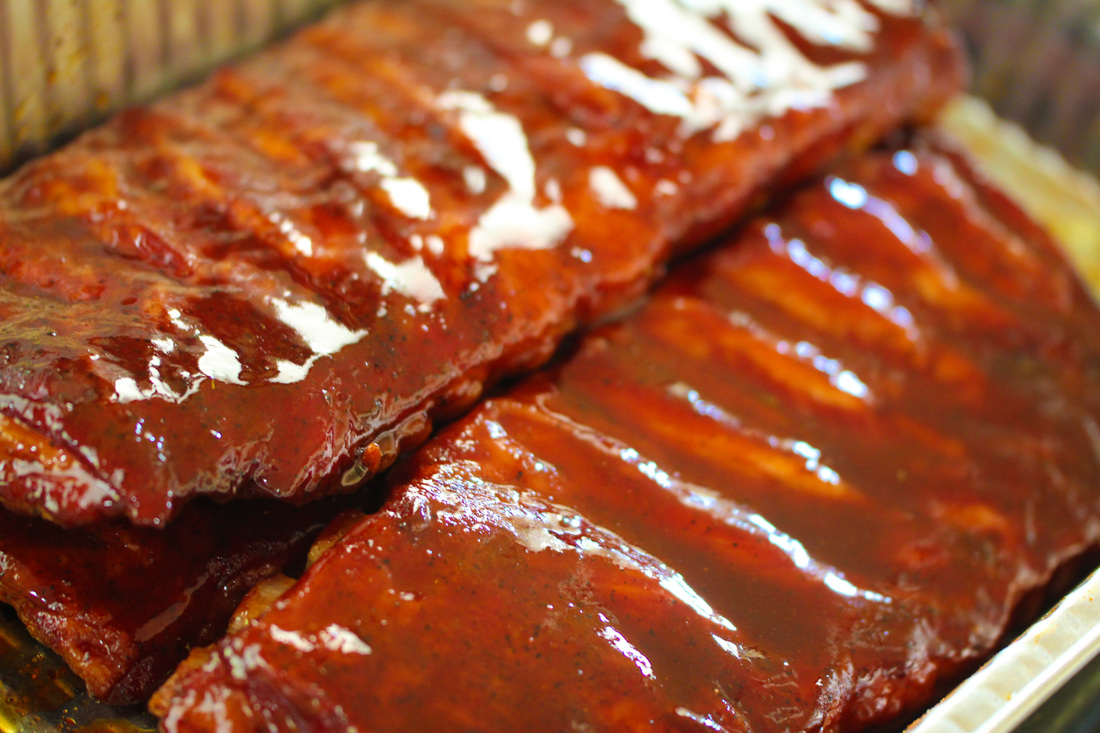
Remove the ribs and check for doneness. The bones should be breaking through the meat on the backside and the ribs should have a significant bend but should not break when you lift them up. When they are done - baste them. I like a mix of BBQ sauce, agave nectar and some apple juice. I mix 50/50 of sauce and nectar and then add some apple juice to thin out the glaze. I baste both sides and optionally this is where I add the finishing rub. You could either rewrap the ribs and rest at room temperature for 30 minutes or put them back on the smoker. In this case they were slightly underdone so I put them back on the smoker to give them some more cooking time. 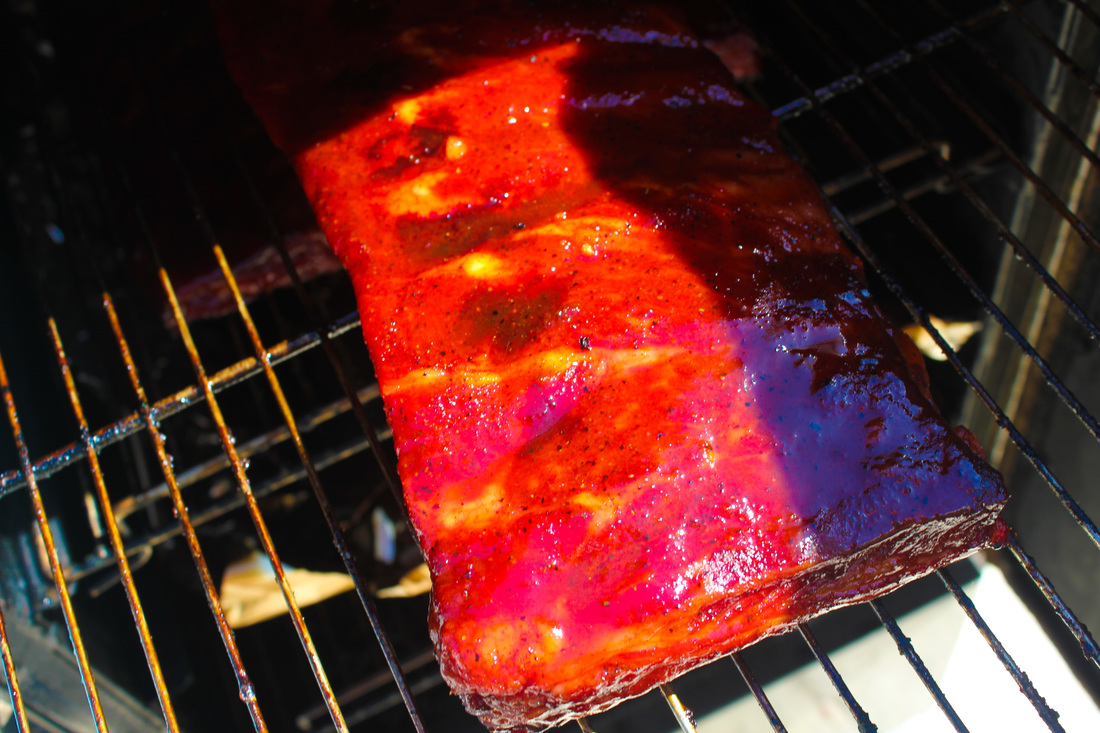 When done, place the meat on a clean cutting board. Carefully slice evenly between each rib bone. What I am looking for in my ribs a light and not overpowering smoke flavor, meat that is tender but not falling off the bone (common mistake, fall of the bones are often way overcooked and less flavorful), and very sweet but balanced by the savory flavors of the rub. 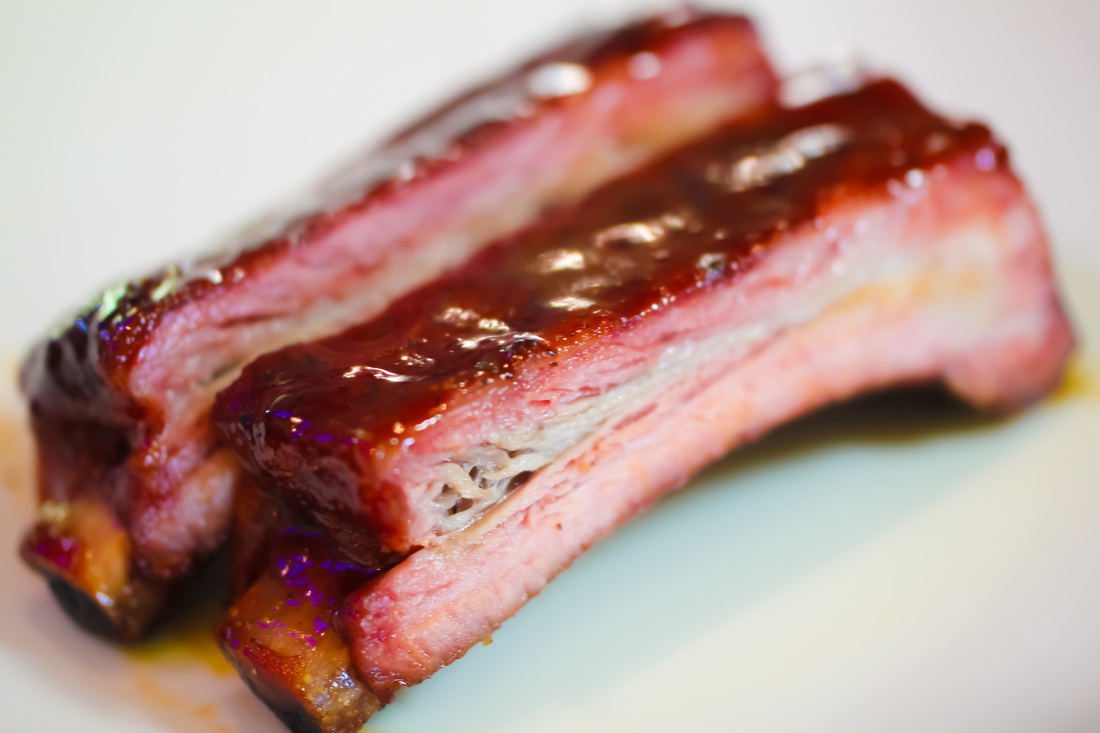 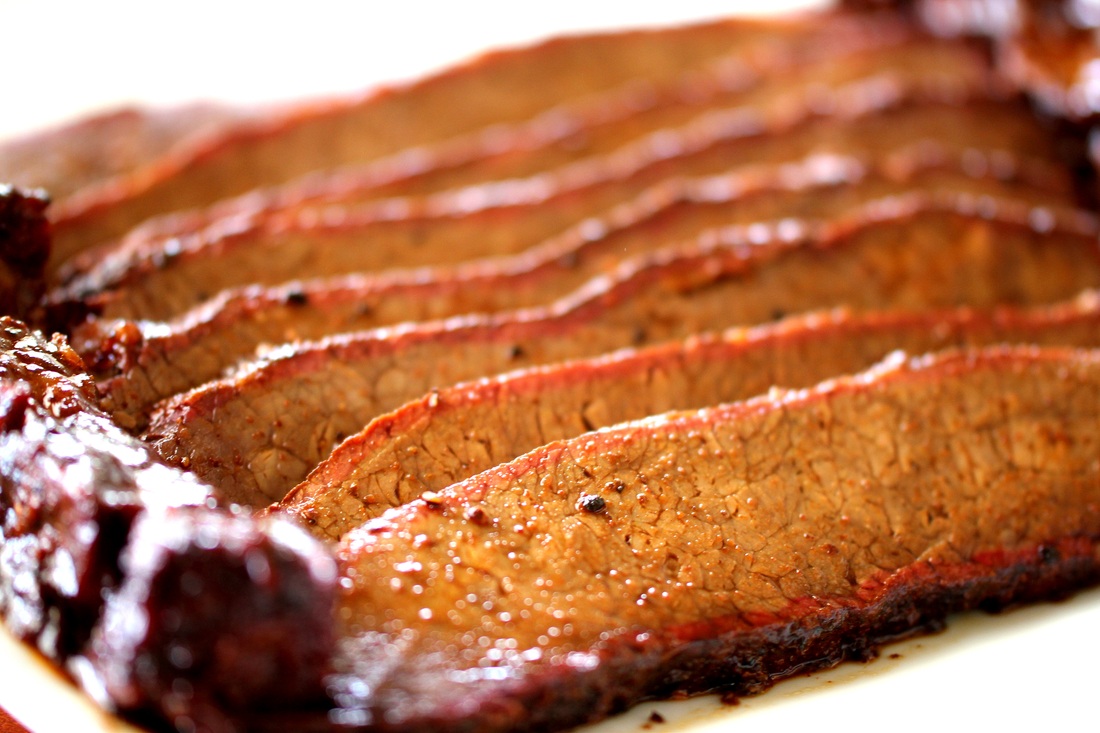
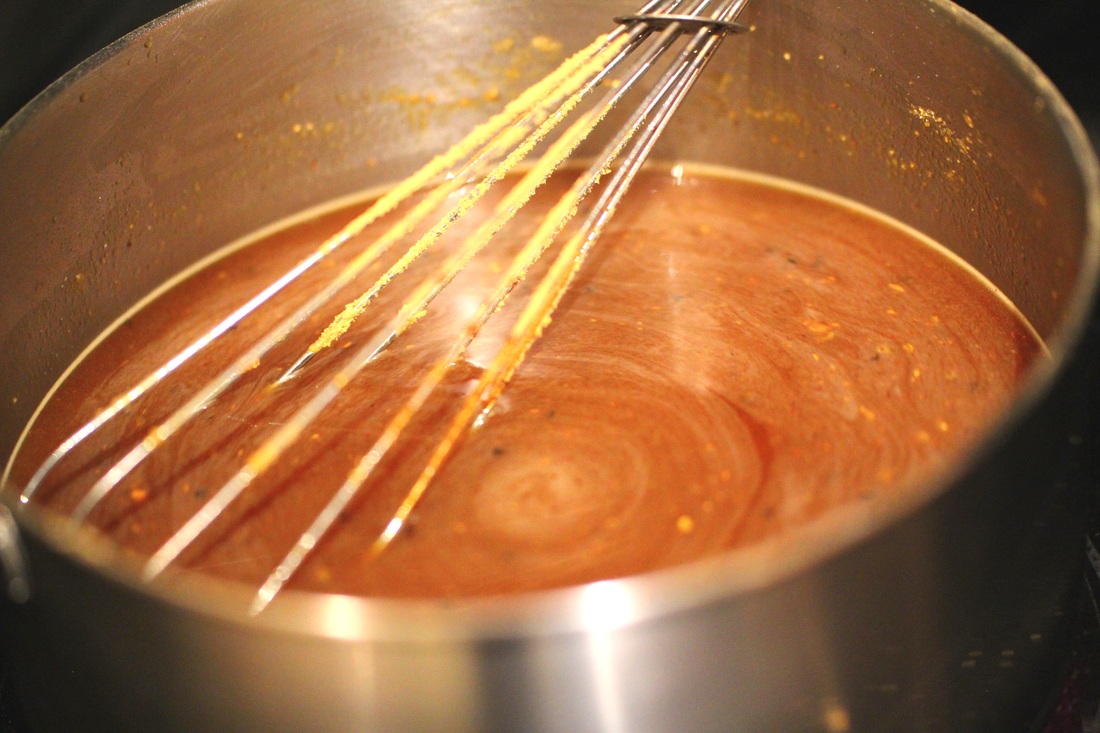
Ingredients: Large Beef Brisket Prime Beef Stock Soy Sauce Worcestershire sauce Yellow mustard BBQ Rubs Butcher BBQ Prime Brisket Injection BBQ Sauce Start with mixing the BBQ injection. Mix together a couple of cups of a good beef stock with a tablespoon of Soy Sauce and Worcestershire sauce. Add 1 cup of the Butcher BBQ Prime Brisket injection and a 2 tablespoons of your favorite BBQ beef rub. Heat and stir until completely dissolved. Taste and add more injection if needed. It should be quite salty but very flavorful.
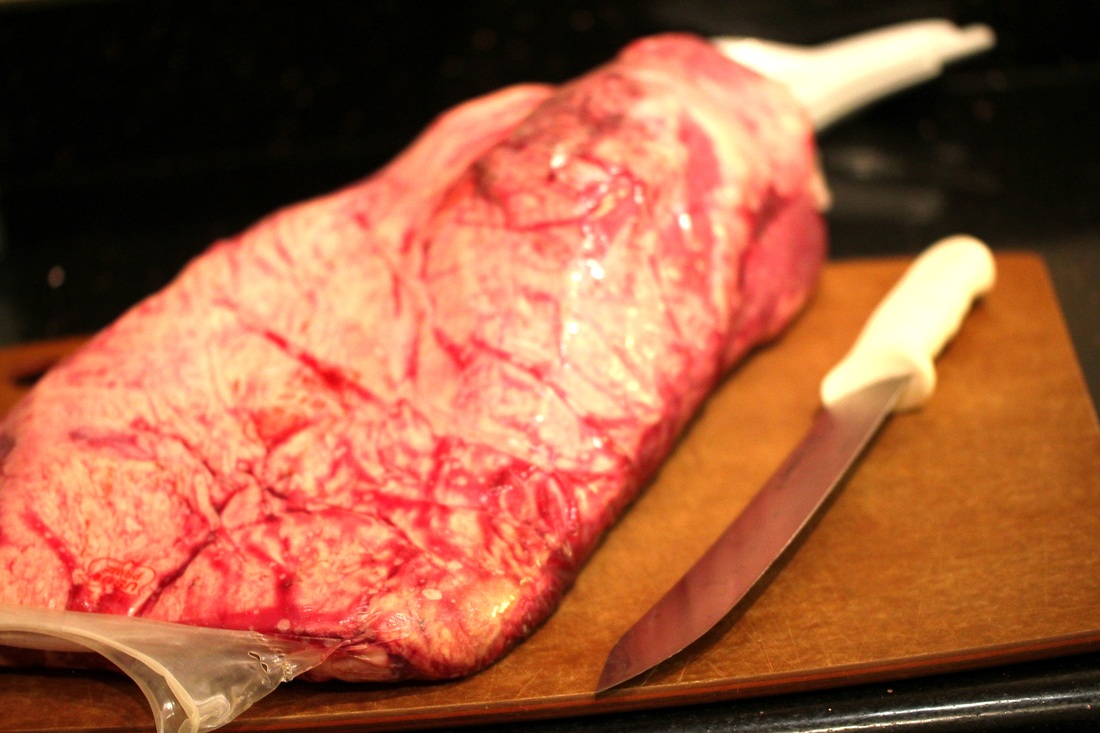
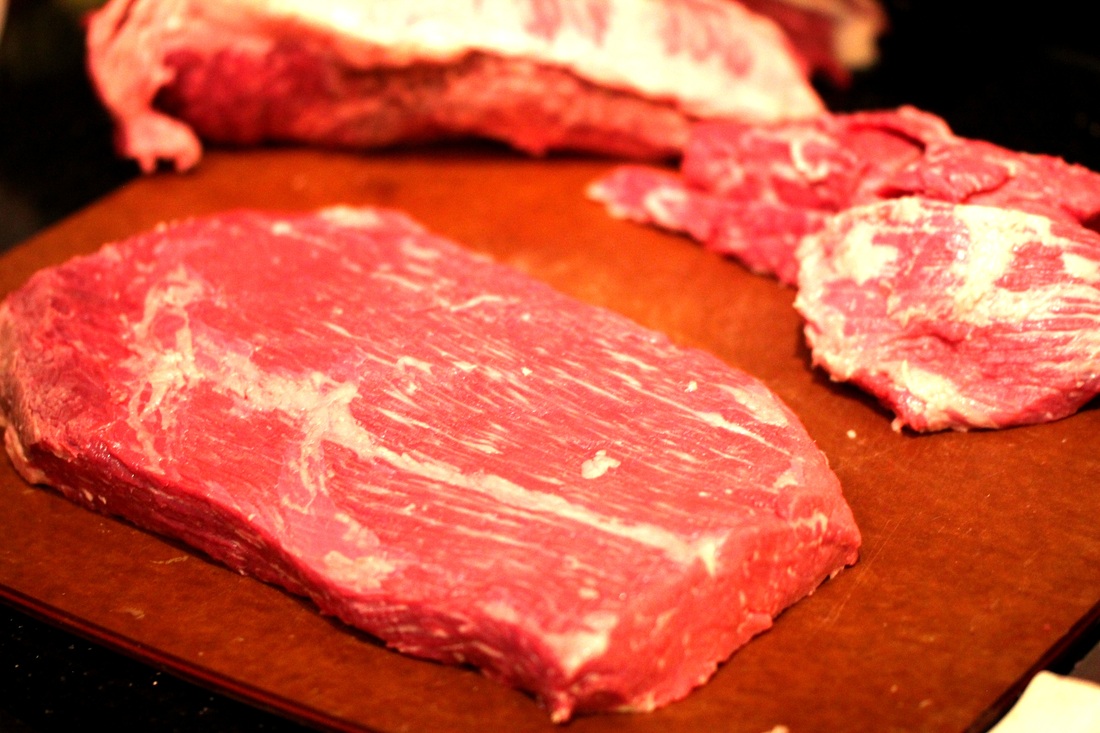
Start trimming the brisket. I like to start with separating the flat and the point. The flat is the leaner part that I slice and the point if the much fattier one and it is great for burnt ends. Keep trimming by removing any excess of fat on the flat and the point.
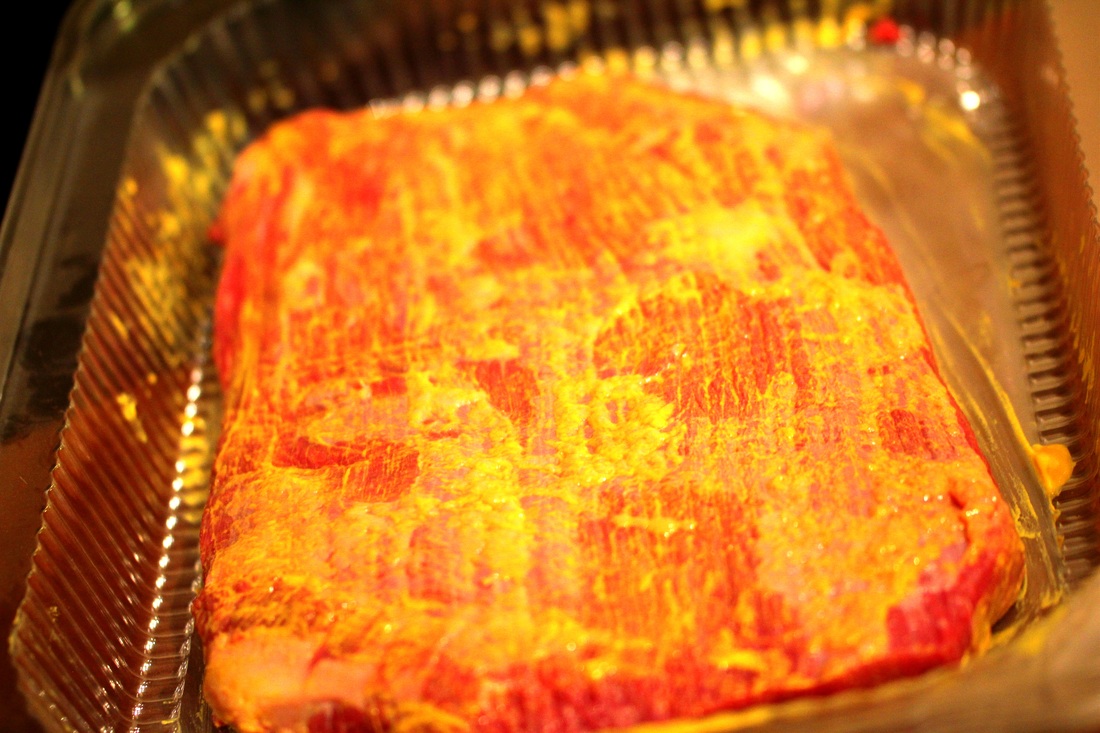
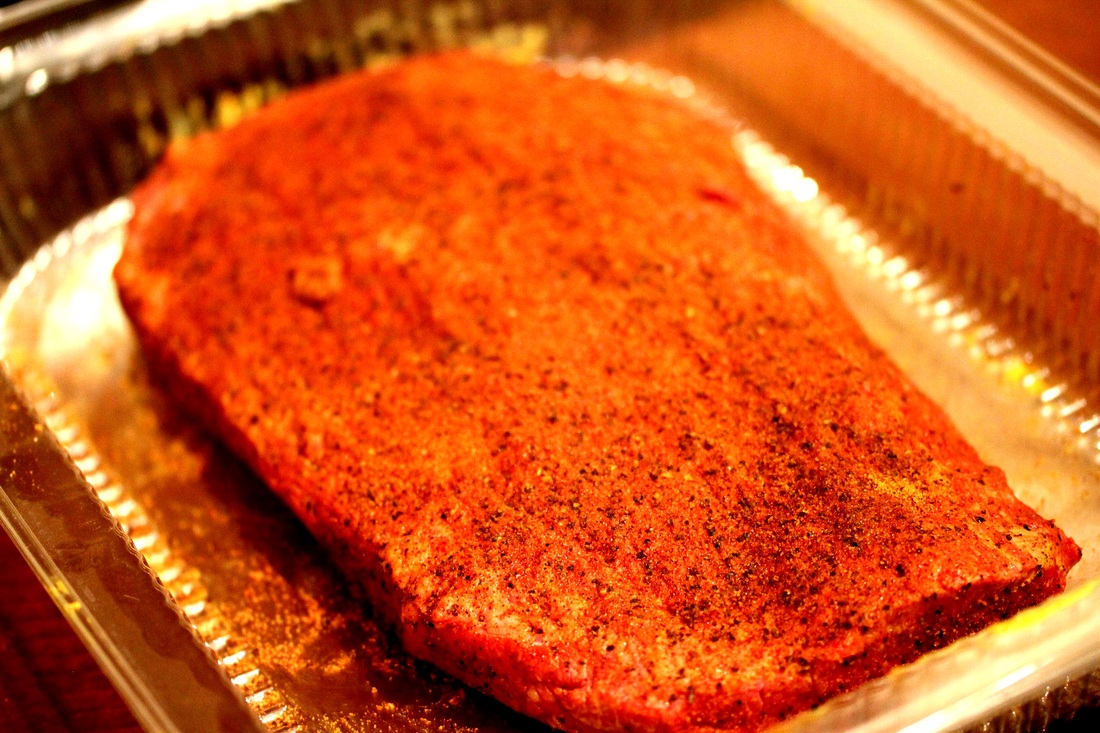
Rub both pieces with yellow mustard and start sprinkle the BBQ Rub of your choice. When cooking at home I use two layers: The first layer is Peppered Cow by Simply Marvelous (light) and the second layer is Beef Rub by The Slabs (generous). I like to gently massage the rub into the meat. Last step of the preparation process before the meat marinates over night is to inject the brisket. Inject the brisket throughout, (one injection per inch of brisket). Wrap in Cling Wrap and keep refrigerated over night.
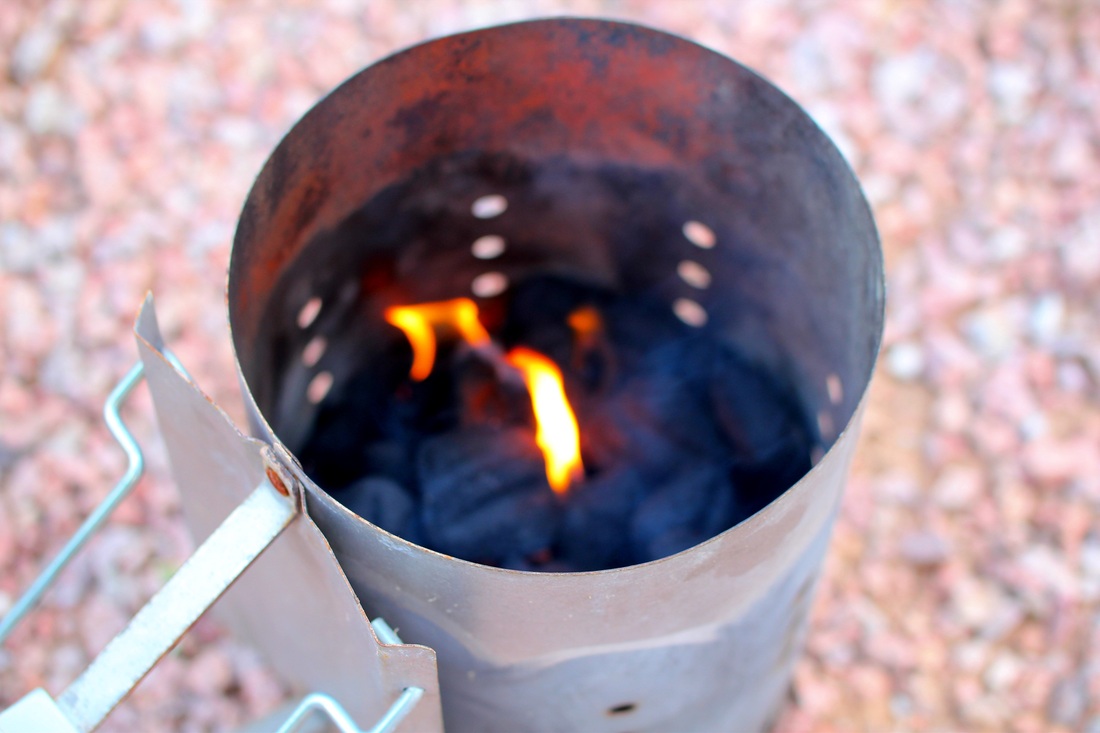
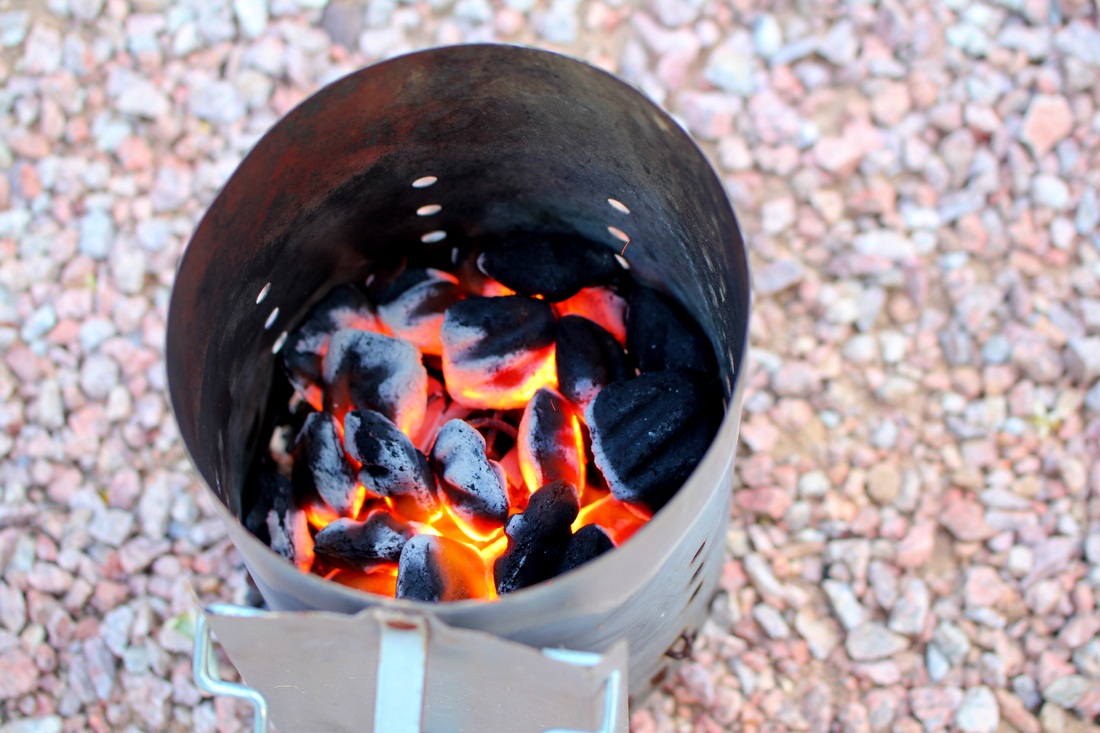
Fire up the smoker, I like to keep the temperature around 235 F (113 C). I prefer to use oak lump charcoal and then add apple and hickory wood chunks to the pit. If you want to more of a smoke flavor, feel free to use mesquite. BBQ is all about personal preference.
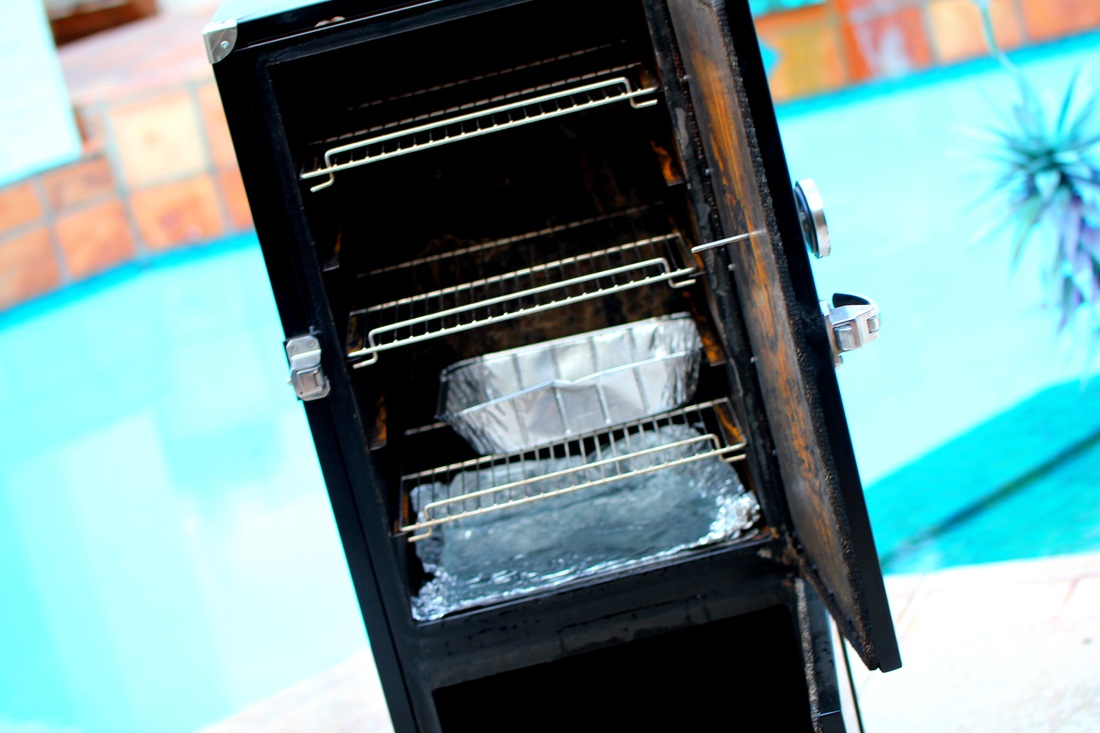
Make sure that you have an aluminum pan underneath the meat when you start cooking to collect all the drippings. These drippings will be used later for flavoring the brisket slices and the burnt ends.
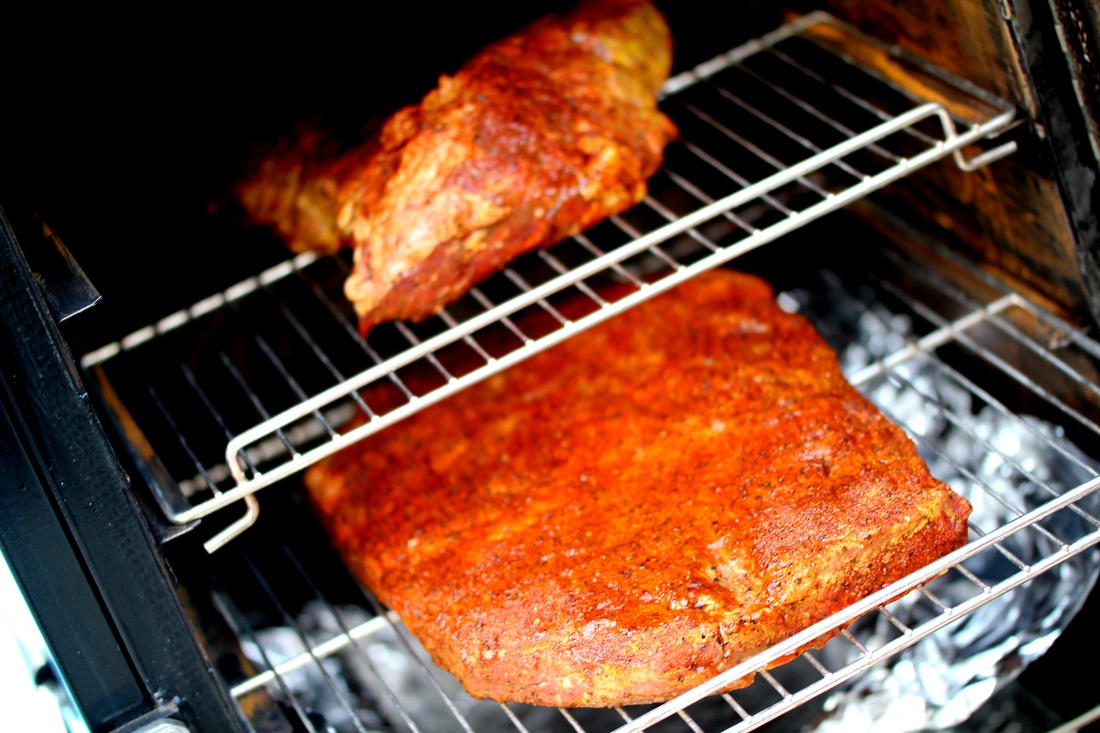
Place the brisket on the smoker and smoke for 6 hours. Turn the brisket over - apply a light dust of BBQ rub and cook for another 2 hours or until the meats internal temperature hits 170 F. During the first two hours, add wood chunks for smoke flavor. 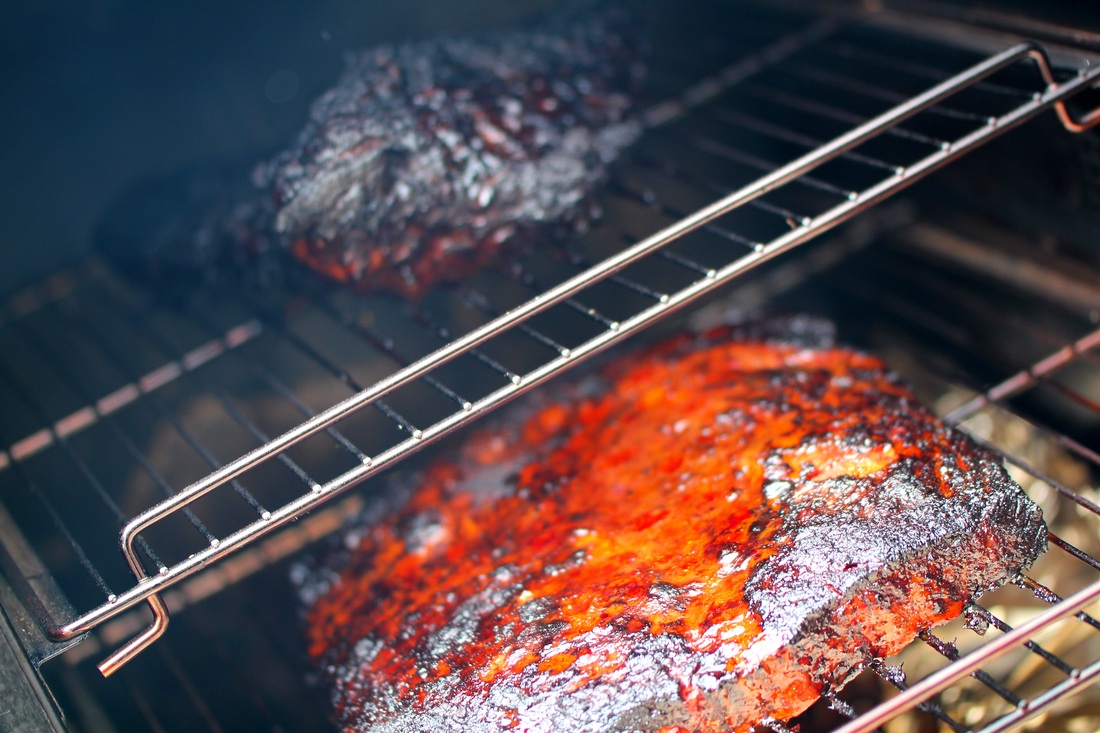
Take the brisket out when the internal temperature hits 170 F.
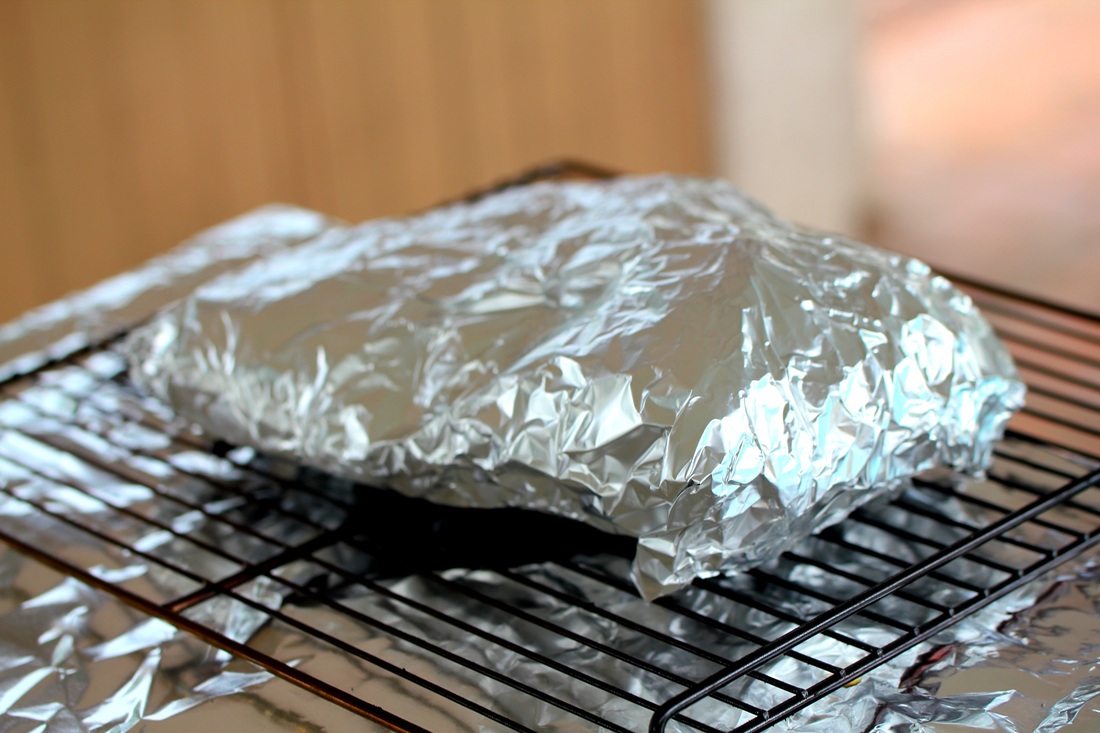
Remove brisket from smoker. Lay the brisket (flat and point separately) on some heavy duty aluminum foil. Pour some of the drippings on the brisket and wrap tight. Return brisket to smoker and cook until internal temperature hits 200.
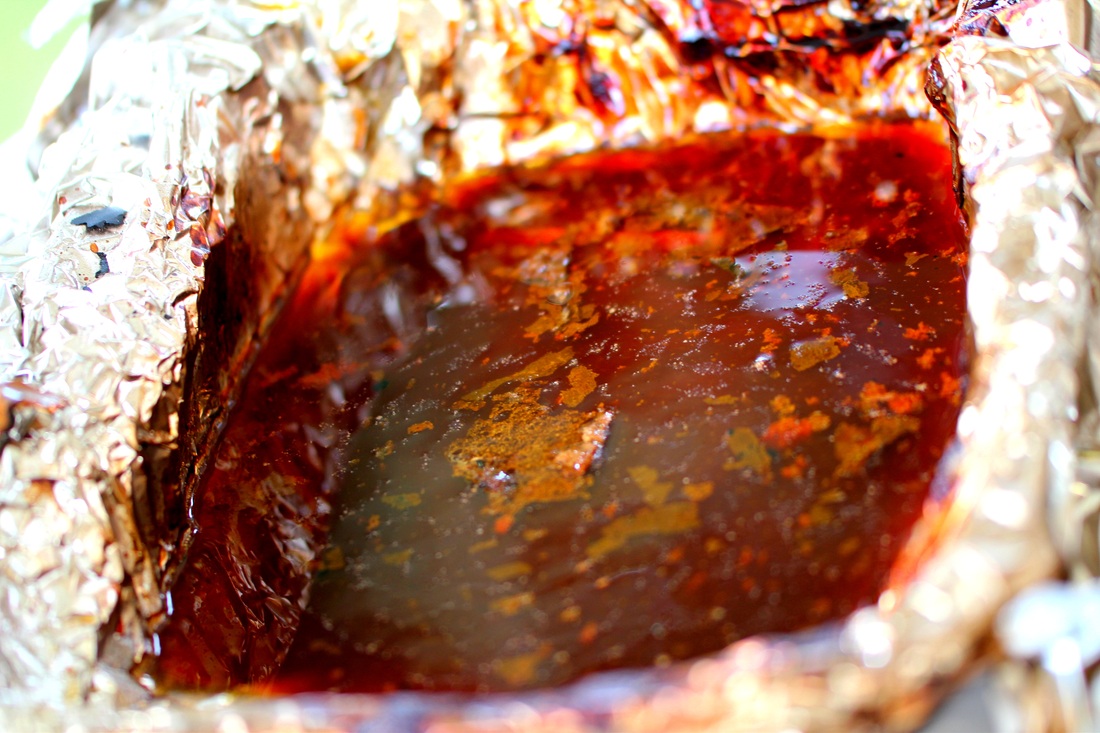
The remaining drippings should be put in a fridge. It will cause the fat to rise and harden. After 40 minutes you should be able to easily scrape all the fat from the drippings. Filter through a sieve. What you have left is liquid gold - the au jus will be packed with flavors and we will use it to enhance both the sliced brisket and the burnt ends. When the temperature hits 200, remove brisket from foil and pour accumulated juices into a cup. Put in fridge or cooler to separate fat (see above). Allow the meat to release its steam, otherwise the brisket might overcook during its resting phase. 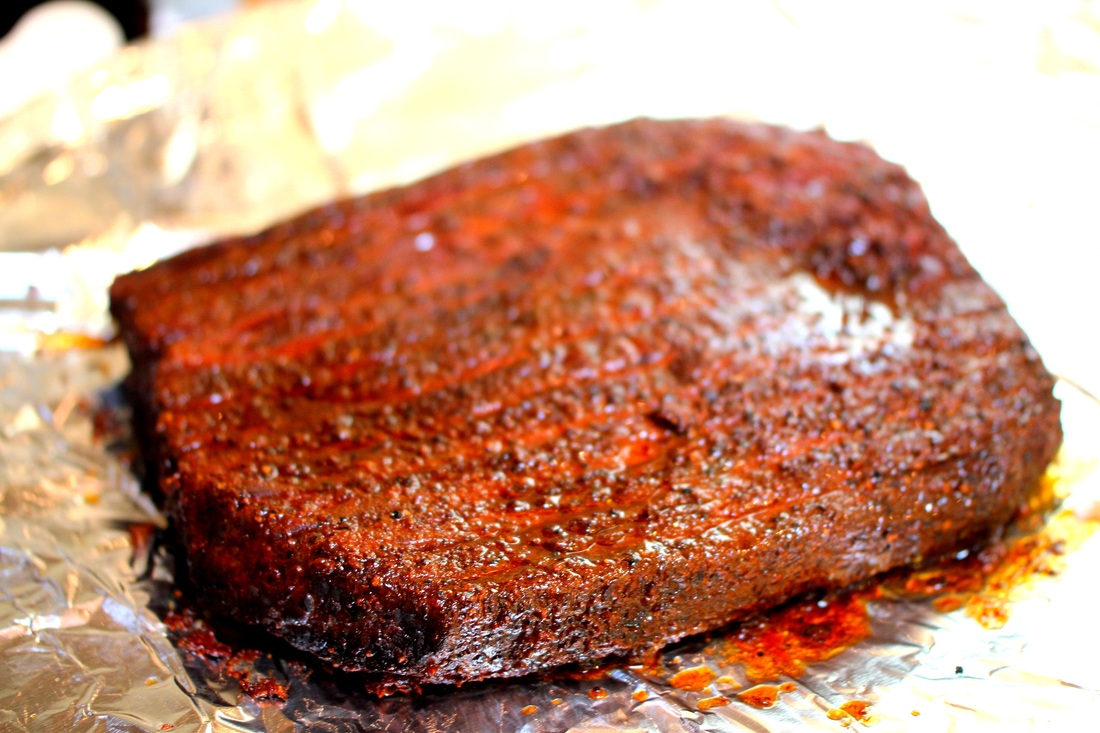
Let the flat release its steam before you let it rest wrapped in foil for another two hours - otherwise it will overcook
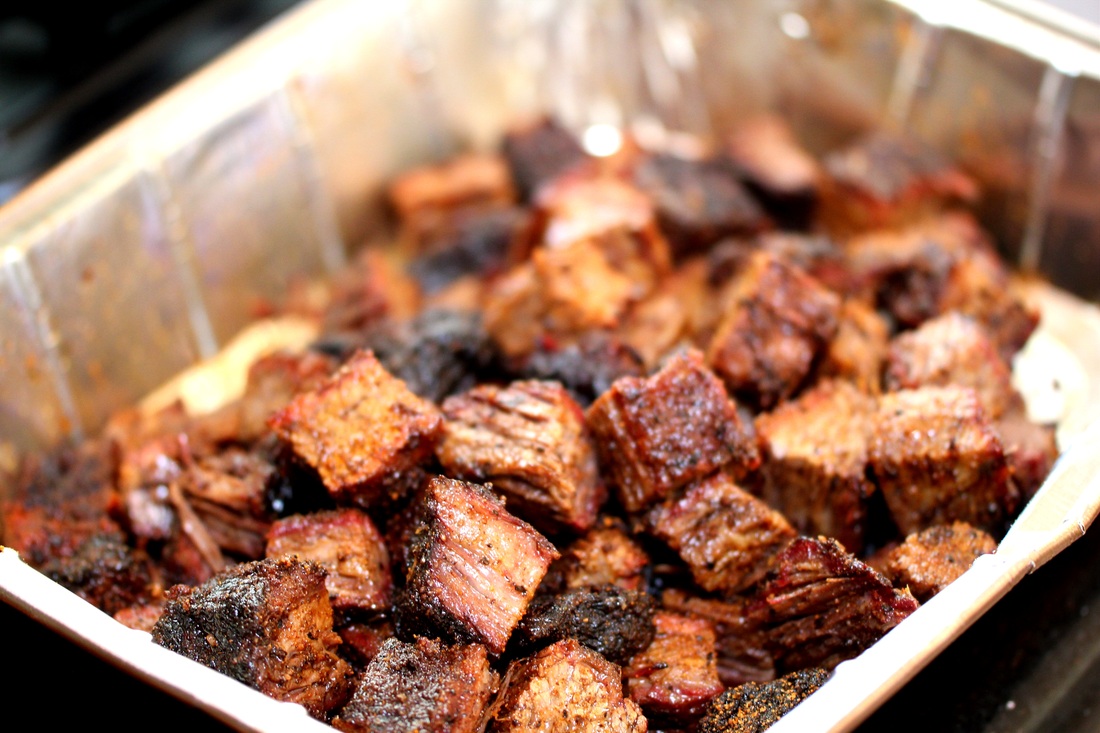
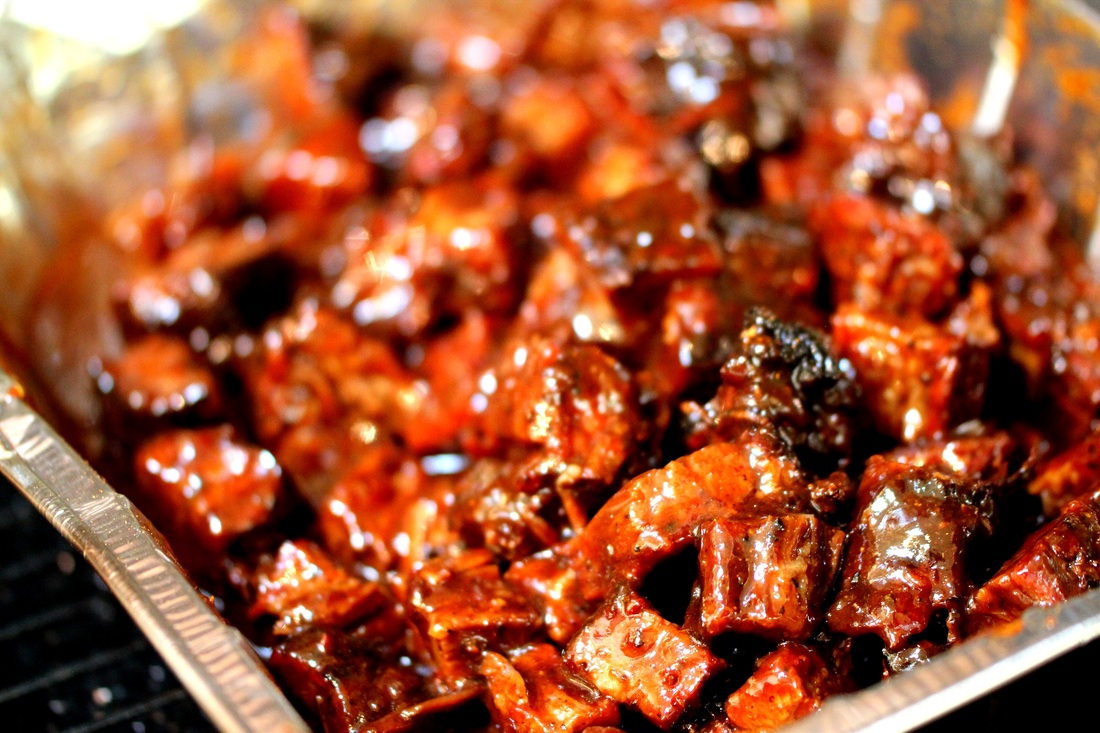
Wrap the flat again in heavy duty foil, place the meat in an empty cooler and let it rest for another two hours or so. While we wait for the flat to rest, use the point to make burnt ends. Slice the point into 3/4 inch cubes and place into another aluminum pan. Toss with some more more BBQ spices, a BBQ sauce of liking and your separated drippings. Put back in smoker for another hours so and stir every 15 minutes (cover with foil).
When the flat is done resting, quickly heat some au jus (separated from the fat). Slice the brisket perpendicular to the grain. Brush or dip each slice in the hot au jus. Fan slices on a platter and place some burnt ends around the edges. Serve and enjoy. This is a simple recipe but the flavors are rich, bold and extremely satisfying. If you want to be popular with the neighbors, try this recipe the next time you have a BBQ at home. And experiment with the flavors, use different kinds of wood, different sauces and different rubs. That is what is so fun with BBQ, it is easy to make this recipe your own. And don't forget, serve with a cold beer!! 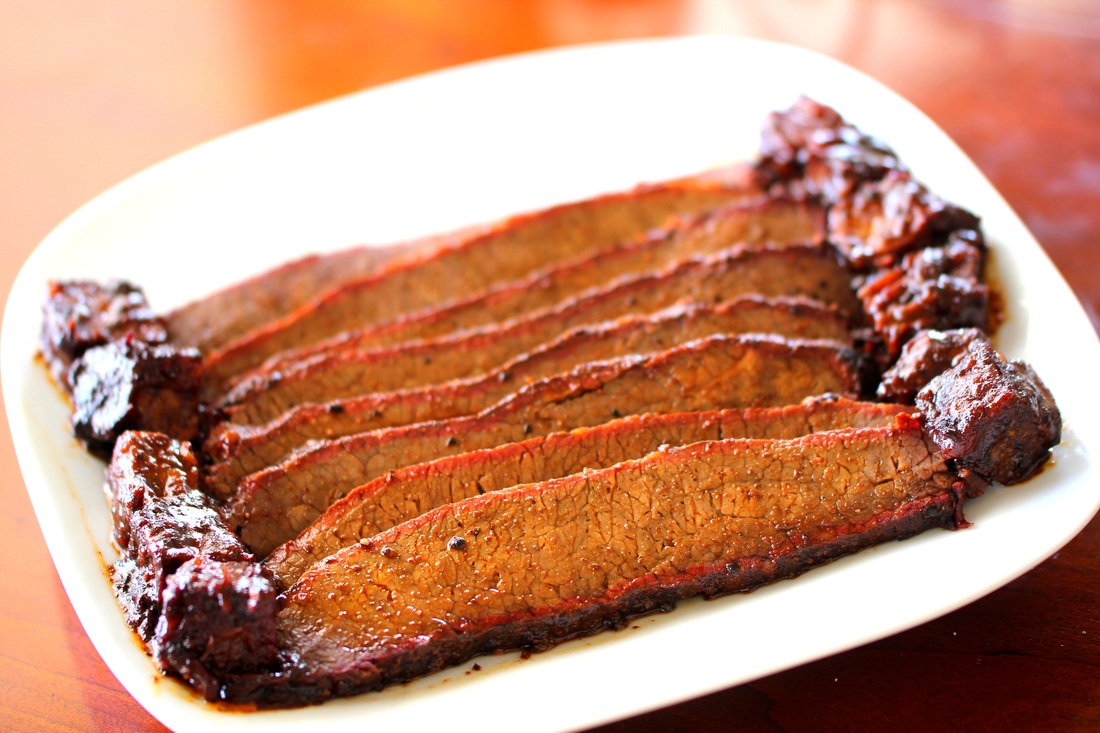

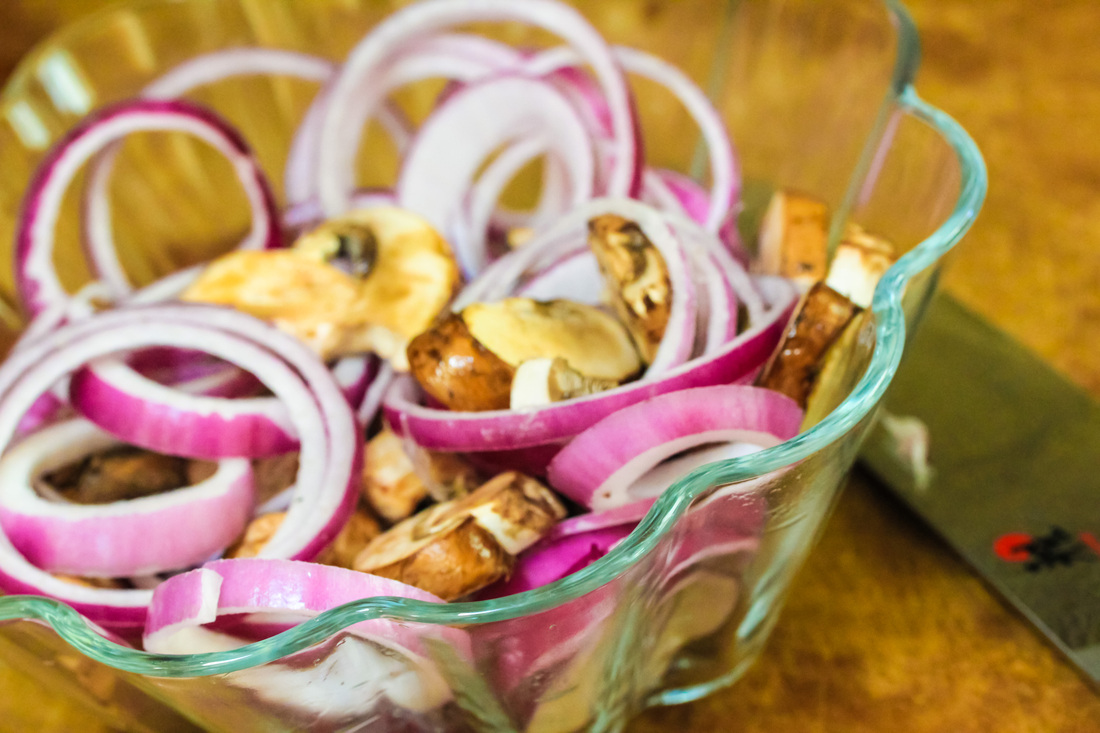
Every person should have a recipe for a really good stuffed gourmet burger. In this recipe the quick-pickled cremini mushrooms and red onions gives a zesty and crunchy foil for a juicy blue-cheese and mushroom stuffed burger. We also add some duckfat on the bread to give the burger even more flavors.
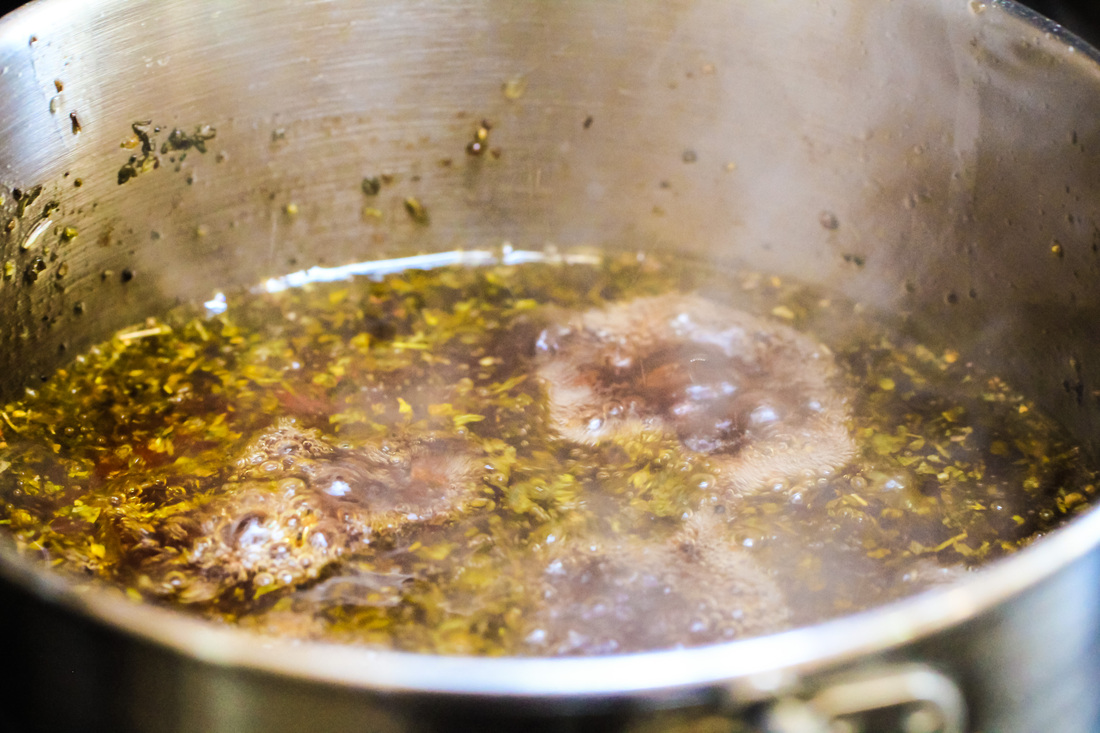
Start with the pickled onions and mushrooms. Place onions and mushrooms in a bowl. Bring vinegar, oil, basil, oregano, salt and pepper to a boil in a small saucepan.
When boiling pour over mushrooms and onions. Let cool. Cover with plastic wrap and refrigerate for at least 1 hour. 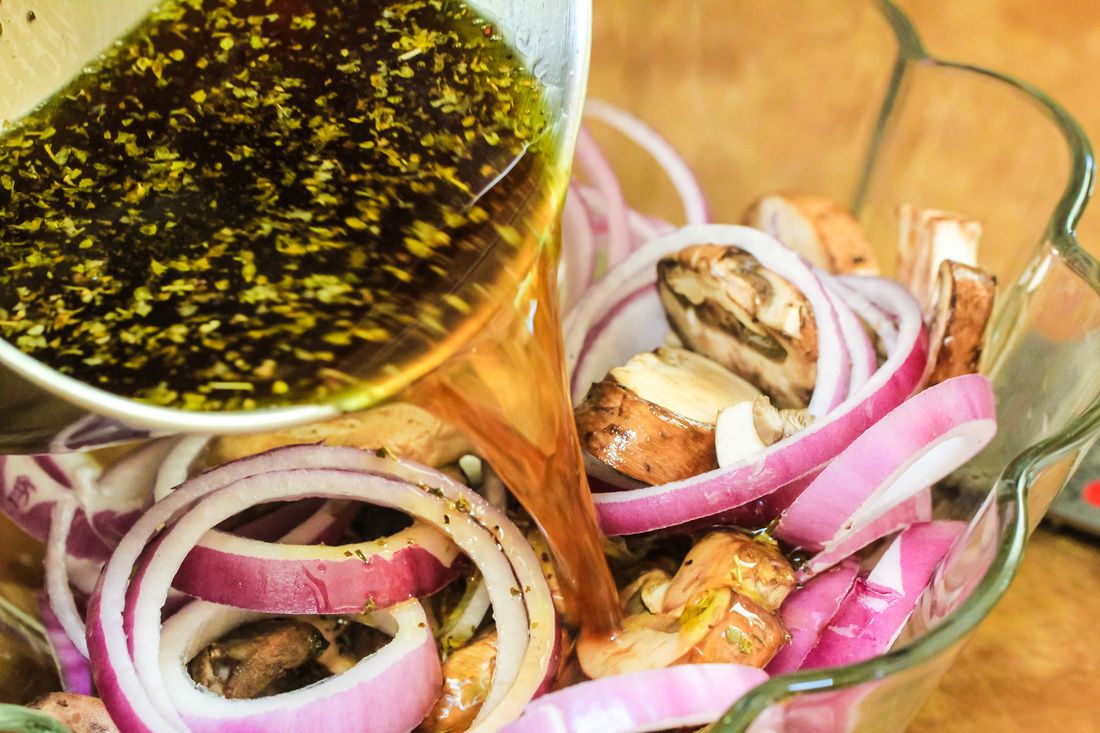
Pour the liquid over the onions and mushrooms and refrigerate for at least 1 hour
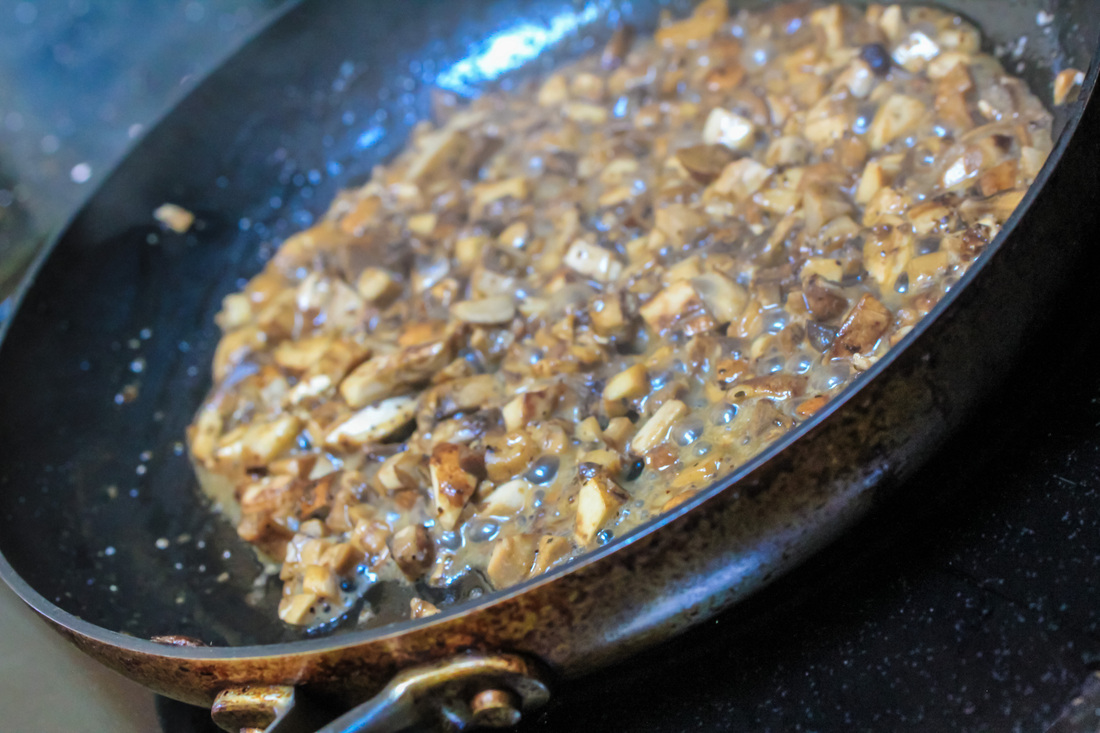
Chop the cremini mushrooms for the filling into small pieces. Heat a saute pan and melt the butter - when browning, add mushrooms. Saute for 2-3 minutes then add plenty of salt and pepper for flavor. Set aside.
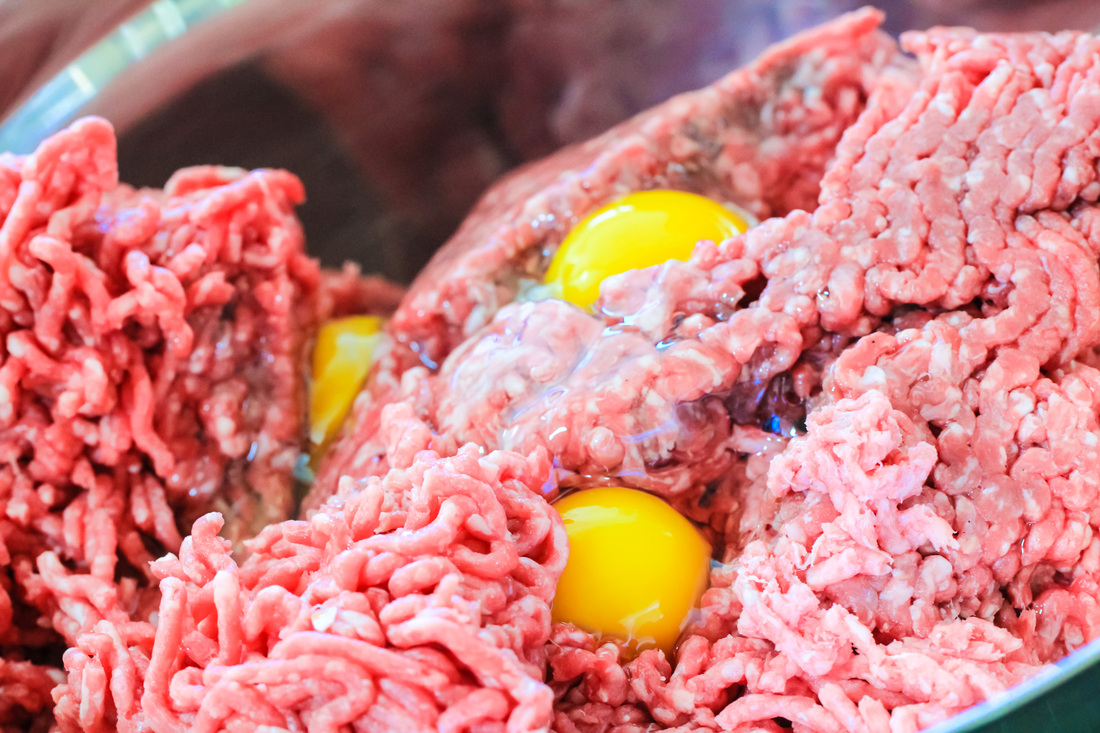
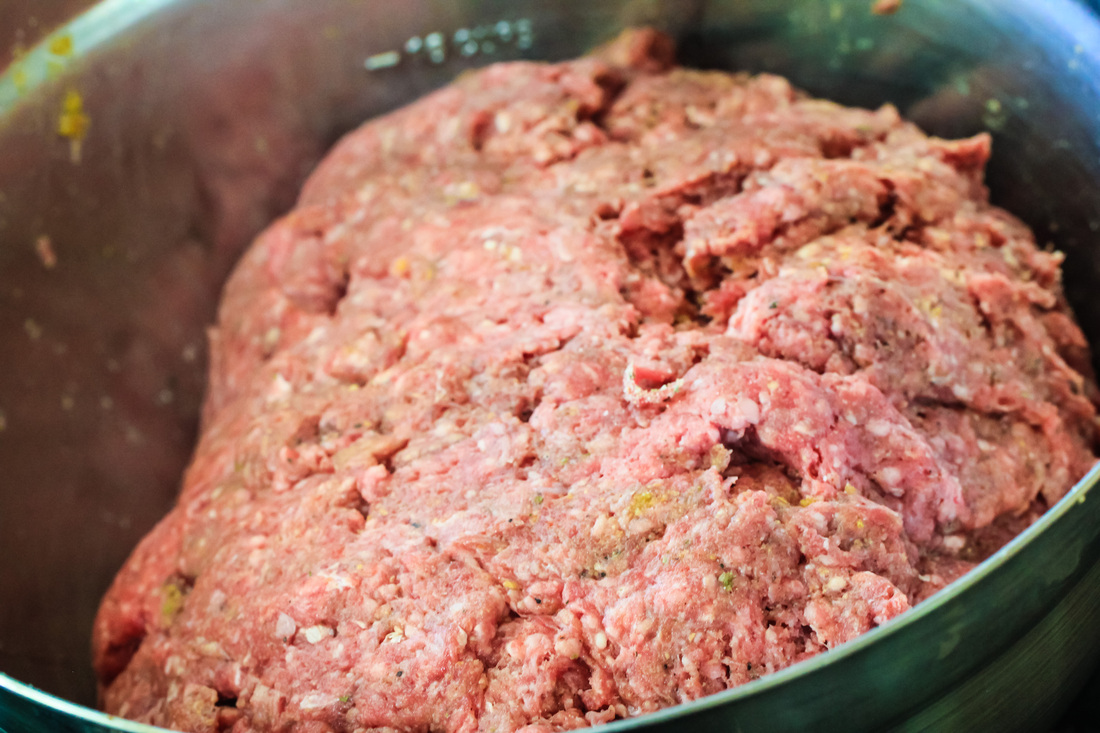
Grind spices in a spice grinder and season the beef with the spice mix. Add, eggs, breadcrumbs and concentrated beef stock. Mix gently until thoroughly mixed.
Divide beef into patties about 1/3" thick. Place 1 oz of blue cheese and mushrooms into the center of each patty. Fold sides of meat up and over the cheese and mushrooms. Heat the grill and set for high. Grill burgers, flipping them once, until cooked to desired doneness, about 12 minutes for medium rare. If outside starts to burn move to cooler section of grill. 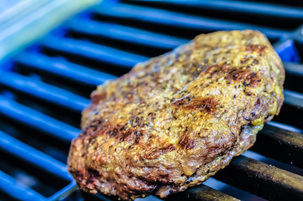
12 minutes for medium rare - only flip once
Spread some duckfat on the buns and grill each bun for 30 seconds. Serve the burger on the buns with some pickled mushrooms, red onions and some Dijon Mustard for taste. These burgers are best enjoyed with a chilled beer. 
Enjoy with a chilled beer
Bacon Explosion
Ingredients
Here is a great recipe from Bacon Makes Everything Better by Aaron Chronister and Jason Day. Bacon Explosion is a very famous (or infamous) dish on the BBQ circuit. It will give you a heart attack for sure but at least you will die a very happy man. The cool thing about this recipe is that you can throw basically anything inside the bacon weave and it will still taste delicious. Try some jalapenos for spice or cream cheese (just because). The Bacon Explosion is the main reason why every man in world should own a smoker. Directions: 1. To kick off the construction of this pork medley, you'll need to create a bacon basket weave using approximately 1 pound of raw bacon. The number of strips used in the weave will depend on the size and type of bacon you choose to use. To create the weave, place 5 strips of bacon side by side. Next, fold back the second and fourth strips and lay another strip of bacon perpendicular to the first layer across the first, third, and fifth strips. Unfold the second and fourth strips back to their original position to create an over/under pattern. Next, fold back the first, third, and fifth strips and place another slice of bacon perpendicular to the first layer across the second and fourth strips. Unfold the first, third, and fifth strips to their original position. Take note of the alternating pattern that has been created. Repeat this process for the rest of the weave. 2. The next step is to add a layer of barbecue seasoning on top of the bacon weave. Evenly sprinkle 1 tablespoon across the bacon weave. 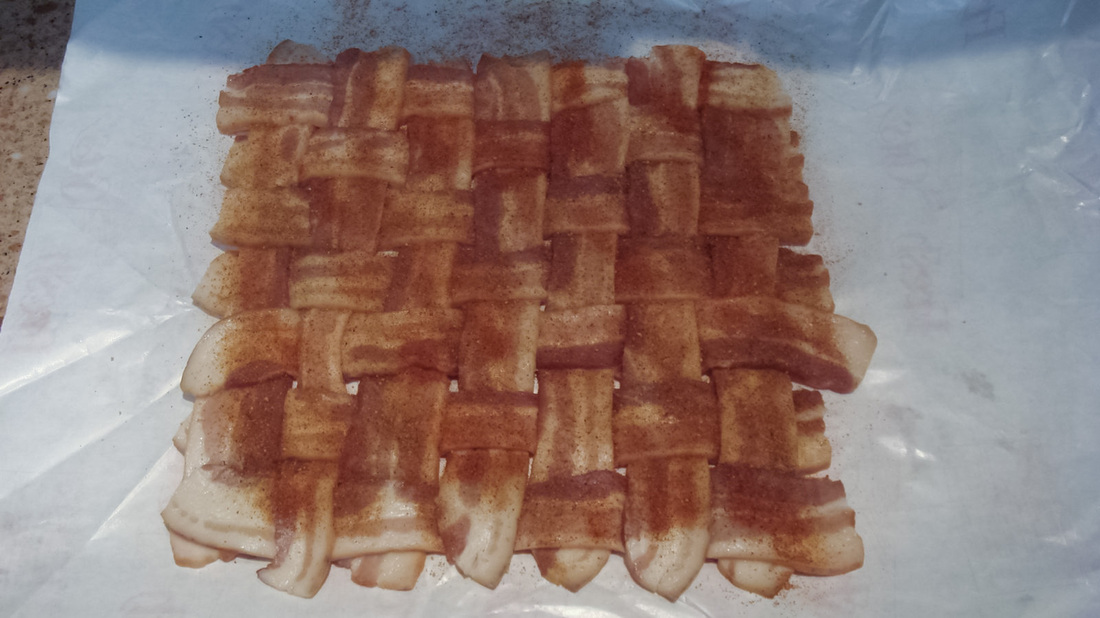
3. Now that the bacon is well seasoned, it's time to add a layer of sausage. Although pressing out a patty by hand works just fine, the easiest method for creating the sausage layer is to place the bulk Italian sausage inside a gallon-sized ziplock bag. Evenly press the sausage to the edges of the bag to create a uniform patty. Remove the sausage from the bag by using scissors or a knife to cut along both side edges of the bag. Gently remove the sausage patty, keeping it intact, and place it on top of the bacon weave. If there is more than 1/2 inch of bacon showing around the edges of the sausage layer, expand the sausage layer by pressing the edges outward. Ideally, the sausage layer should be approximately 1/2 inch thick to create the pinwheel effect seen in the final product. 4. In a skillet, fry the remaining strips of bacon to your liking. This should be roughly 1 pound of raw bacon, but it could be more or less depending on how much was used in the bacon weave. If you like soft bacon, make it soft. If you like crunchy bacon, make it crunchy. These fried strips are going to be a major part of the inner flavor of the Bacon Explosion, so cook them your favorite way. Regardless of how well done you like yours, you'll need to crumble or chop the cooked strips into bite-sized pieces and place them on top of the sausage layer. 5. Since this is a barbecue recipe, we need to add another layer of barbecue flavor. Drizzle 1/2 cup BBQ sauce all over the top of the cooked bacon pieces. 
6. Now comes the fun part. Carefully separate the back edge of the sausage layer from the bacon weave and begin rolling toward you. You want to include all layers EXCEPT the bacon weave in your roll. Try to keep the sausage as tight as possible and be sure to release any air pockets that form. Once the sausage is fully rolled up, pinch together the seam and ends to seal all the bacon goodness inside. This will also prevent the barbecue sauce from oozing out as it cooks. 7. At this point you can start to see the final shape of the Bacon Explosion, but we're missing one key item. To complete the construction process, roll the sausage log forward, completely wrapping it in the bacon weave. Make sure it sits with the seam facing down so that the weight of the sausage roll will keep the bacon weave in place. 8. Sprinkle 1 tablespoon BBQ pork rub on the outside of the bacon weave, and now this bad boy is ready for the cooker. Smoke your Bacon Explosion over indirect heat at 225 degrees until the internal temperature reaches 165 degrees. Normally this will take about 1 hour for each inch of thickness, but that can vary depending on how well you maintain your fire and how many times you open the smoker to take a peek. 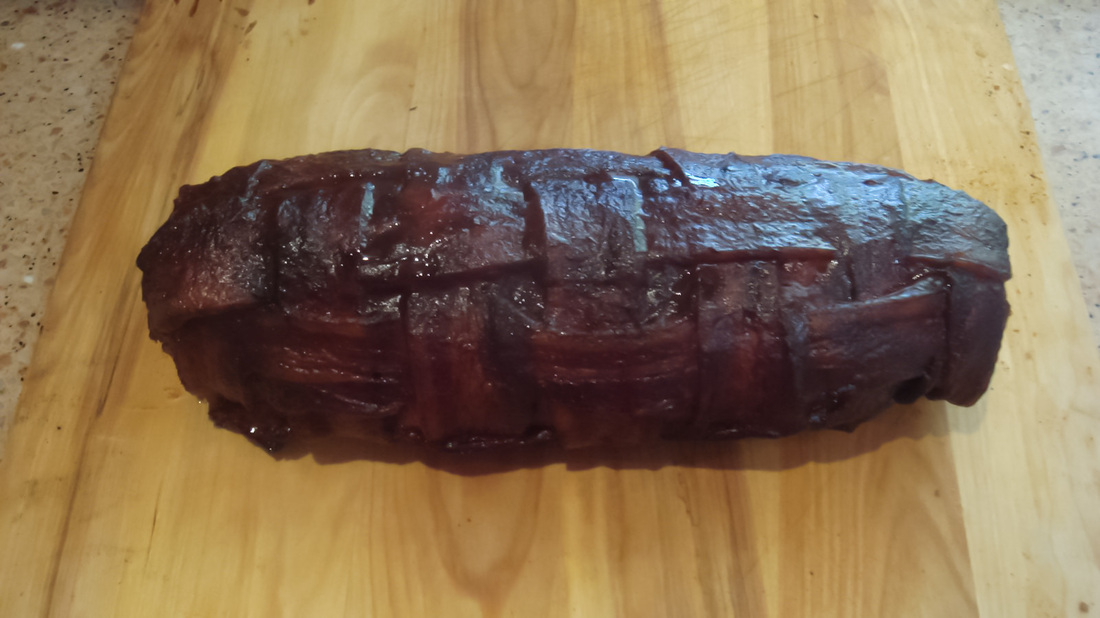
9. Once the Bacon Explosion is fully cooked, we need to add some finishing flavors. Remember the BBQ sauce that we used for inner flavor? We'll be using that same sauce to glaze the cooked bacon weave. Using a small clean brush, coat the entire surface with a thin layer of sauce (approximately 1/2 cup). Sweet sauces are loaded with sugars, so they'll give your Bacon Explosion a nice glossy finish. Spicy and vinegar-based sauces don’t contain as much sugar, so they won't have that nice shiny look. To create the same effect, simply add 1 tablespoon honey to 1/2 cup sauce before glazing.
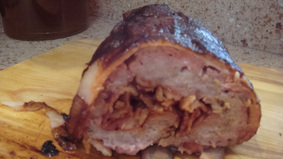
10. Using a sharp knife, cut the Bacon Explosion into 1/4- to 1/2-inch slices to serve. If your roll was good and tight, you should now see a nice bacon pinwheel pattern throughout the sausage |
Cooking at home
In this section you will find recipes and food experiments that I have tried at home. Some successfully. Archives
January 2018
Categories
All
|
Cooking at home |


 RSS Feed
Web Hosting by FatCow